

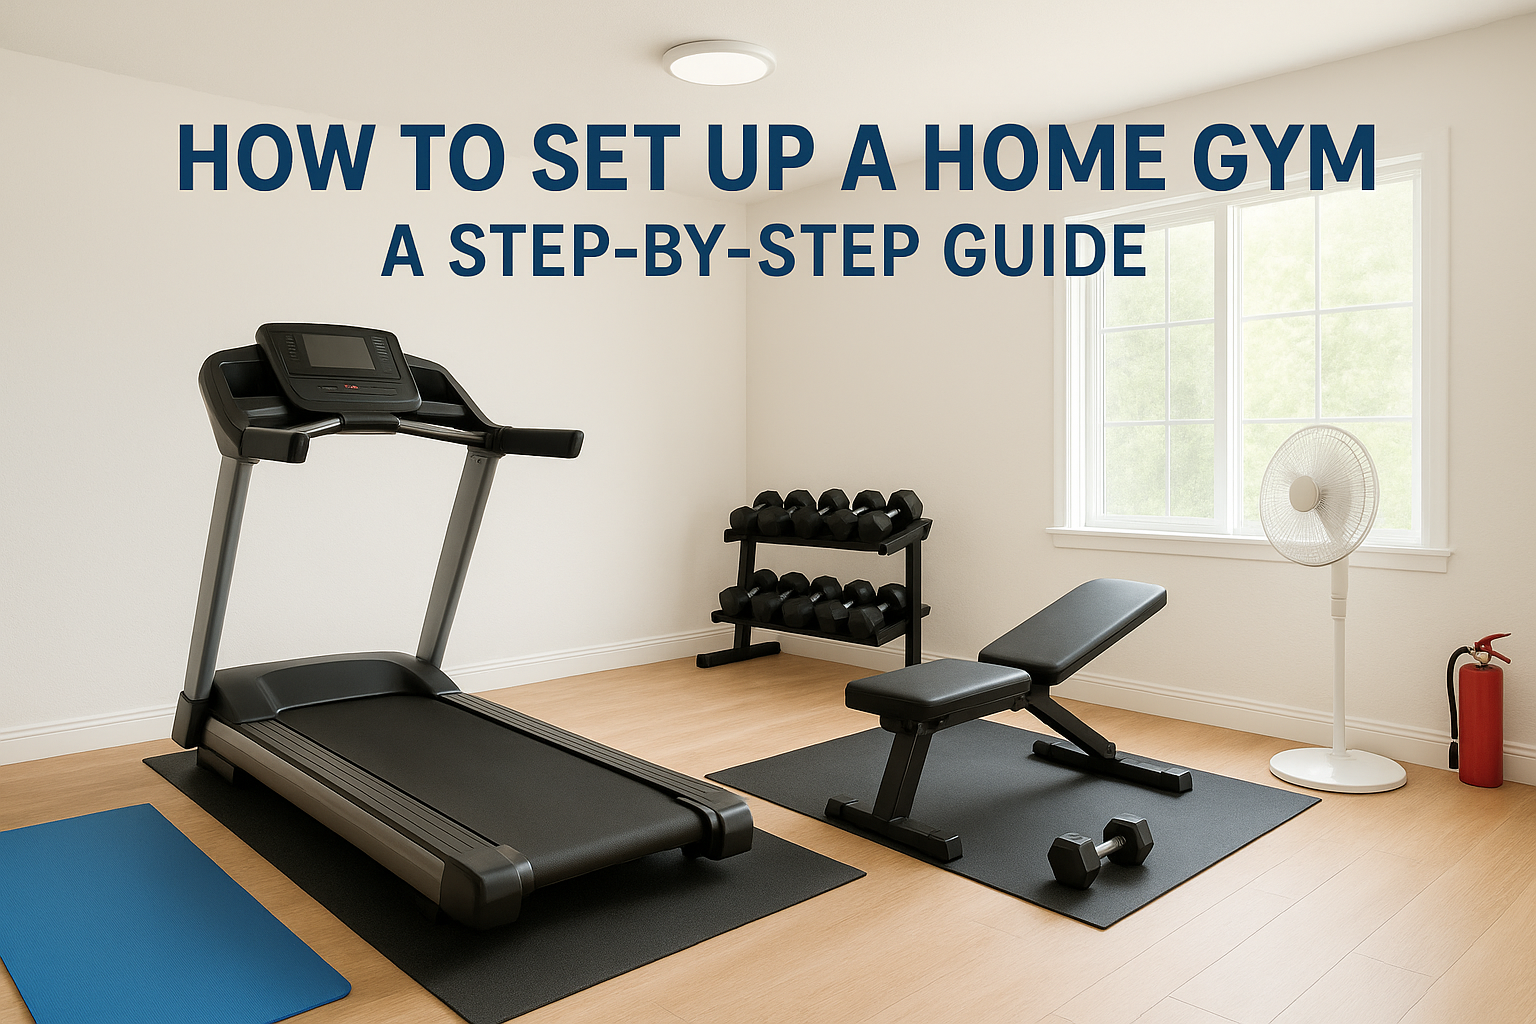
18 Jul How to Set Up a Home Gym: A Step-by-Step Guide
You’ve got a corner of the basement, a spare bedroom, or half the garage, and you keep telling yourself this is the year you stop paying for a gym membership you barely use. Figuring out how to set up a home gym that actually gets used takes more than buying a treadmill and hoping for the best. Space, budget, flooring, and equipment choices all work together, and getting the order wrong usually means wasted money and a room full of gear collecting dust.
This guide walks you through the process in order, starting with measuring your available space and setting a realistic budget before you buy anything. From there, you’ll learn how to choose equipment that matches your actual fitness goals, whether that’s cardio, strength, or both, and how to lay out the room so you can move safely between machines.
We’ll also cover practical details that get overlooked, like flooring and ventilation, electrical outlets for connected equipment, and how to plan for delivery and setup of larger machines like treadmills or recumbent bikes. By the end, you’ll have a clear, room-by-room plan for building a home gym you’ll actually want to use every day.
Why planning matters before you buy anything
Most people skip straight to shopping. They see a treadmill on sale, buy it, and then spend a weekend figuring out where it actually fits. That order causes most of the regret you hear about with home gyms. Planning before you buy flips the process so the room dictates the equipment, not the other way around, and that one change prevents the majority of expensive mistakes.
Consider what happens when you skip this step. A treadmill needs roughly 30 to 40 square feet of clear space once you account for the safety zone behind and beside it, not just the footprint of the deck. A recumbent bike or elliptical needs less floor space but still needs headroom, especially if you’re over six feet tall. Buy first and measure later, and you might end up with a machine wedged against a water heater or blocking a doorway. Doorway width matters too. Commercial-grade treadmills and ellipticals often ship partially assembled, but even in pieces, some frames won’t clear a standard 30-inch doorway or turn a tight basement stairwell corner.
Measure the room and the path to the room before you spend a dollar on equipment.
Budget planning works the same way. If you buy a treadmill first and a bike second, you might blow through your entire budget before you’ve addressed flooring, outlets, or a fan to keep the room from turning into a sauna. Sequencing your purchases around a plan, rather than around what’s on sale that week, keeps you from overspending on one machine and underfunding everything else the room needs to function.
There’s also a delivery and installation angle that catches people off guard. Larger cardio machines, especially commercial-grade treadmills, are heavy, often 250 to 300 pounds, and awkward to move alone. If you haven’t planned your doorway clearances, stairwell turns, and final placement in advance, you’ll end up paying for White Glove delivery just to fix a problem you could have avoided with a tape measure. Reputable manufacturers publish detailed dimensions and shipping weights for exactly this reason, so pull those specs before you commit to a model.
Finally, planning ahead means you’re less likely to end up with a room that looks good on day one and gets ignored by day thirty. A gym that’s built around your actual routine, your actual space, and a realistic budget is a gym you’ll keep using. That’s the whole point of the next four steps.
Step 1. Define your goals and measure your space
Start with the honest question: what are you actually going to do in this room? A home gym built for cardio looks different from one built for strength training, and most people need a mix of both. Write down your top two or three goals, whether that’s daily walking or running, low-impact recovery days, or a mix of cardio and free weights, before you look at a single product page.
Know what you’re training for
Goals determine equipment, and equipment determines square footage. Someone training for a 5K needs a treadmill with a real running deck and incline range. Someone recovering from a knee issue is better served by a recumbent bike or elliptical with a low step-through. Trying to cram in one of everything usually backfires, so pick the one or two machines that match your actual routine and leave room to add more later.
Measure the room like a pro
Once you know the equipment type, grab a tape measure and get specific. Accurate measurements now save you from a return shipment later.
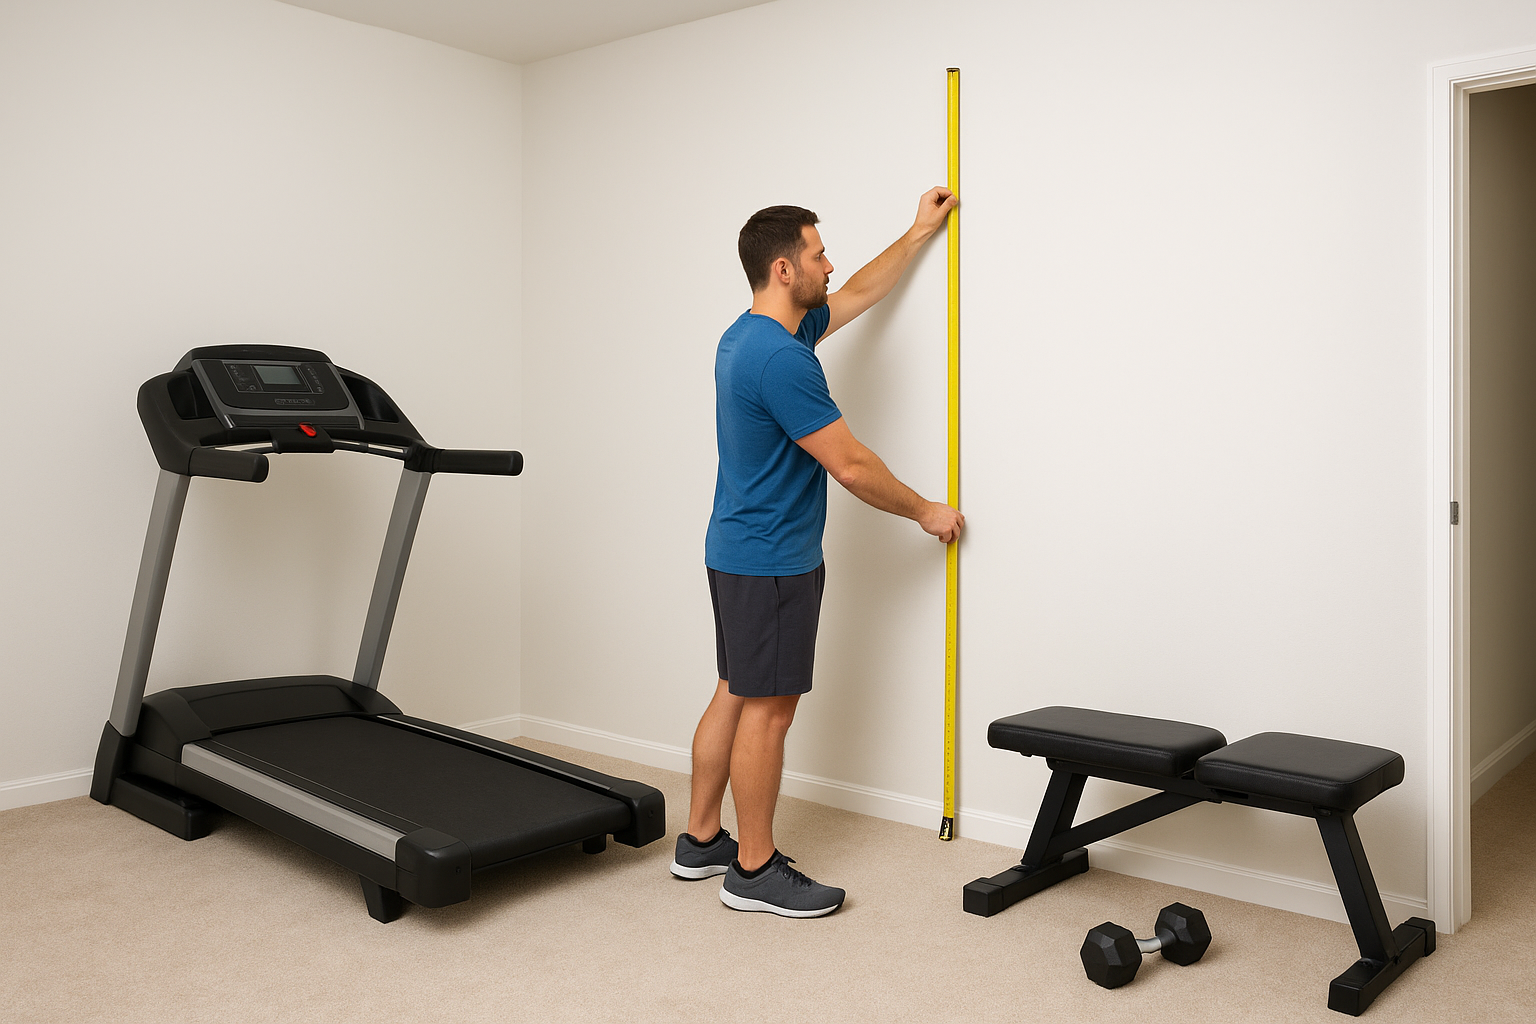
- Measure length, width, and ceiling height of the room, not just the open floor area.
- Add 24 to 30 inches of clearance behind and beside any cardio machine.
- Check doorway widths and any turns along the delivery path.
- Note outlet locations if you’re using Bluetooth-connected consoles or a fan.
- Confirm floor levelness, especially in basements and garages.
If the tape measure and the spec sheet don’t agree, trust the tape measure.
Getting this step right means every decision after it, budget, flooring, layout, is built on real numbers instead of guesswork.
Step 2. Set a budget and prioritize your equipment
Once you know your space, figure out what you can actually spend, then work backward from there. Setting a budget before you shop keeps you from falling for the flashiest console or the biggest sale banner and instead buying the machine that fits your goals and your room. Quality cardio equipment for home use typically runs from $1,999 to $4,699, and that range reflects real differences in motor size, frame construction, and warranty coverage, not just marketing.
Decide what earns the first dollar
Rank your equipment list by how often you’ll actually use each piece. If you’re training for distance, the treadmill or bike gets the biggest share of the budget. If your knees can’t handle impact, put your money into a recumbent bike with a strong warranty instead of a cheaper treadmill you’ll avoid using. Prioritizing by usage protects you from spending most of your budget on a machine that ends up as a clothes rack.
Buy less equipment at higher quality rather than more equipment at a discount.
Build in room for the extras
Flooring, a fan, and a heart rate strap aren’t optional add-ons, they’re part of the real cost of a working home gym. A rough starting split for a single-machine setup looks like this:
| Category | Share of Budget |
|---|---|
| Primary cardio machine | 70-75% |
| Flooring and mats | 10-15% |
| Lighting/ventilation upgrades | 5-10% |
| Accessories (HR strap, fan, shelving) | 5-10% |
Warranty coverage matters here too. A lifetime frame warranty with multi-year parts coverage tells you the manufacturer built the machine to last, which is worth more long-term than a slightly lower price with a thin one-year warranty.
Step 3. Choose flooring, lighting, and climate control
Equipment gets all the attention, but the room around it determines whether your workouts feel good or get cut short. Flooring, lighting, and climate control protect both your machines and your joints, and skipping this step is how a $3,000 treadmill ends up sitting on cracked concrete with a single bare bulb overhead.
Pick flooring that protects the machine and the floor
Rubber flooring is the standard for a reason. It absorbs vibration, protects concrete or hardwood underneath, and keeps a treadmill from walking across the room during a hard interval session. Interlocking rubber tiles at 3/8 to 1/2 inch thick handle most home cardio setups, while dense rubber rolls work better for larger rooms or mixed cardio-and-weights spaces.
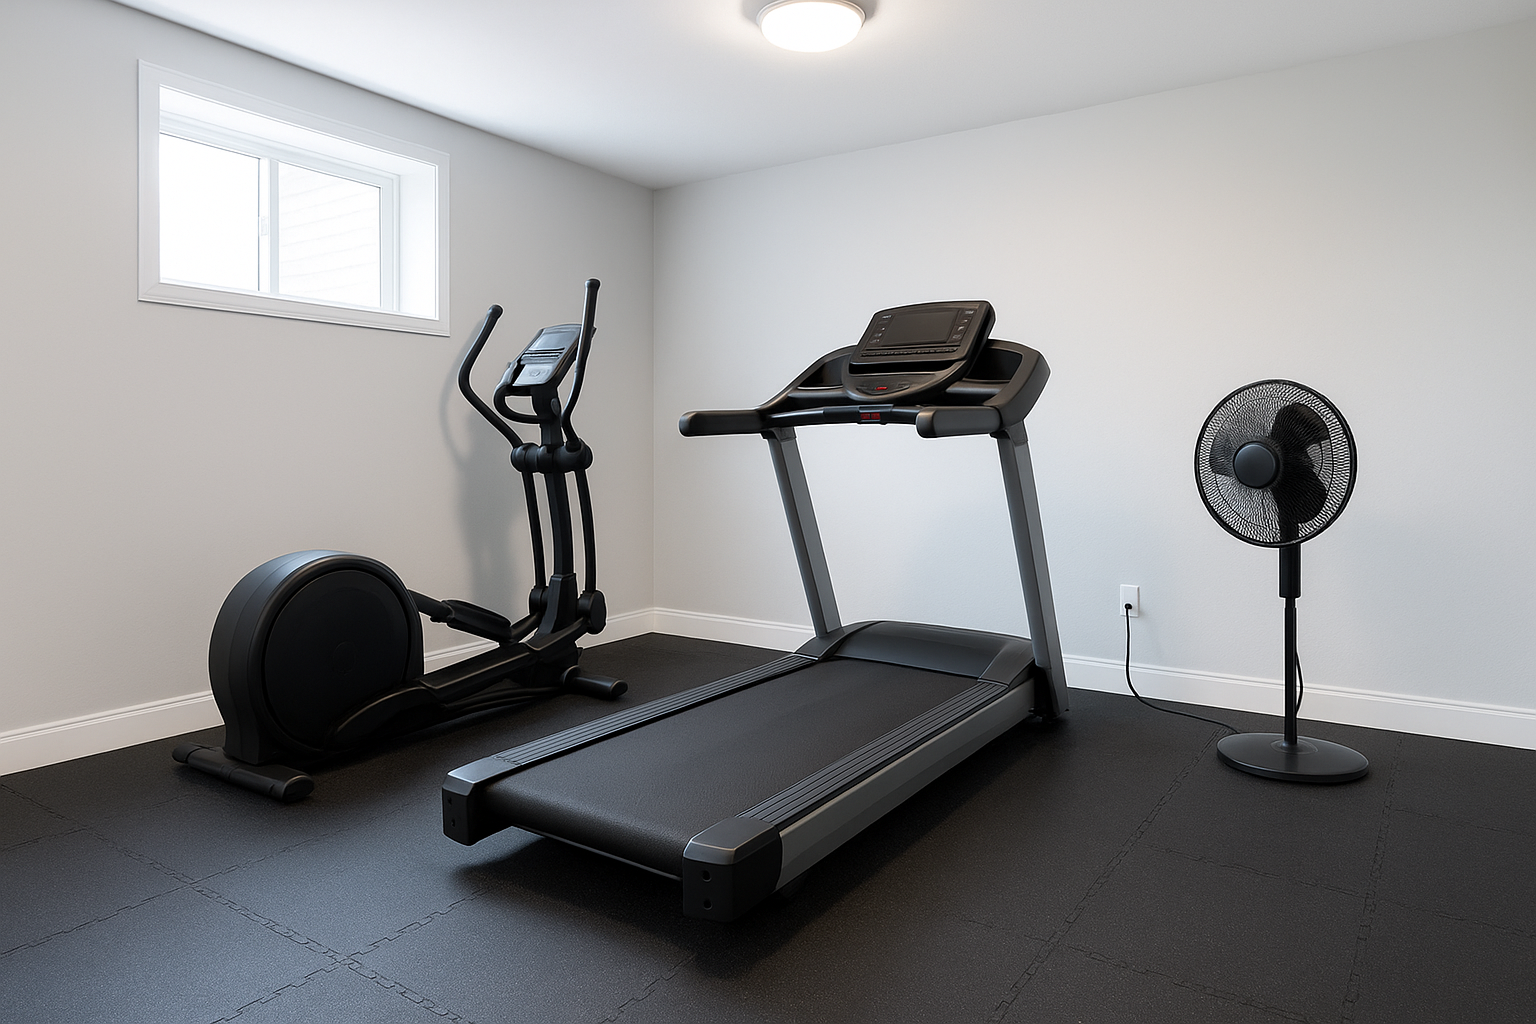
- 3/8-inch tiles: fine for bikes and ellipticals
- 1/2-inch tiles or rolls: better for treadmills and higher-impact use
- Always extend flooring at least 12 inches beyond the equipment’s footprint
Good flooring is cheaper than a repaired floor or a replaced motor.
Get the lighting right
Dim basements and garages kill motivation faster than any piece of equipment can fix. Aim for bright, even overhead lighting, ideally LED fixtures rated for at least 3000 to 4000 lumens per 100 square feet, so you can read a console display and see your form in a mirror if you use one.
Manage temperature and airflow
A closed-off garage or basement room heats up fast once you’re moving. A standing fan or a small window unit keeps the space usable year-round, and it protects electronics on Bluetooth-enabled consoles from heat buildup. If the room has an outlet nearby, that’s one more reason the measuring step earlier pays off.
Step 4. Arrange your gym and set up safety essentials
With flooring, lighting, and climate control sorted, it’s time to actually place the equipment and lock down safety details before your first workout. Arranging your home gym isn’t just about looks, it’s about making sure you can move freely, reach an outlet, and step off a machine without tripping over a cord or a stack of dumbbells.
Position machines for movement, not just space
Give every cardio machine its own clear zone, not just a spot against the wall. Leave the manufacturer’s recommended clearance behind treadmills for safe dismounts, and angle bikes or ellipticals so you’re not staring at a blank wall the whole session. If you’re placing more than one machine in the room, arrange them so you can walk a full loop without squeezing past handlebars or consoles.
Lock down the safety basics
A few small steps here prevent most home gym injuries and equipment damage:
- Anchor or weight down any freestanding shelving near cardio equipment
- Route power cords along walls, never across walking paths
- Install a smoke detector if one isn’t already in the room
- Keep a fire extinguisher rated for electrical fires within reach
- Check that outlets aren’t overloaded, especially with a fan and a Bluetooth-enabled console on the same circuit
A safe layout is the difference between a home gym you use daily and one you avoid after a close call.
Essentials also include the basics people forget, like a wireless heart rate strap charged and ready, a towel hook within reach, and a trash can for wipes. Once the room is arranged and the safety checklist is done, your home gym is functionally finished, and the only thing left is using it consistently.
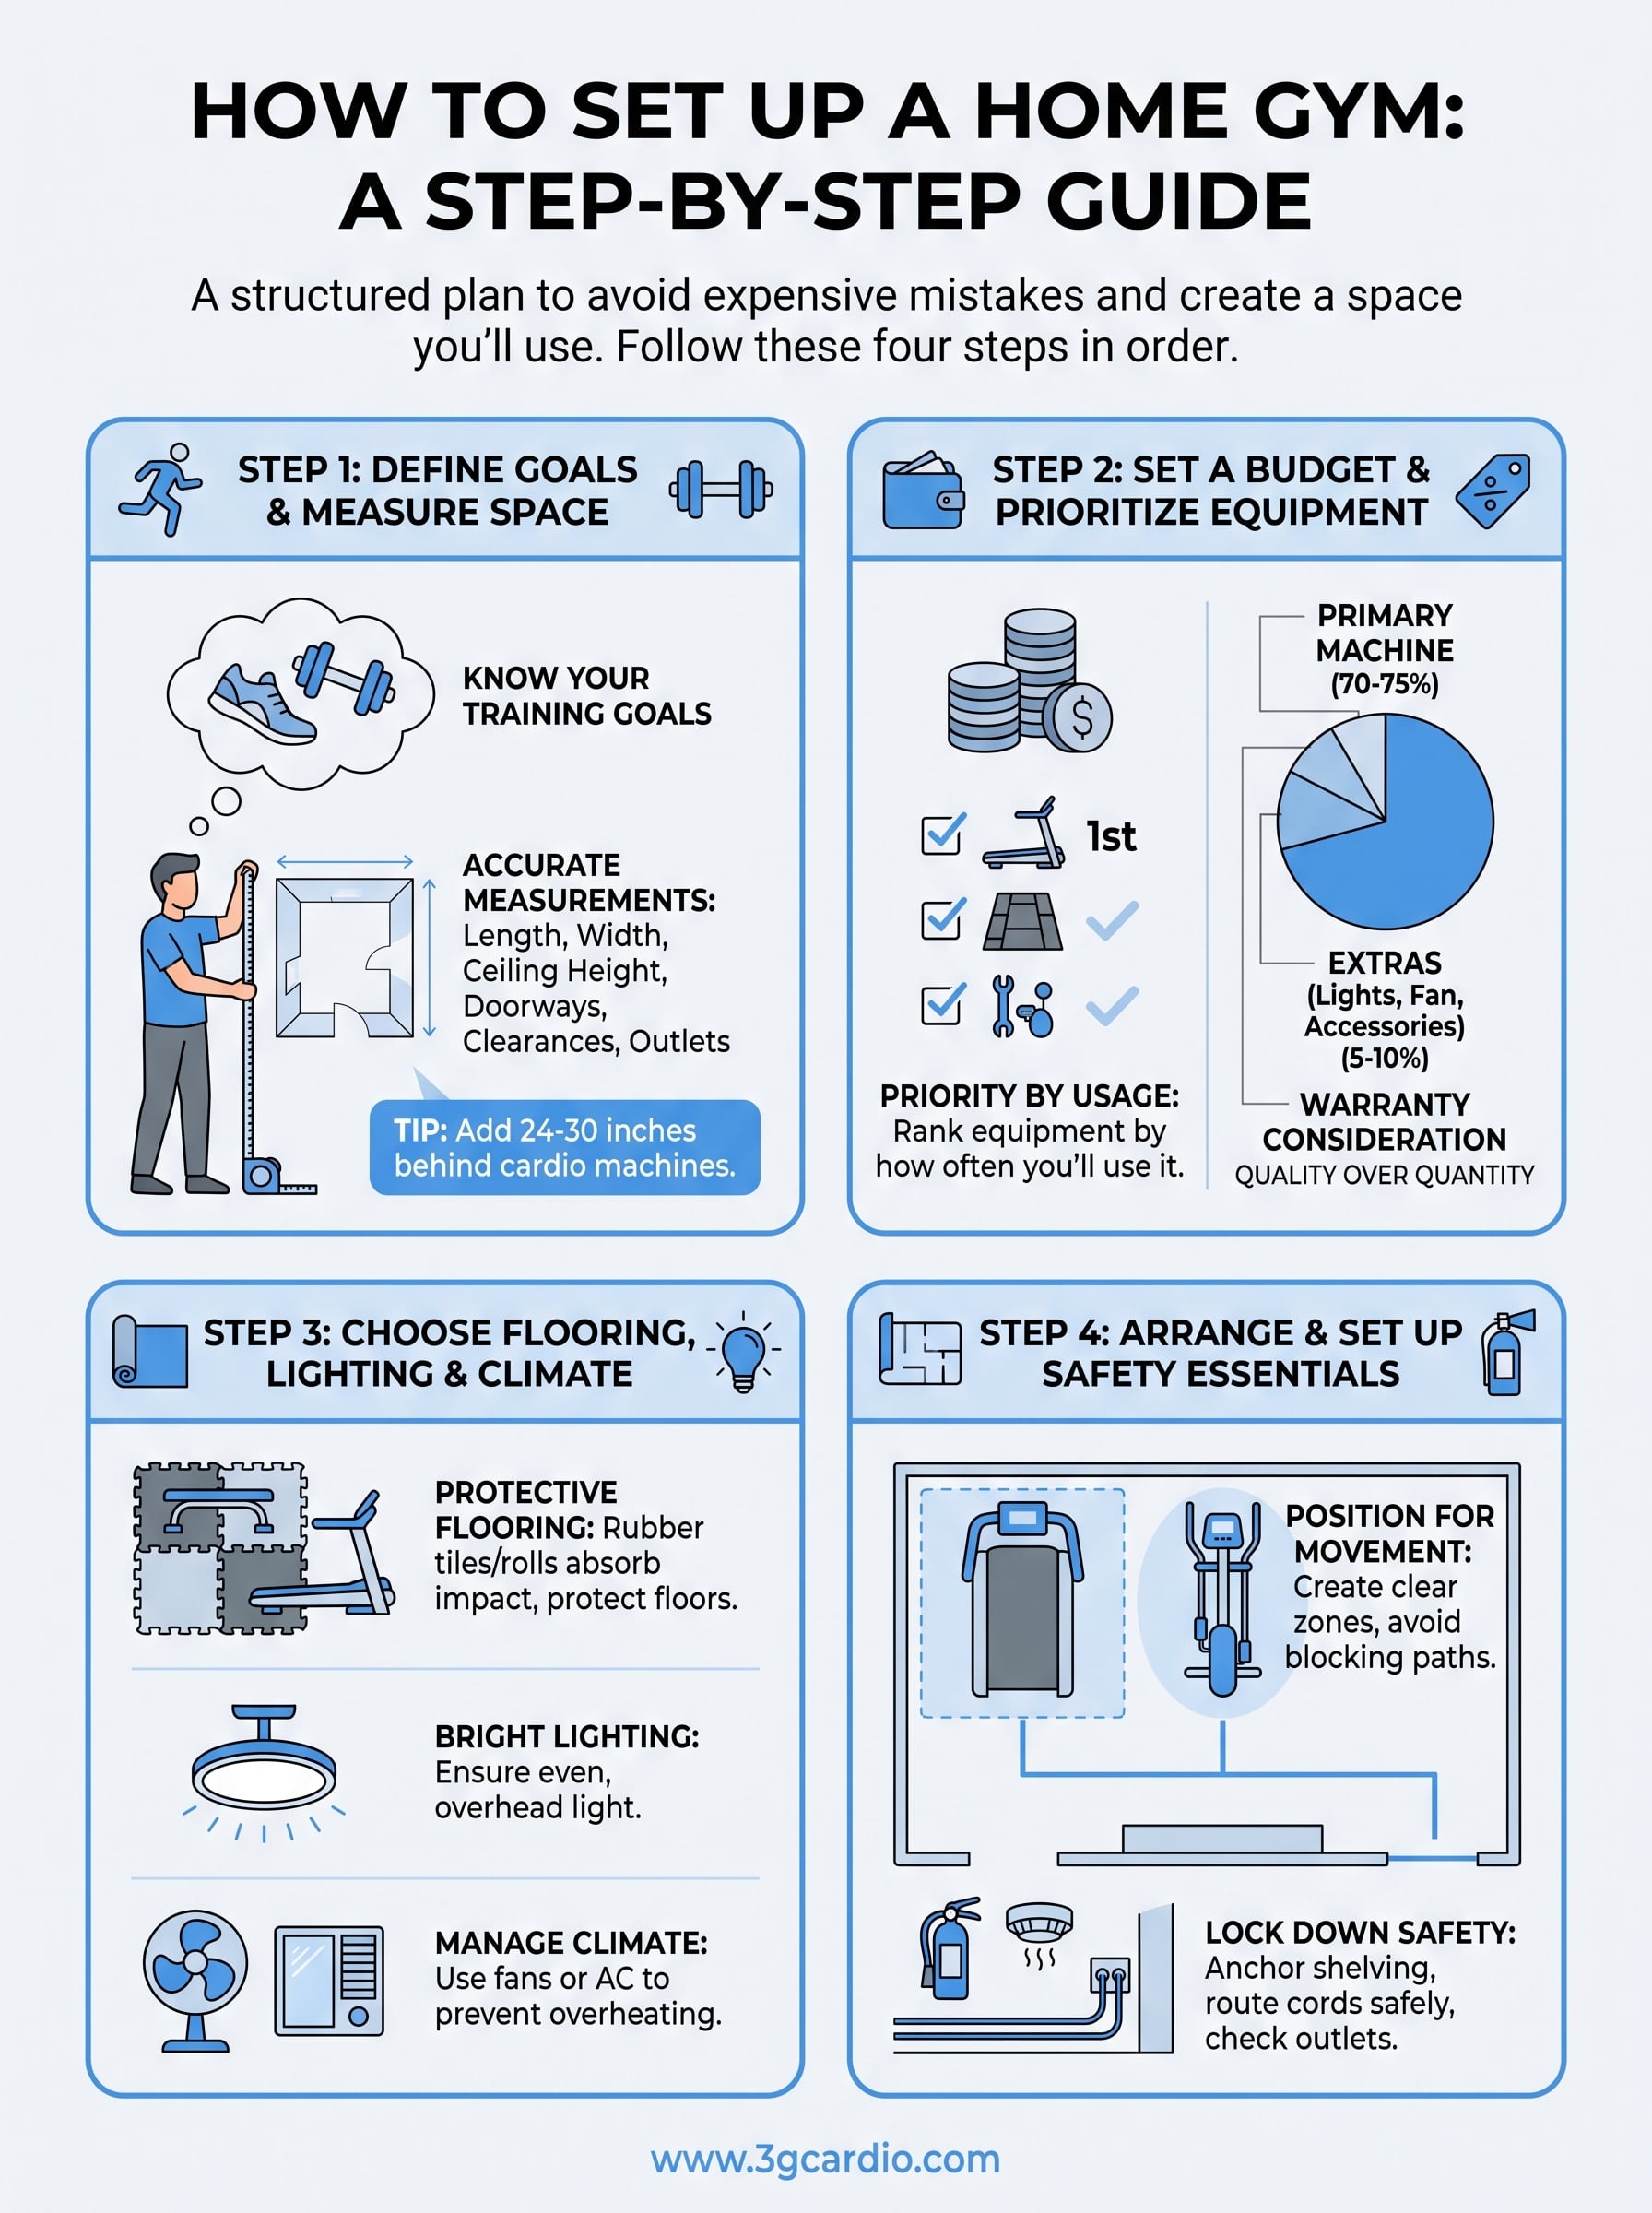
Ready to start your home gym
Setting up a home gym isn’t complicated once you follow the right order. Measure your space first, set a realistic budget, sort out flooring and airflow, then arrange the room around how you’ll actually move. Skip that sequence and you end up with expensive equipment that doesn’t fit the room or your routine. Follow it, and you get a space you’ll use every day instead of a corner you avoid.
Getting the room right is half the job. The other half is choosing equipment built to last, with a real warranty behind it and no forced subscription fees eating into what you already paid for. That’s where the machine you choose matters as much as the plan.
If you’re ready to put real equipment into that plan, take a look at 3G Cardio’s lineup of commercial-grade treadmills, bikes, and ellipticals built for home use at honest prices.




Sorry, the comment form is closed at this time.