

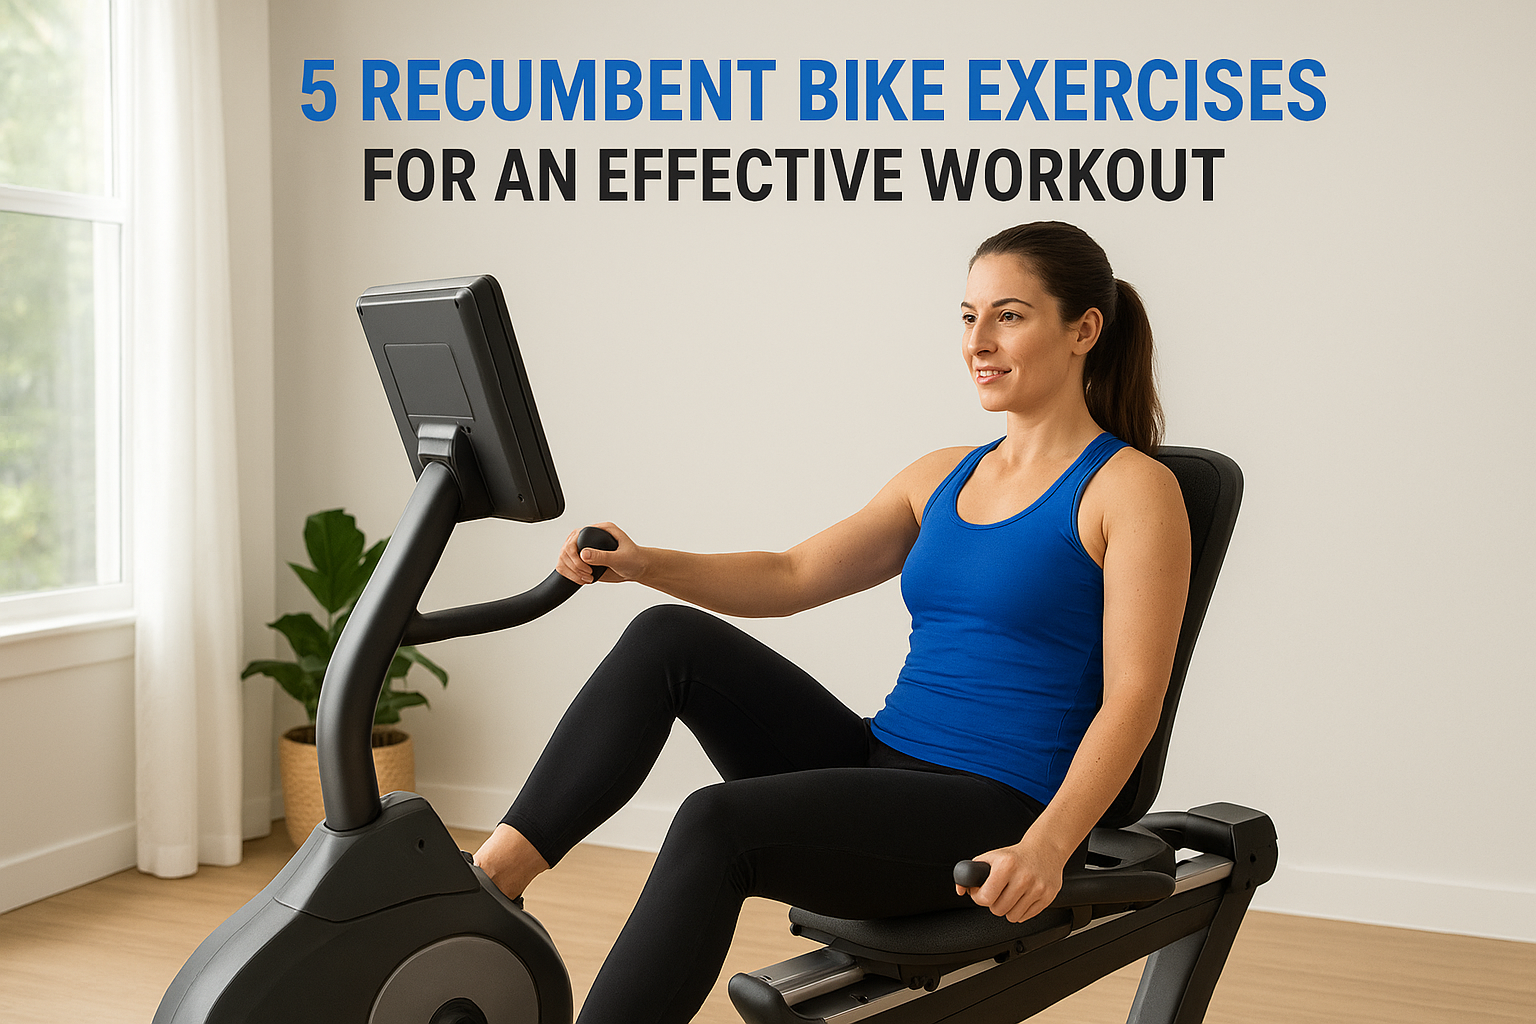
02 Sep 5 Recumbent Bike Exercises for an Effective Workout
You bought a recumbent bike, or you’re thinking about it, and now you’re wondering what to actually do on the thing besides pedal at the same easy pace for twenty minutes. That’s the most common mistake with recumbent bike exercise: treating it like a passive activity instead of a real training tool. Done right, this machine builds cardiovascular fitness, strengthens your legs, and protects your joints at the same time.
This article answers the practical question of how to structure your time on the bike so it produces results. You’ll get five specific recumbent bike exercises you can start using today, covering everything from steady-state rides to interval work that raises your heart rate without pounding your knees. Each one targets a different goal, whether that’s endurance, leg strength, or calorie burn.
If you’re chasing a recumbent bike workout for weight loss, or you’re just starting out and want a low-impact way to get moving, these routines give you a clear plan instead of guesswork. We’ll break down form, resistance settings, and timing so you get the most from every session, no matter which recumbent bike you’re riding.
1. Steady-state endurance ride
Steady-state riding is the foundation of any recumbent bike exercise plan. You pedal at a consistent, moderate pace for an extended period without stopping, letting your heart rate settle into a stable zone and stay there. This is the ride that builds your aerobic base, the engine that makes every other workout on this list easier over time.
How to do it
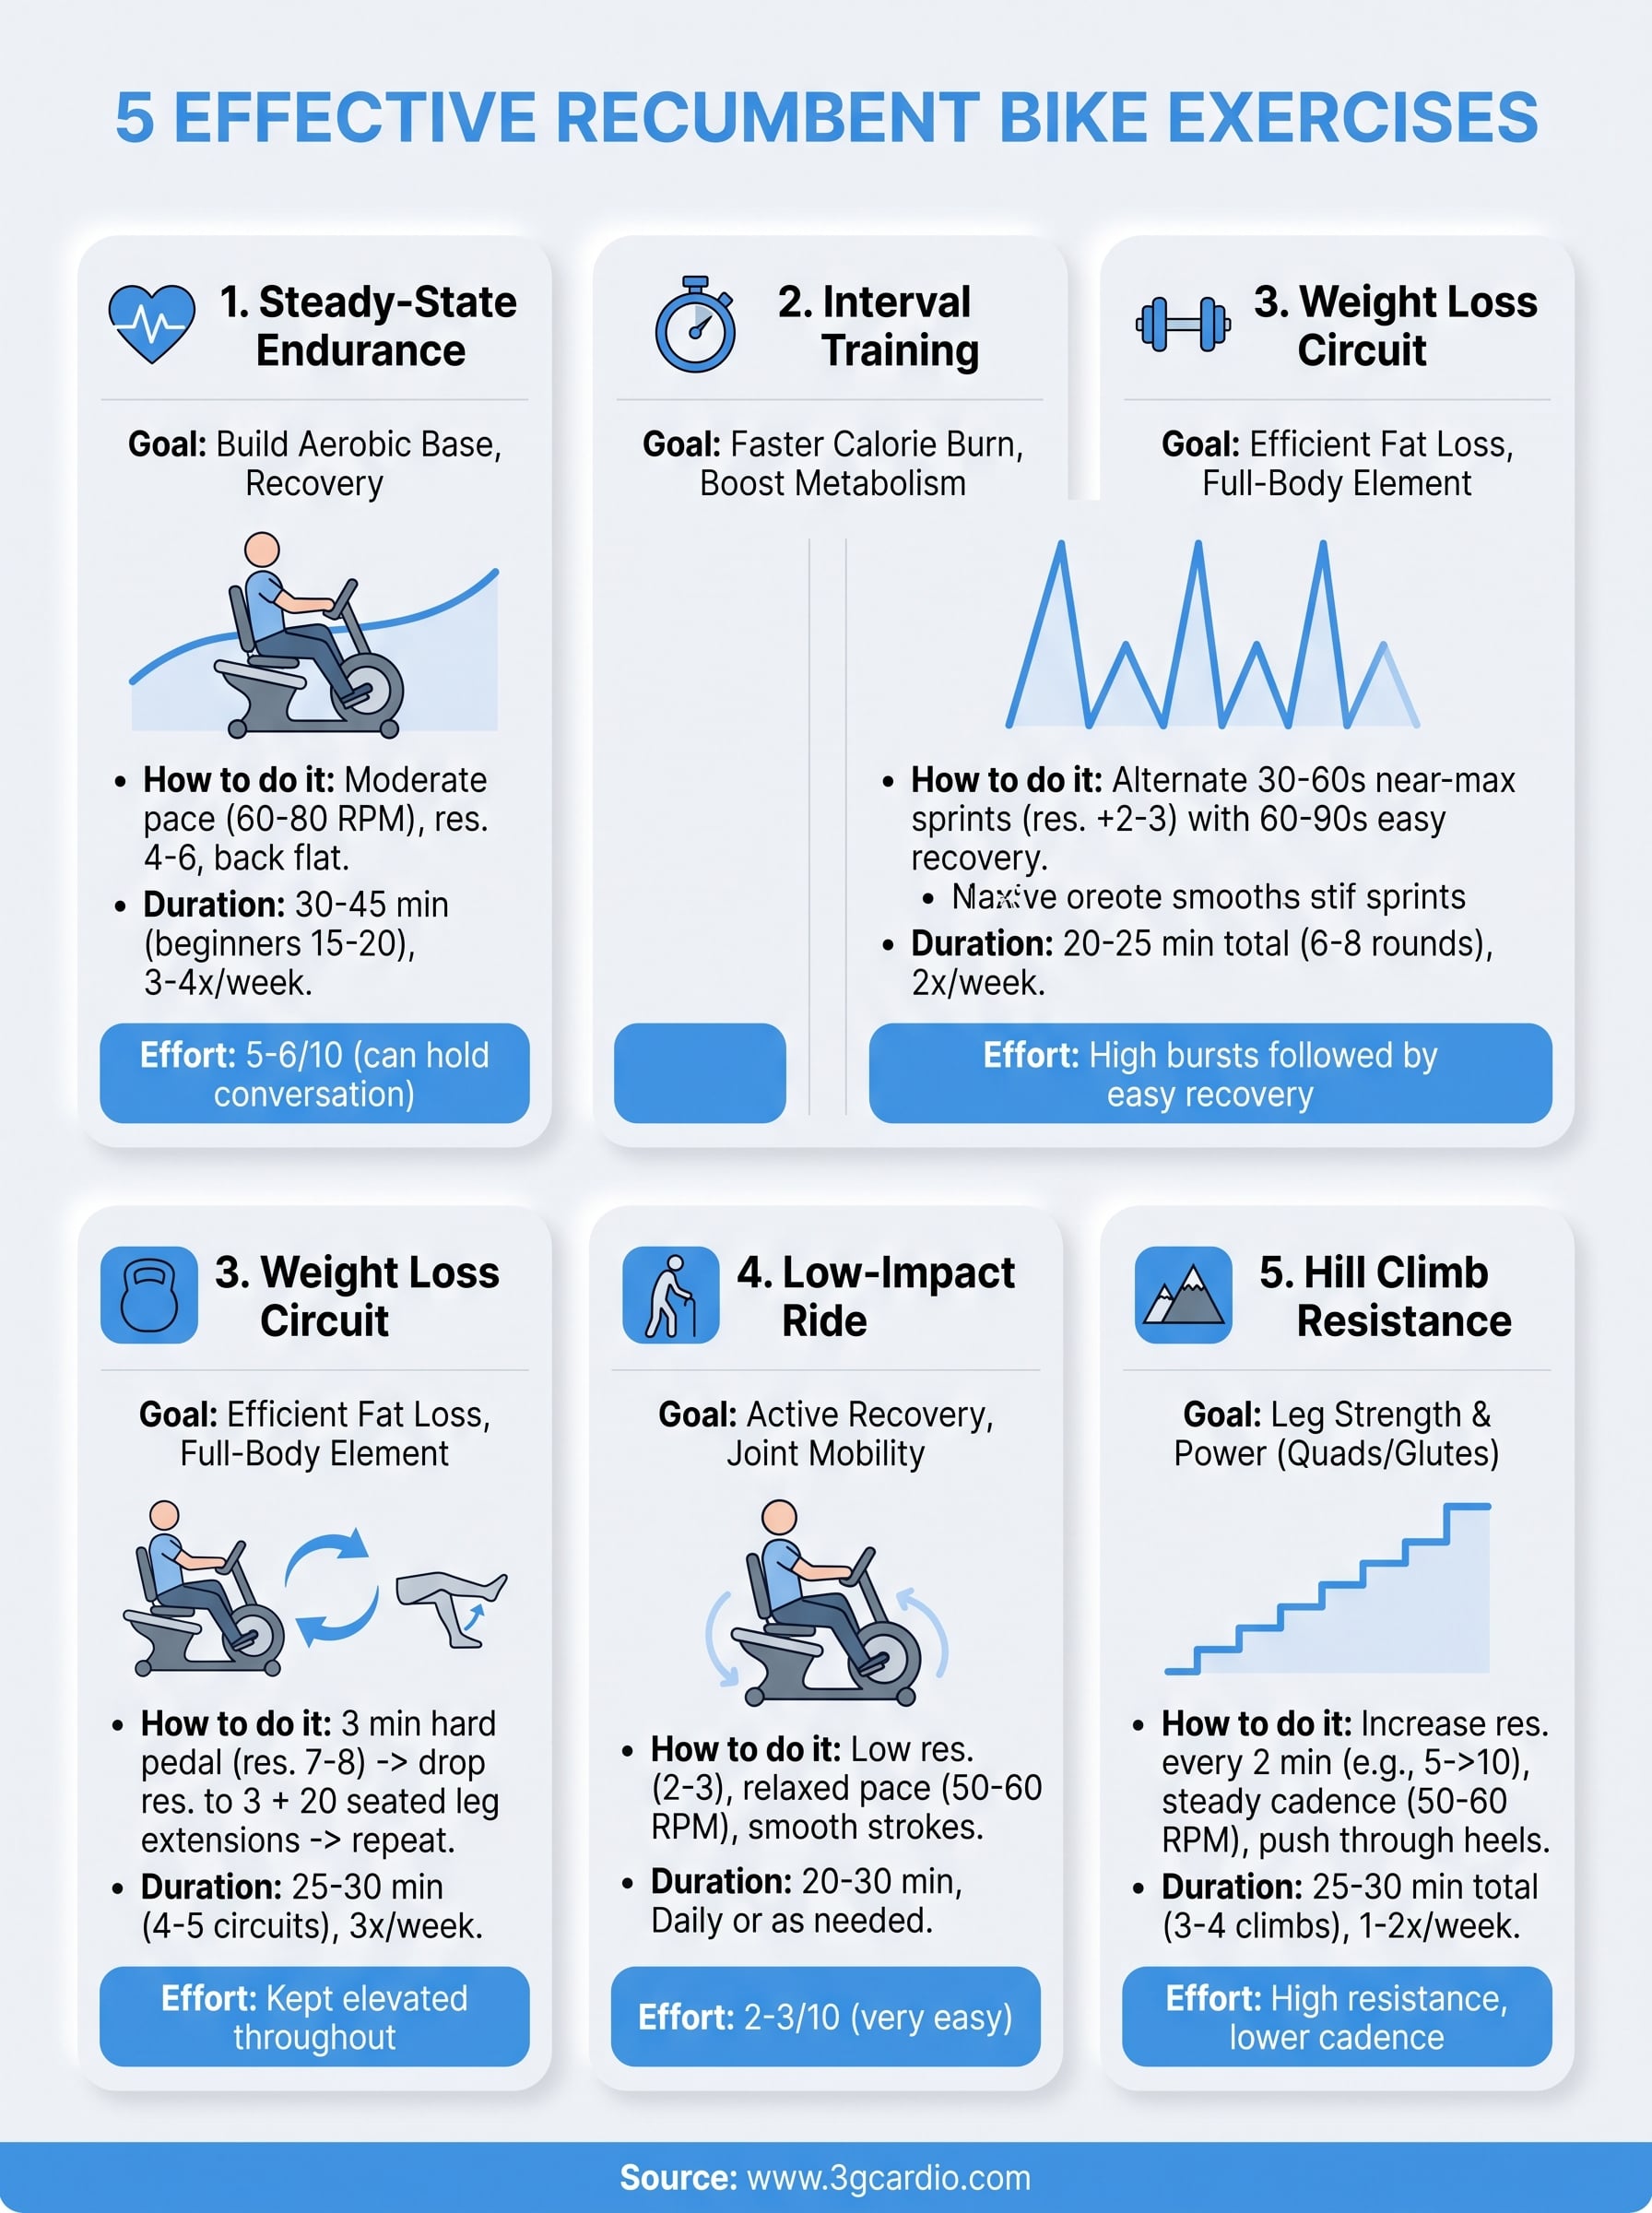
Set the resistance level somewhere between 4 and 6 on most consoles, enough to feel real pushback in your legs without forcing you to strain. Pedal at a cadence you could sustain while carrying on a conversation, roughly 60 to 80 RPM. Keep your back flat against the seat and your hands relaxed on the grips or side handles instead of gripping tight, since tension in your shoulders wastes energy you’d rather send to your legs.
Steady-state riding trains your heart to work efficiently at a pace you can hold, not just survive.
Who it’s for
This workout suits beginners building their first fitness habit, as well as experienced exercisers who want a reliable recovery day between harder sessions. It’s also the right starting point if you’re returning to exercise after time off, since it lets you gauge your current fitness without overreaching. On a model like the Elite RB X, one of the most adjustable exercise bikes you can buy, the adjustable seat and 25 resistance levels make it easy to dial in a pace that matches wherever you’re starting from.
Duration and intensity
Aim for 30 to 45 minutes at 60 to 70 percent of your estimated max heart rate, which usually feels like a 5 or 6 on a 10-point effort scale, and adjust from there once you know the ideal cardio duration for your goal. Beginners can start with 15 to 20 minutes and add five minutes each week as their endurance builds. Three to four sessions a week at this pace, combined with the built-in heart rate monitoring most recumbent bikes offer, gives you a dependable way to track real progress instead of guessing.
2. Interval training for faster calorie burn
Interval training alternates short bursts of hard effort with easier recovery periods, and it’s one of the most efficient recumbent bike exercises for burning calories in less time. Your body keeps consuming extra oxygen for hours after a hard interval session, a phenomenon that steady-state riding simply doesn’t trigger.
How to do it
As with interval training on an upright exercise bike, pedal at a warm-up pace for five minutes, then push the resistance up two or three levels and sprint at near-maximum effort for 30 to 60 seconds. Drop the resistance back down and recover at an easy pace for 60 to 90 seconds before repeating. Keep your grip loose and your torso stable in the seat so the power comes from your legs, not from rocking against the frame.
Short bursts of hard effort do more for your metabolism than an hour of easy pedaling.
Who it’s for
Riders with a baseline of cardiovascular fitness get the most from this workout, since it demands more from your heart and legs than a casual ride. Anyone chasing a recumbent bike workout for weight loss should add this session once they’ve built a few weeks of steady-state riding first.
Duration and intensity
Run six to eight rounds of work and recovery, totaling 20 to 25 minutes including warm-up and cool-down. Twice a week is plenty given the effort involved.
3. Weight loss circuit workout
A circuit workout on the recumbent bike combines resistance changes with brief strength moves you do right in the seat, keeping your heart rate elevated the entire session instead of letting it dip during rest. This structure makes it one of the more efficient recumbent bike exercises for anyone building a recumbent bike workout for weight loss around a busy schedule, and it slots neatly into a broader plan of home cardio workouts for weight loss.
How to do it
Pedal hard for three minutes at resistance level 7 or 8, then drop to level 3 and add 20 seated leg extensions before returning to the harder pace. Repeat this pattern for the full session, treating each resistance change like a new station in a gym circuit. Keep your core engaged during the extensions so your lower back stays supported against the seat.
Circuits work because they never give your heart rate a real chance to fall.
Who it’s for
This session fits people who get bored with straight cardio and want variety baked into every workout. It also suits anyone with limited time who still wants a full-body element added to their ride, which is where the cardio versus strength training question for weight loss stops being either-or.
Duration and intensity
Build four to five circuits into a 25 to 30 minute session, done three times weekly for steady fat-loss progress.
4. Low-impact ride for seniors and recovery
Some days call for movement that doesn’t tax your joints or push your heart rate into the red, and this ride fills that need. It’s built for active recovery between harder training days, or as a standing routine for anyone who needs gentler cardio long term.
How to do it
Keep resistance low, around level 2 or 3, and pedal at a relaxed cadence of 50 to 60 RPM. Focus on smooth, circular pedal strokes rather than pushing hard through the downstroke, since the goal here is blood flow and joint mobility, not exertion. Sit back fully into the seat and let the recumbent bike’s seat support take the strain off your lower back, which is exactly why this design, paired with the most comfortable exercise bike seat you can find, suits recovery work better than an upright bike or treadmill.
Recovery rides aren’t wasted time, they’re what lets your next hard workout actually happen.
Who it’s for
This workout suits older adults, especially on a recumbent bike built for senior citizens, along with anyone managing joint pain or arthritis, and people recovering from injury or surgery who’ve been cleared for light cardio. It also works for experienced exercisers who need a true easy day without skipping movement entirely.
Duration and intensity
Aim for 20 to 30 minutes at an effort level of 2 or 3 out of 10, low enough that you could hold a full conversation without pausing. This can be done daily if your body responds well, since the low intensity leaves little to recover from.
5. Hill climb resistance challenge
The hill climb builds leg strength the way flat riding never can, forcing your quads and glutes to push through sustained resistance instead of just spinning. This is the recumbent bike exercise that turns your ride into strength training without ever leaving the seat.
How to do it
Raise the resistance every two minutes, moving from level 5 up toward 9 or 10 in steady increments, simulating a climb that gets steeper as you go. Keep your cadence steady at 50 to 60 RPM even as resistance climbs, pushing through your heels rather than your toes to recruit more of your posterior chain. Once you hit the peak resistance, hold it for a minute before dropping back down to a moderate level and starting the climb again.
Building strength on a recumbent bike comes from resistance, not speed.
Who it’s for
This workout suits riders who already have a few weeks of steady-state and interval training behind them and want a session focused on leg power. It’s also useful for anyone using their bike as a substitute for squats or leg presses, since a model like the Elite RB X offers enough resistance range to genuinely challenge trained legs.
Duration and intensity
Plan for three to four climbs per session, totaling 25 to 30 minutes, once or twice weekly.
Building your recumbent bike routine
Five workouts give you more than enough to build a real week of training. Rotate steady-state rides for your base, drop in intervals or the circuit workout when you want faster results, and use the low-impact ride whenever your body needs a break. Structure beats randomness every time, so pick two or three of these recumbent bike exercises and repeat them on a set schedule instead of freestyling each session, much like a simple weekly cardio plan for beginners does.
Getting these results depends on the equipment under you as much as the plan you follow. A bike with a wide resistance range, a supportive seat, and reliable heart rate tracking makes every workout on this list easier to execute correctly. If your current setup is holding you back, take a look at the Elite RB X, the most comfortable recumbent bike you’ll ever ride, built with the resistance levels, seat comfort, and console features these routines call for.




No Comments