

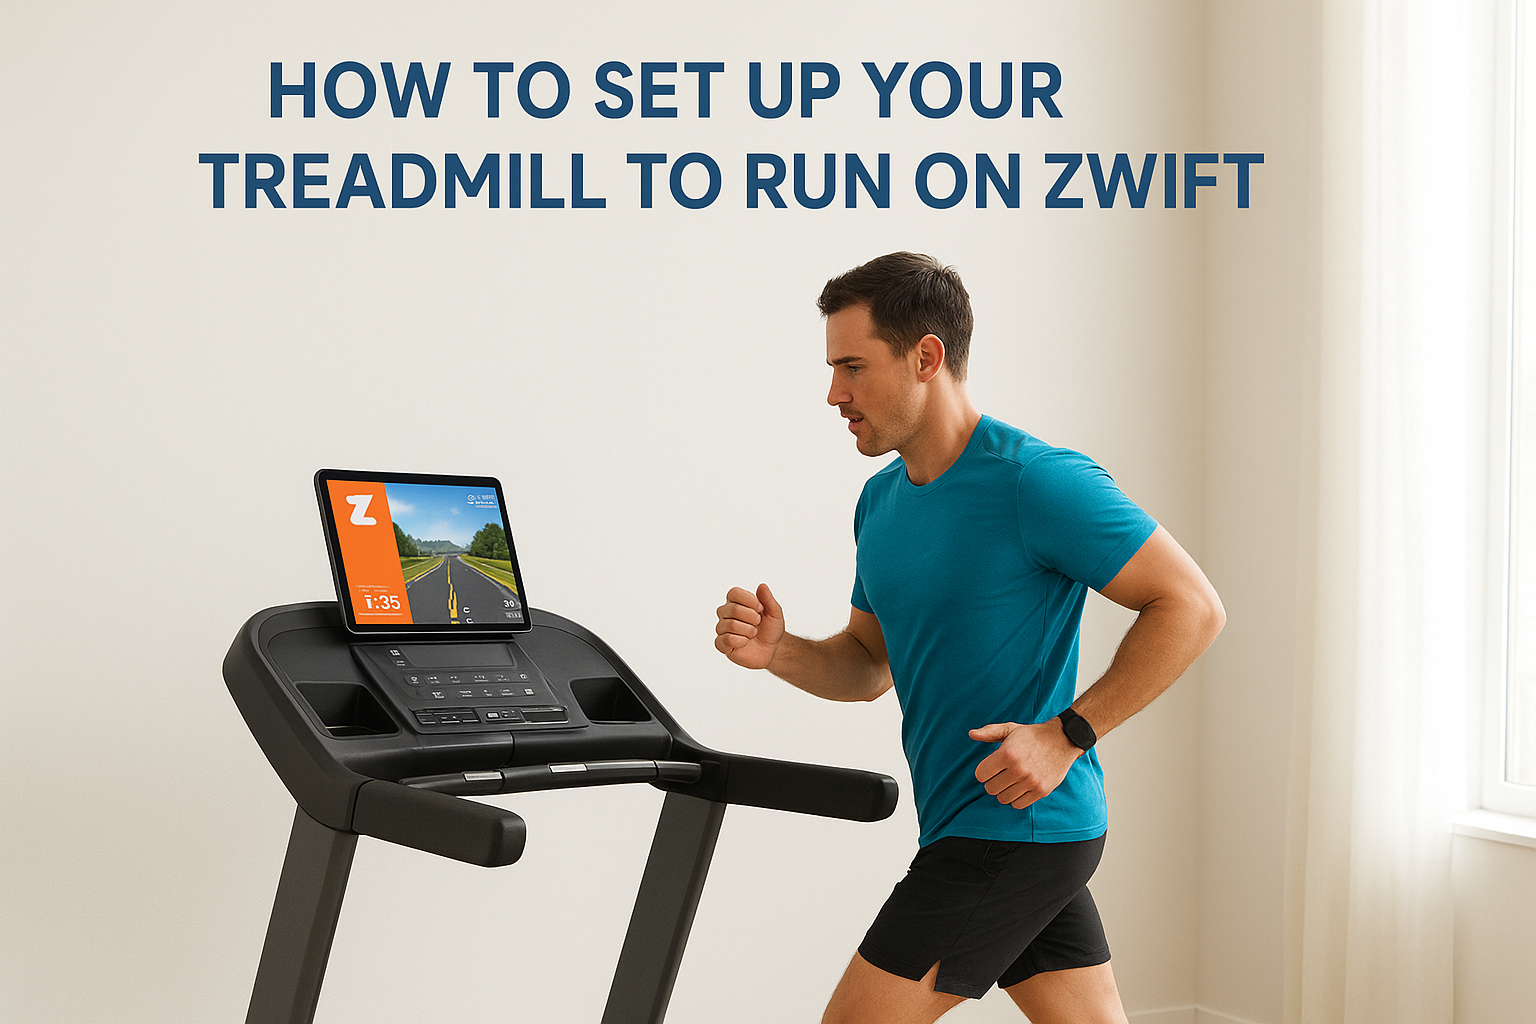
08 Aug How to Set Up Your Treadmill to Run on Zwift
You bought a zwift treadmill setup, or you’re trying to turn the treadmill you already own into one, and now you’re stuck staring at an app that won’t recognize your machine. That’s a common wall. Zwift wasn’t built with treadmills in mind the way it was built for bike trainers, so the connection process trips up a lot of runners who just want to see their avatar move when they do.
Here’s the direct answer: your treadmill needs either a Bluetooth FTMS connection or a footpod like Stryd, and you need to pair it correctly inside Zwift’s run menu, not the ride menu. Get that pairing right and Zwift will track your pace and distance in real time, no guesswork required.
This guide walks through exactly how to connect your treadmill to Zwift, step by step, including what to do when your console won’t show up on the pairing screen. We’ll also cover which treadmills handle this best. Machines with FreeSync FTMS Bluetooth, like the ones we build at 3G Cardio, connect directly without extra sensors or subscription workarounds, so you can focus on running instead of troubleshooting.」
What you need before you start
Before you touch the pairing screen, get your gear sorted. Running on Zwift depends on three things working together: a compatible treadmill or sensor, a device to run the app on, and a stable Bluetooth or ANT+ connection between them. Skip any one of these and you’ll end up staring at a blank pairing list wondering why your zwift treadmill setup won’t sync.
Your gear checklist
Grab these items before you start the actual setup process:
- A treadmill with Bluetooth FTMS support, or a footpod like Stryd if your treadmill lacks smart connectivity
- A tablet, phone, laptop, or Apple TV to run the Zwift app
- A Zwift account (free trial available, then a monthly subscription)
- A heart rate strap, optional but useful for accurate calorie and effort tracking
- A stable internet connection for your streaming device, not the treadmill itself
If your treadmill talks Bluetooth FTMS, you don’t need a footpod at all, Zwift reads your speed straight from the console.
Software and account requirements
Zwift’s app needs to run on something with enough processing power to render the graphics, so check the minimum specs on Zwift’s own system requirements page before you download anything. An older tablet that struggles with video will struggle here too, and that lag can throw off your pacing feedback mid-run.
Once your device is confirmed, create your Zwift account and log in on the device you’ll actually use during your run. Don’t set it up on your laptop if you plan to run with your phone propped on the console. The pairing has to happen on the device that’s active during the workout, not wherever you first signed up.
Step 1. Check your treadmill’s Zwift compatibility
Start by figuring out whether your treadmill speaks Bluetooth FTMS, the protocol Zwift uses to read speed and incline directly from a console. Look through your treadmill’s manual or spec sheet for the terms FTMS or Bluetooth Smart connectivity. Machines built with FreeSync FTMS, like 3G Cardio’s Elite Runner X, broadcast this signal automatically, so Zwift picks up pace without any extra hardware.
A treadmill without FTMS isn’t dead in the water, it just needs a middleman sensor to talk to Zwift.
Older consoles or budget treadmills usually skip this feature entirely, which means Zwift has no way to read your speed on its own.
Quick compatibility check
Run through this list before moving forward:
- Check the console display for a Bluetooth icon or FTMS label
- Search your treadmill model number plus "FTMS" online for confirmation
- Test pairing inside Zwift’s run pairing screen, if your treadmill shows up, you’re done
- If nothing appears, plan on adding a footpod
Once you know where your machine stands, you’ll know exactly what gear to add next.
Step 2. Get a speed sensor or foot pod if needed
If your treadmill doesn’t broadcast FTMS, don’t panic. A footpod sensor like Stryd or the Zwift RunPod clips onto your shoe and measures your stride, sending pace data straight to Zwift over Bluetooth or ANT+. This workaround has been standard for years, and it works reliably even on old, dumb treadmills that only show speed on an LCD screen.
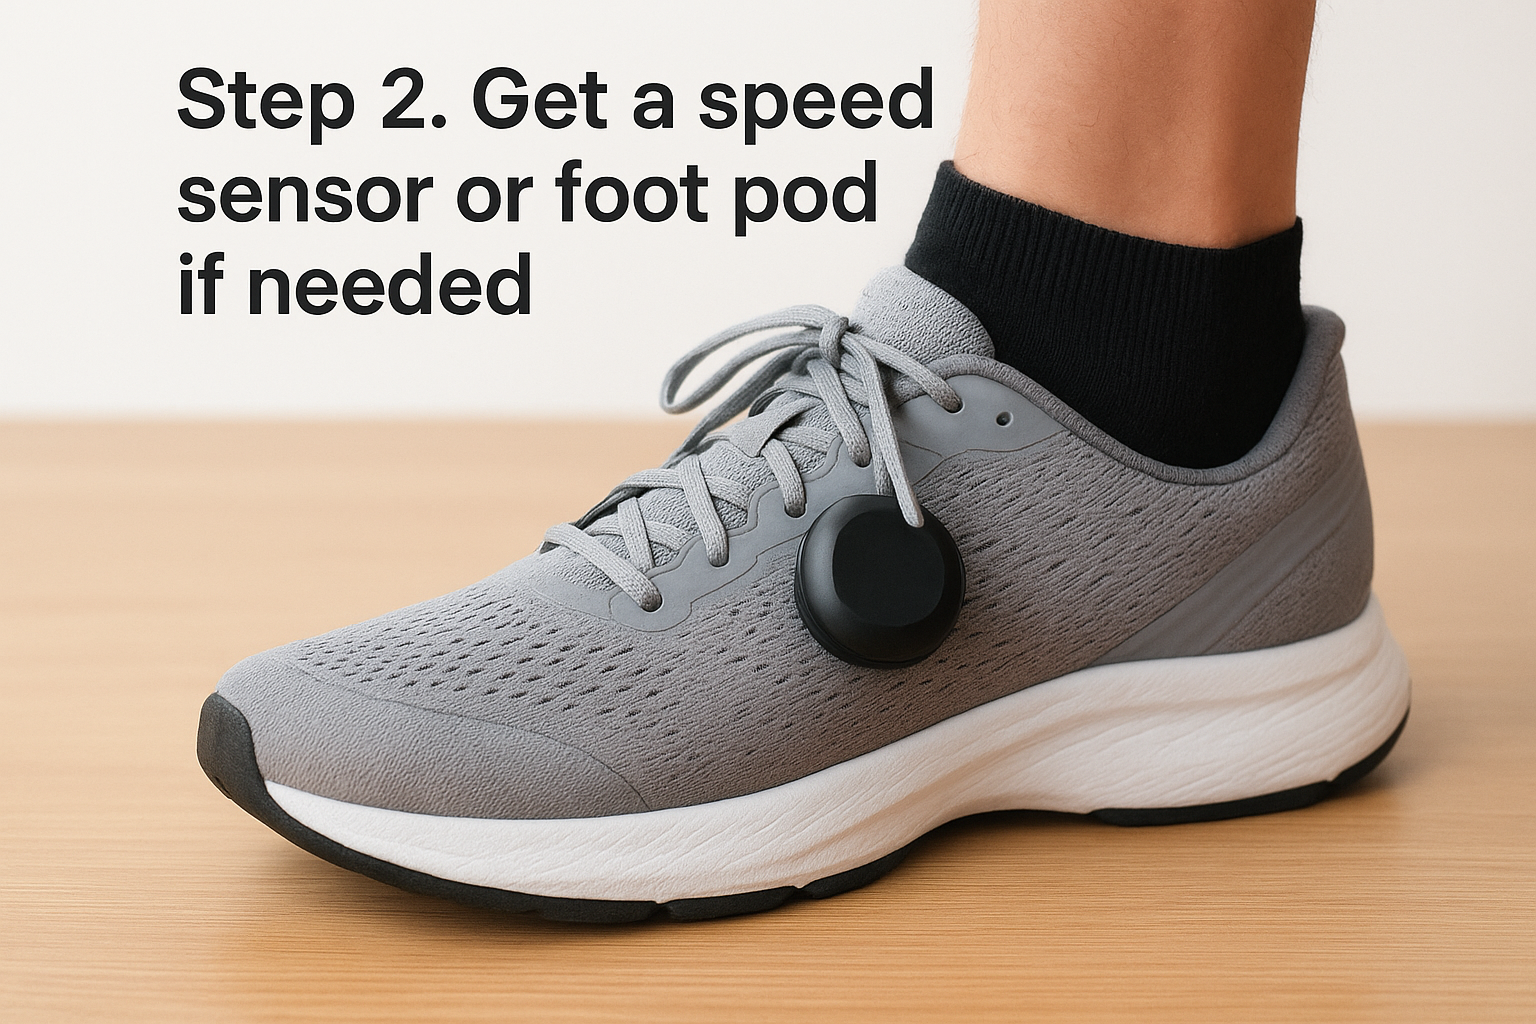
A ten-dollar footpod can turn a decade-old treadmill into a Zwift-ready machine, no console upgrade required.
Before buying one, confirm what connection type your streaming device supports. Phones and tablets typically read Bluetooth only, while some laptops and dedicated Zwift setups also handle ANT+ sensors through a USB dongle.
Choosing between footpod options
- Stryd: accurate, pricier, doubles as a running power meter
- Zwift RunPod: budget-friendly, built specifically for Zwift pairing
- Generic Bluetooth footpods: work fine but calibration can drift over time
Clip the footpod to your laces, not your ankle, for the most consistent readings. Once it’s attached and charged, you’re ready to move into the Zwift app itself and get your device paired for the run.
Step 3. Download Zwift and choose your device
Open the app store on your phone, tablet, or Apple TV and search for Zwift, then install it and log into the account you created earlier. Zwift runs on iOS, Android, Windows, macOS, and Apple TV, so pick whichever screen you’ll actually watch during your run, not just the one that’s easiest to set up.
Select "Run" from Zwift’s home screen right after logging in, since the ride mode uses a completely different pairing menu built for bike trainers. Choosing the wrong mode is the single most common reason a treadmill zwift connection fails before it even starts.
Matching your device to your setup
Think about where your screen will physically sit while you run:
- Tablet or phone: mount it on your treadmill’s accessory shelf or handlebar clamp
- Apple TV: connect to a TV or monitor positioned at eye level
- Laptop: place it on a stand, angled so the screen stays visible without craning your neck
Pick your run screen before you pair anything, switching devices mid-setup means starting the pairing process over.
Once your device is confirmed and positioned, you’re ready to pair your sensor.
Step 4. Pair your sensor and calibrate your treadmill
Open the pairing screen inside Zwift’s run mode and wait for your device list to populate. Your treadmill’s FTMS signal or footpod should appear within a few seconds, labeled by its Bluetooth name rather than a brand name, so don’t panic if it just says something like "FTMS-4829." Tap it to connect, then check for a green checkmark confirming the link.
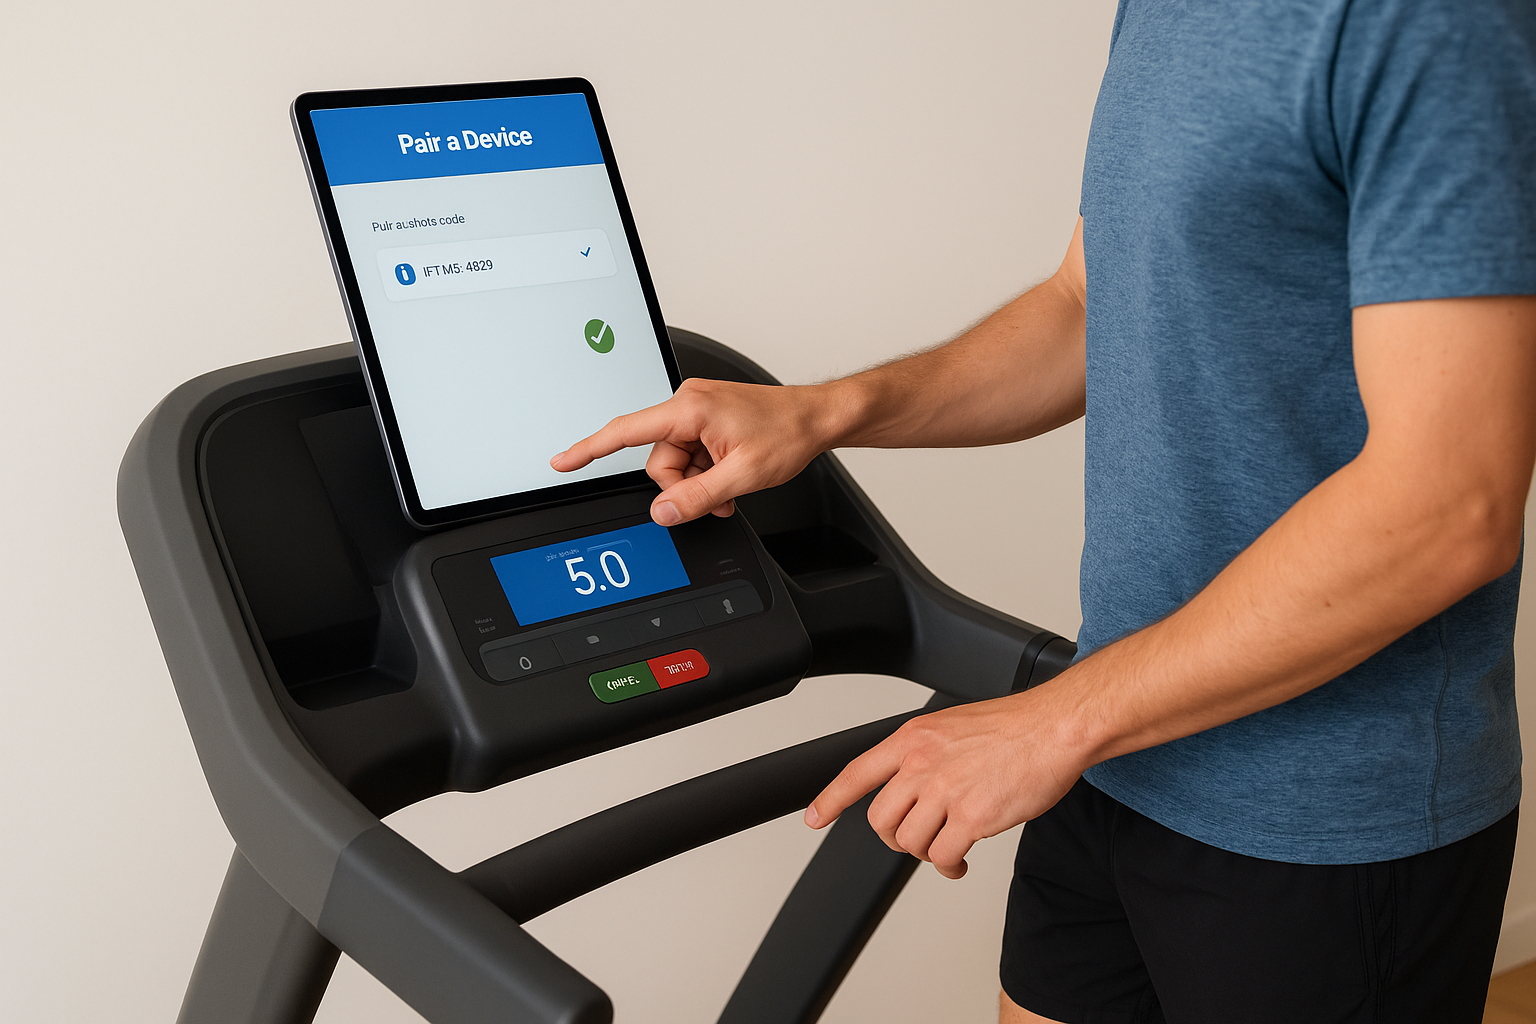
Confirming the connection
Run through this list once you’ve selected your device:
- Confirm speed pairs first, since Zwift needs this to move your avatar
- Pair a heart rate strap separately if you’re using one
- Watch the on-screen data fields update as you start walking
If your avatar isn’t moving, your treadmill isn’t paired, no matter what the screen claims.
Calibrating for accurate pace
Calibration matters more than most runners expect. Set your treadmill to a steady 5.0 mph and compare that number against what Zwift displays on screen. Adjust the calibration factor in Zwift’s settings menu if the numbers don’t match, since a miscalibrated zwift treadmill connection throws off pacing, segment times, and group run matching for your entire session.
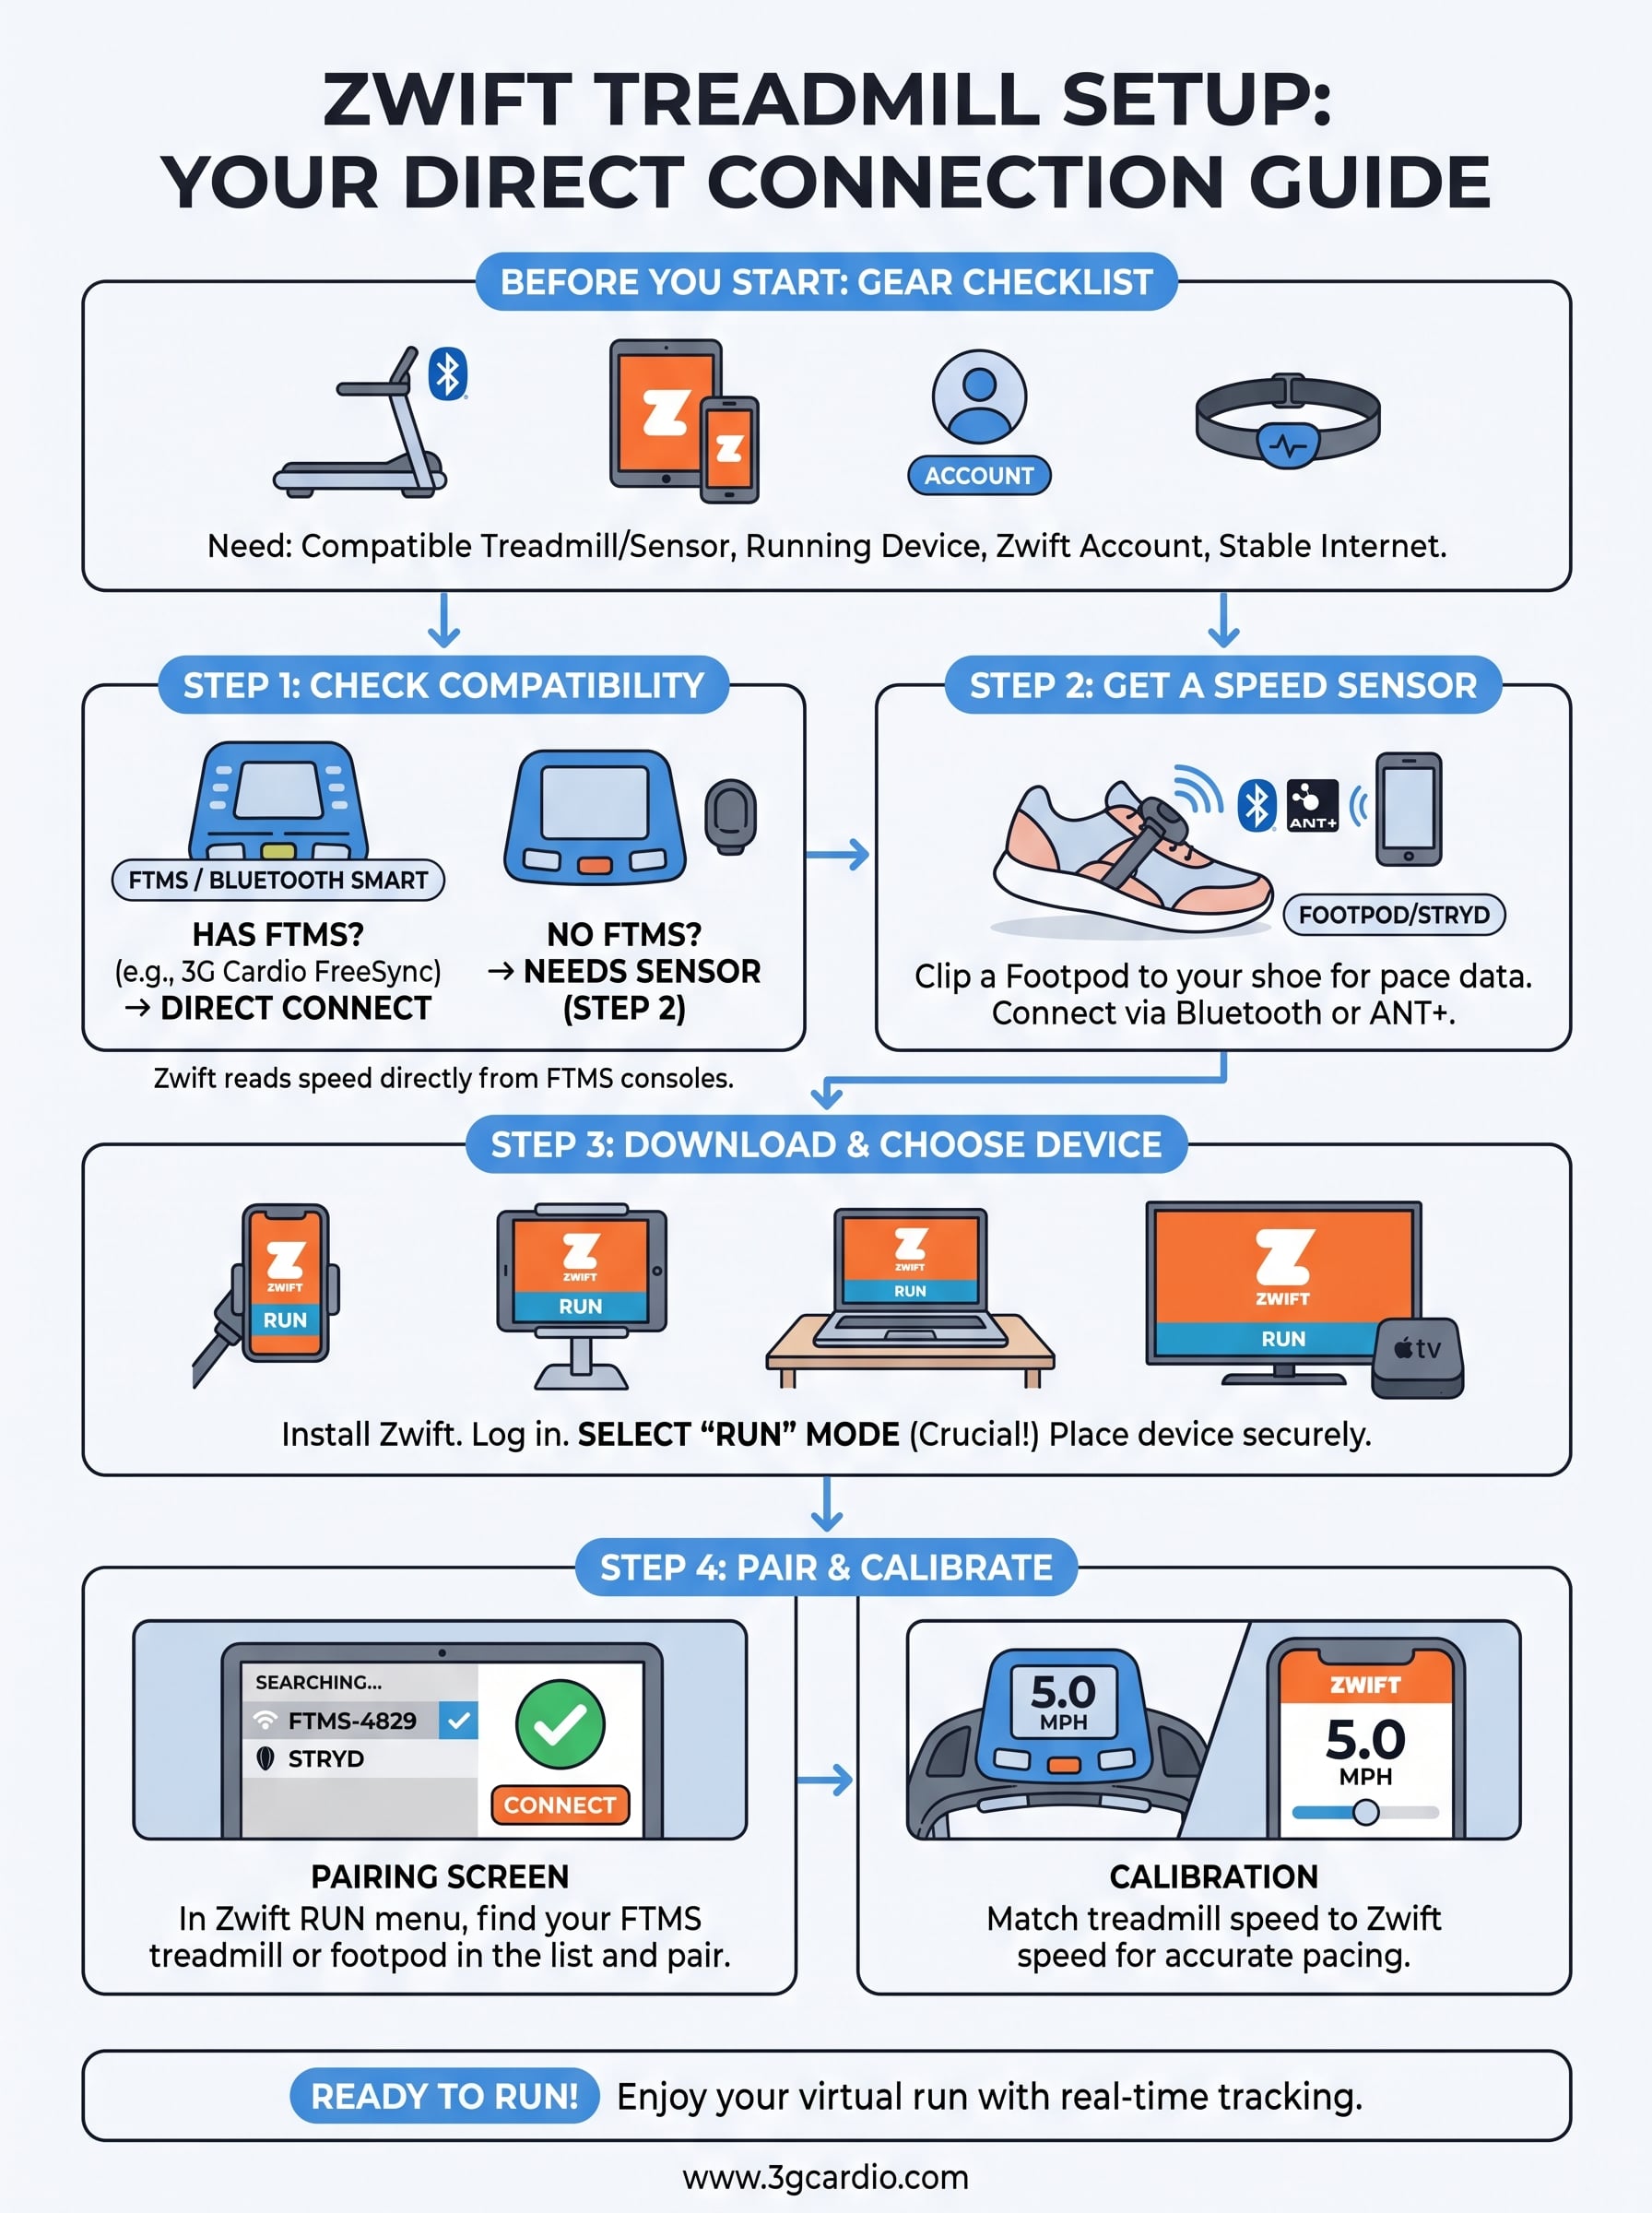
Ready for your first virtual run
Getting your zwift treadmill connection right comes down to four things: confirm your treadmill’s FTMS status, add a footpod if it’s missing, pick the right device and run mode, then pair and calibrate carefully. Skip the guesswork and you’ll spend your time actually running instead of fighting Bluetooth menus.
None of this hassle exists if your treadmill already broadcasts FTMS cleanly from the start. That’s the entire point behind FreeSync FTMS Bluetooth, built into every 3G Cardio treadmill so Zwift, Kinomap, or any FTMS app finds your machine instantly, no footpod, no subscription, no fiddling with calibration factors mid-run.
If your current treadmill keeps dropping the connection or simply won’t show up on the pairing screen, it might be time for hardware that was built for this from day one. Browse the full FreeSync lineup and see which model fits your training space and goals.

No Comments