

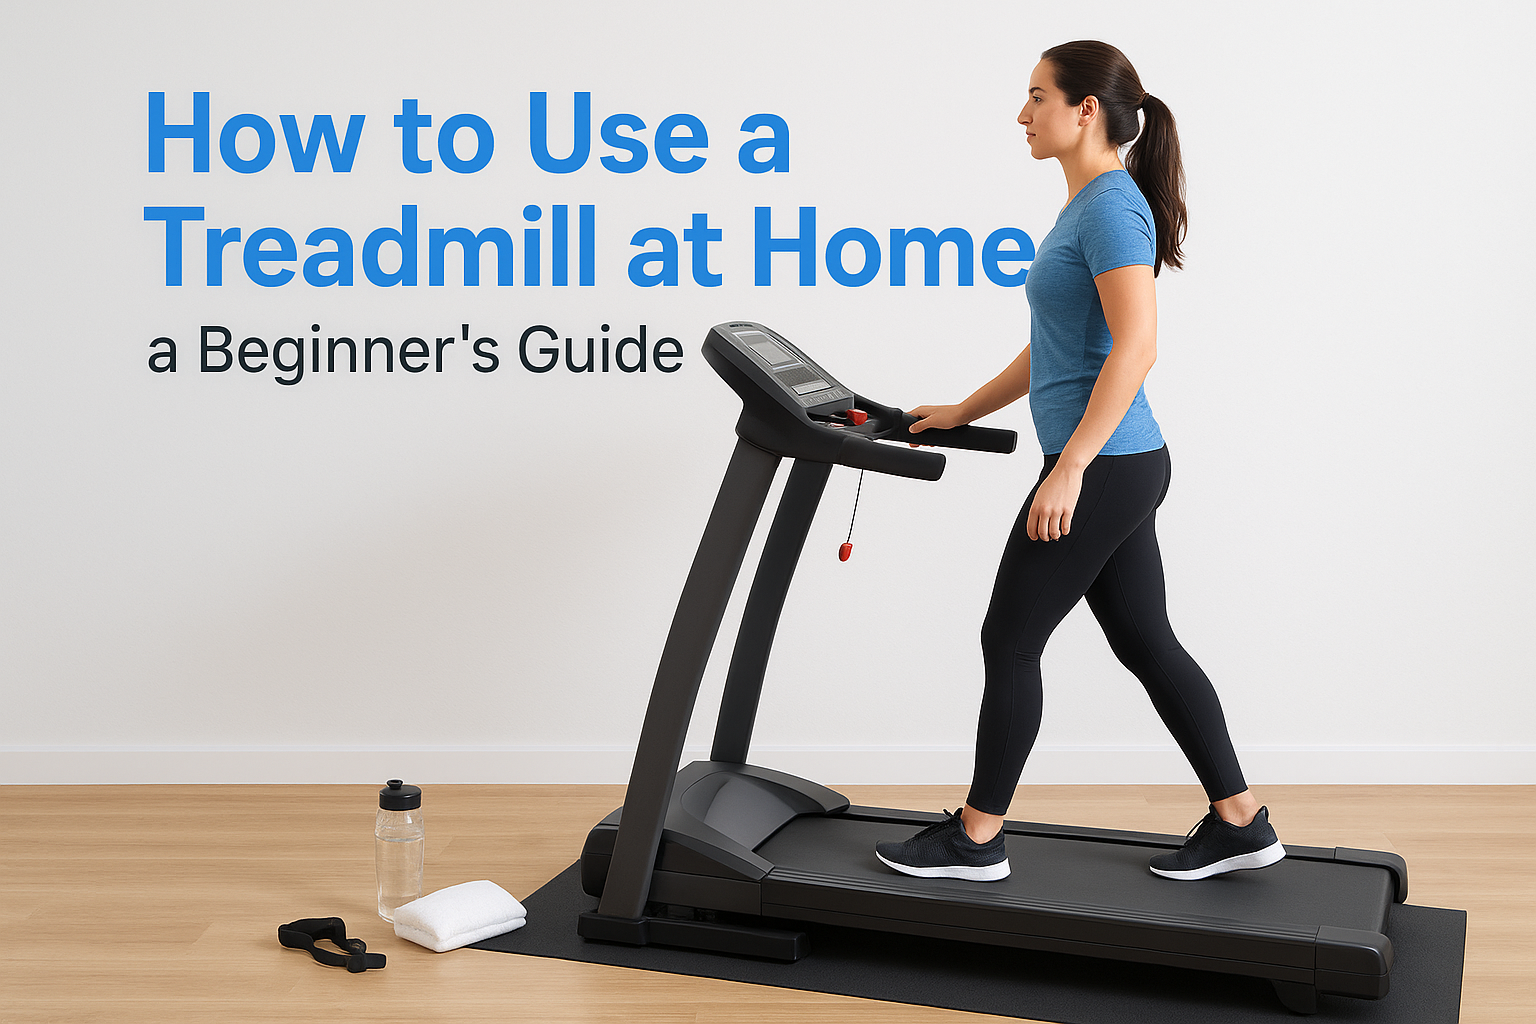
07 Sep How to Use a Treadmill at Home: a Beginner’s Guide
You finally got a treadmill delivered to your house, and now it’s sitting there like a piece of furniture while you wonder what to actually do with it. That hesitation is normal. Using a treadmill at home feels different from walking into a gym where someone else set the machine up and a trainer showed you the ropes years ago. At home, it’s just you, the console, and a lot of unlabeled buttons.
This guide answers the real question beginners have, the same one behind our tips for first-time treadmill users: how do you set up, start, and safely run a treadmill workout without wasting money or hurting yourself in the first month? We’ll cover proper form on the belt, how to read speed and incline settings, and the safety habits that prevent falls, especially during your first few sessions when balance feels off.
We’ll also walk through common beginner mistakes, like holding the handrails too much or starting your incline too aggressive, and simple at-home treadmill workout routines you can follow this week. If you’re running one of our Elite Runner X or folding Pro Runner X treadmill models, the same fundamentals apply, since good treadmill habits don’t depend on the brand, just consistent, correct use.
What you need before your first treadmill workout
Before you touch the start button, get your setup right. Most beginner treadmill injuries and frustrations trace back to skipping this prep stage, not to bad running form. Give yourself ten minutes to check the basics and your first few sessions will feel far less shaky.
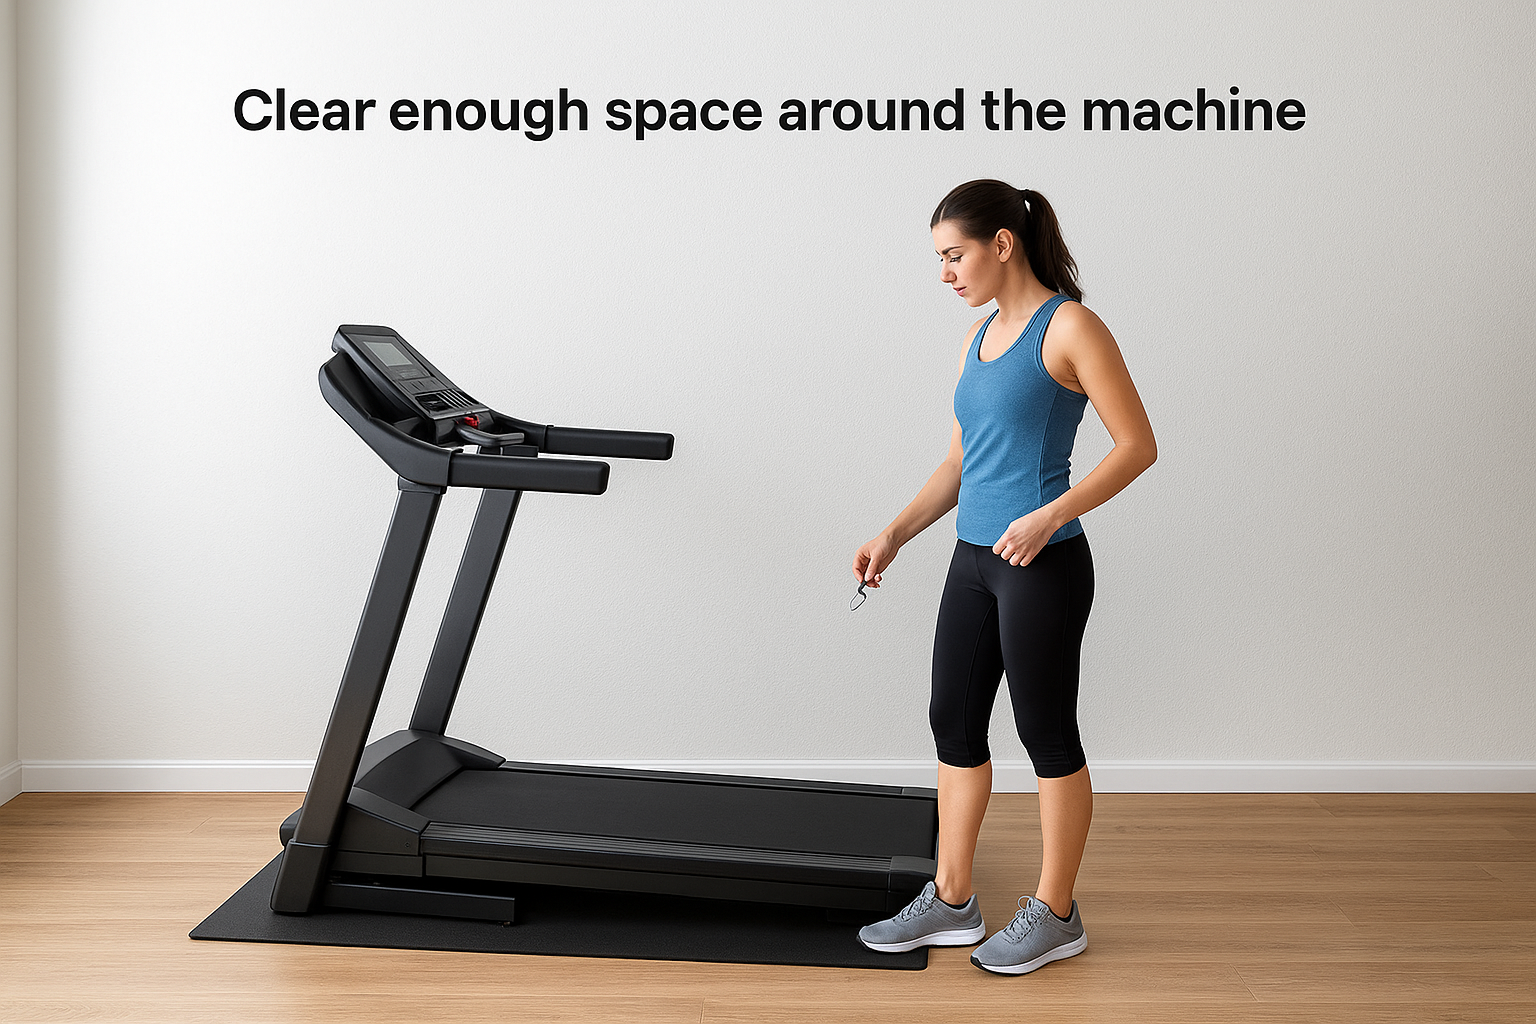
Clear enough space around the machine
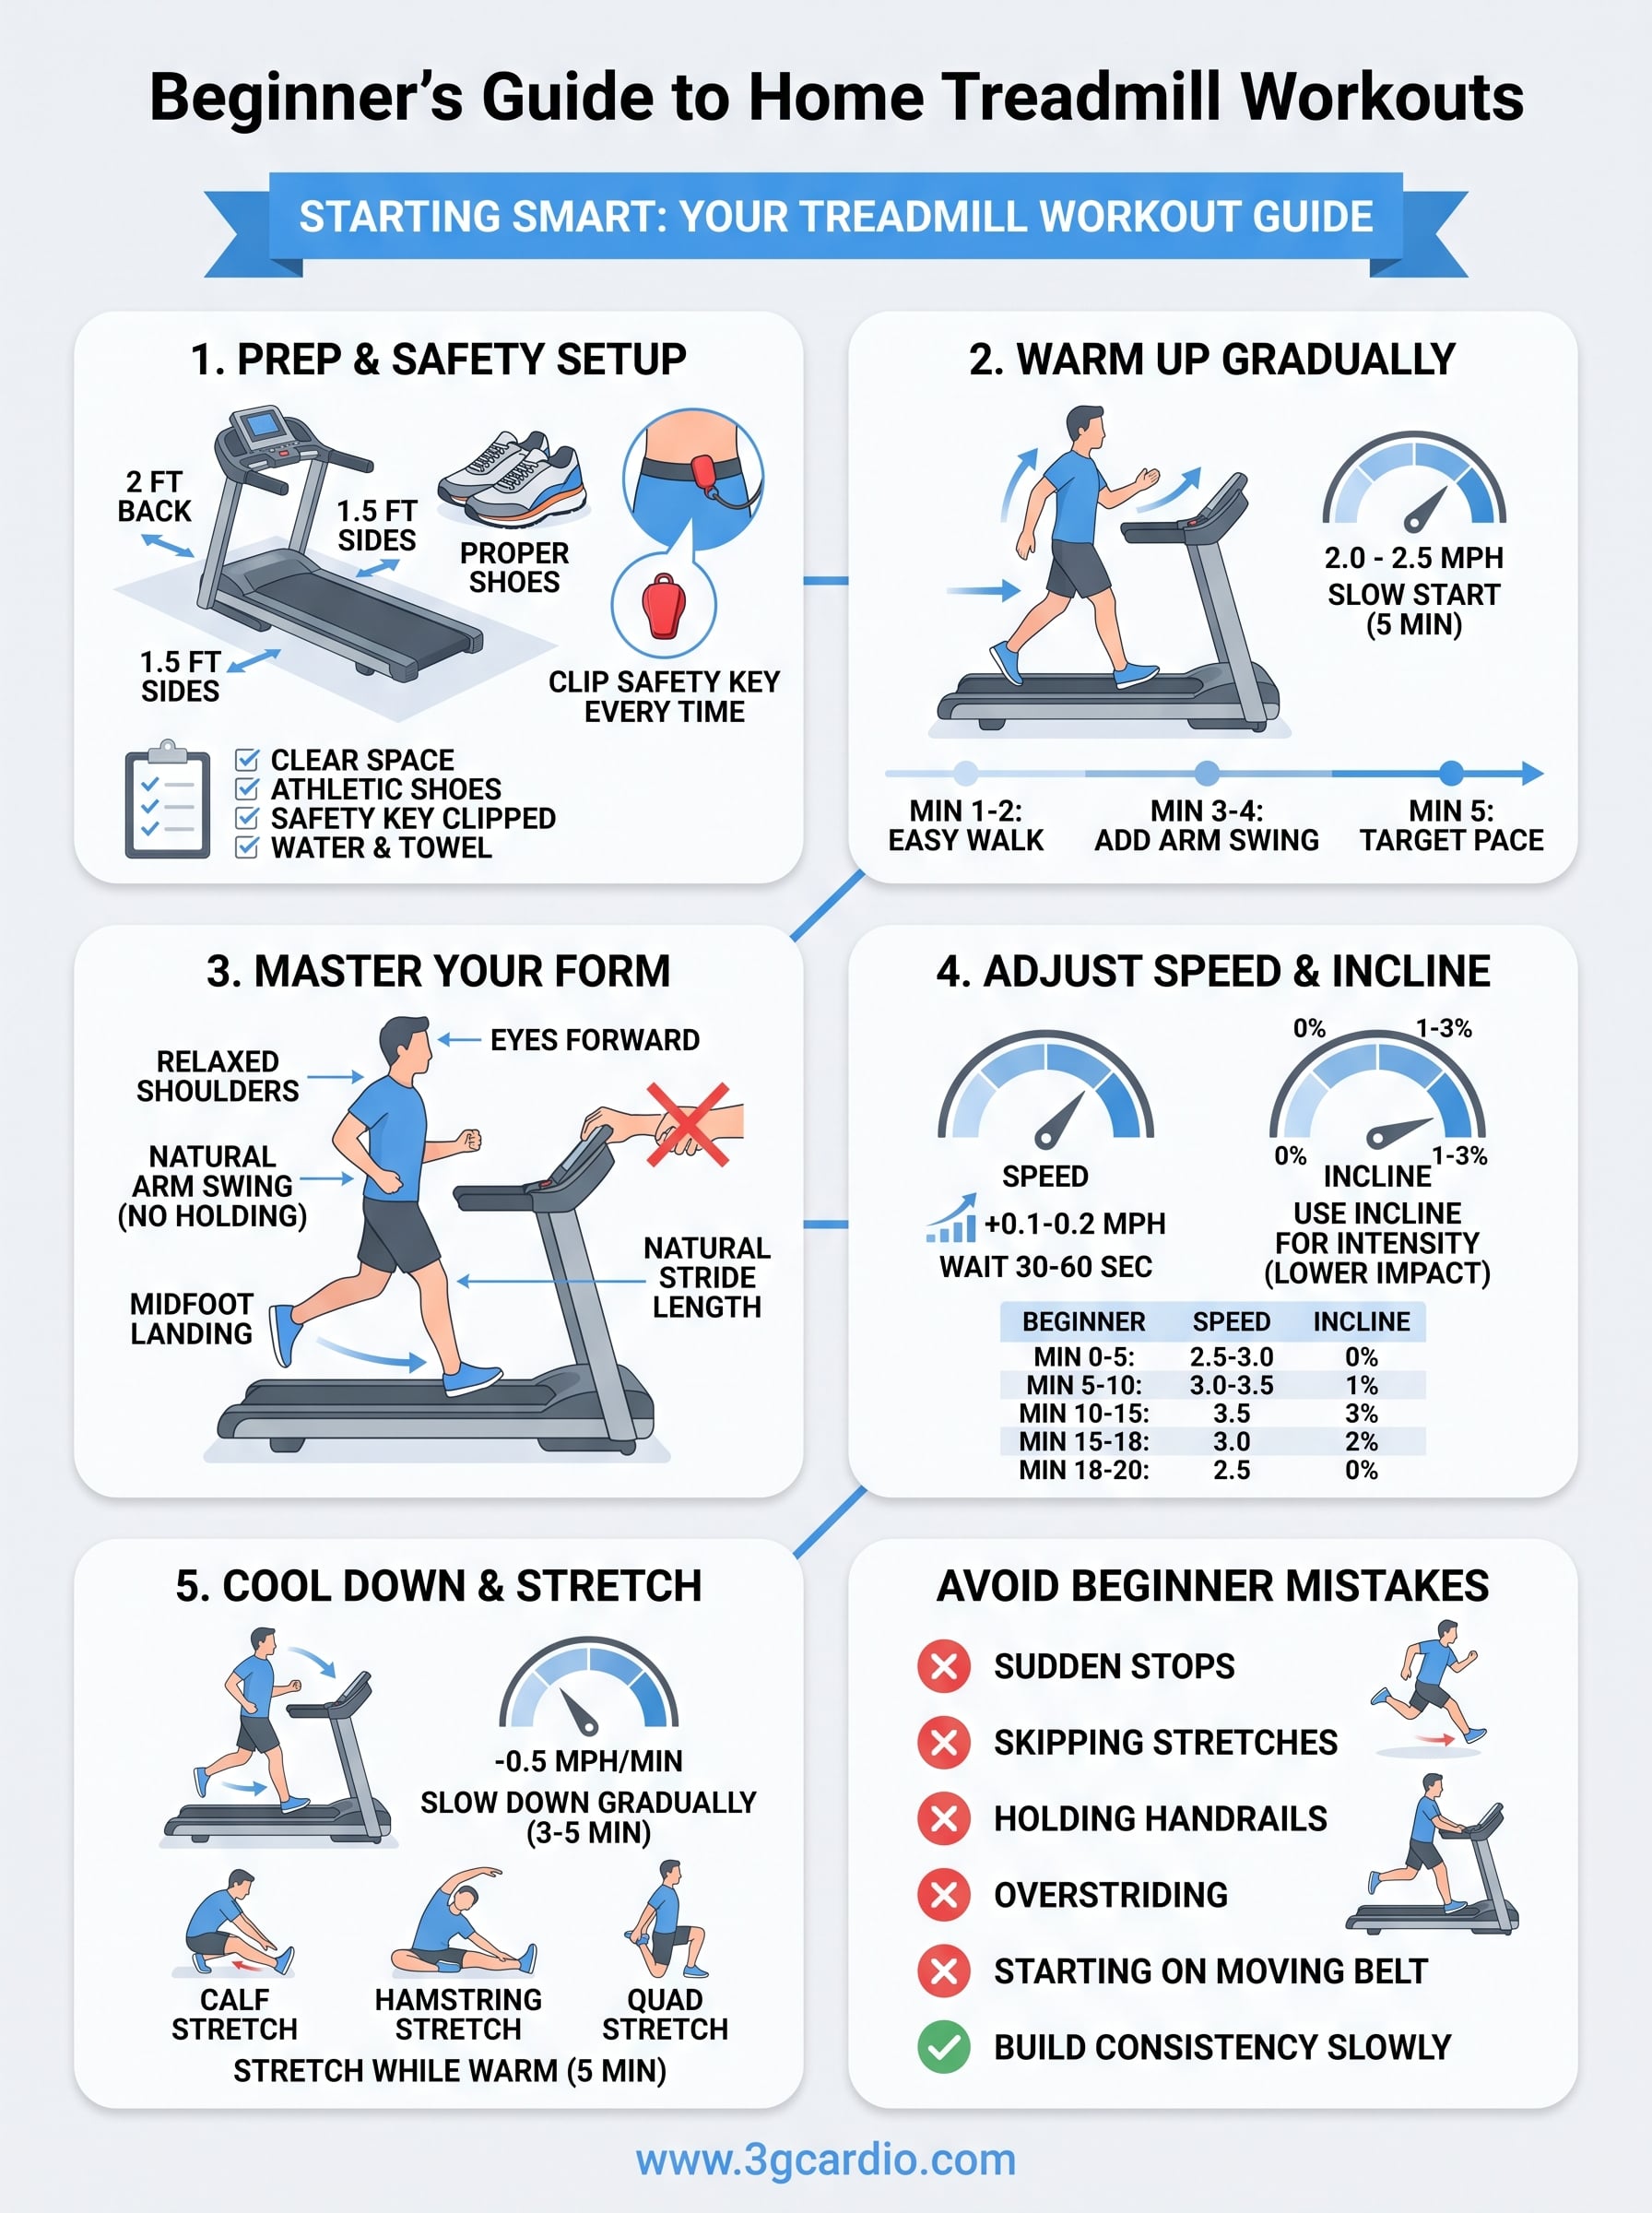
Space matters more than most people expect, and it shapes how you lay out a home workout room around a treadmill. Your treadmill needs clearance on all sides, not just room for the deck itself. Manufacturers, including us, generally recommend at least 2 feet of open space behind the belt and 1.5 feet on each side, plus enough ceiling height that a taller runner won’t hit their head during a stride. Check the floor surface too. A rubber mat under the treadmill protects your flooring, cuts down on vibration noise, and keeps the machine from creeping across a hardwood or tile floor during hard sessions.
| Clearance area | Minimum recommended space |
|---|---|
| Behind the belt | 24 inches |
| Each side | 18 inches |
| Overhead | 24 inches above your head at full stride |
| Power outlet | Within cord length, no extension cords |
Wear the right shoes, not just any sneakers
Don’t grab whatever shoes are by the door. Running shoes picked for treadmill use, with cushioned midsoles, protect your knees and hips from the repetitive impact of a moving belt, which behaves differently than pavement. Cross-trainers or worn-out shoes with flattened soles won’t give you the support you need, especially in the first weeks when your body is still adapting to a new stride pattern. Skip the thick cotton socks too. Moisture-wicking athletic socks reduce blister risk on longer sessions.
Good shoes and a cleared floor space prevent more treadmill injuries than any warm-up ever will.
Have water, a towel, and your phone or heart rate strap ready
Set up your surroundings before you start moving, not mid-workout. Keep a water bottle within reach on the console tray, along with a small towel for sweat. If your machine came with a wireless heart rate strap, like the ones included with our Elite series machines, put it on before you start rather than fumbling with it once the belt is moving. If you plan to use a fitness app through Bluetooth or FTMS connectivity, like the subscription-free tablet pairing on our FreeSync machines, connect your tablet or phone to the console now, while you’re standing still, so you’re not troubleshooting a pairing issue at 3 miles per hour.
Read your console layout once, before day one
Spend five minutes learning your console before your first real workout. Locate the start and stop buttons, the speed and incline arrows, and the emergency safety clip. Every home treadmill, ours included, ships with a magnetic safety key that clips to your clothing and shuts the belt down instantly if you step back too far or fall. Attach it every single time, no exceptions, even for a quick 10-minute walk. This one habit prevents the vast majority of serious home treadmill accidents.
Here’s a quick pre-workout checklist to run through before your first session:
- Treadmill has clearance on all sides and sits on a stable, level surface
- Safety key is clipped to your waistband or shirt
- Shoes are athletic shoes with good cushioning, laced snugly
- Water bottle and towel are within arm’s reach
- Heart rate strap or fitness app is connected, if you’re using one
- You know where the stop button and speed controls are without looking down
Once these boxes are checked, you’re ready to actually set up your first workout session.
Step 1. Set up your treadmill and check safety features
Standing on the belt for the first time is where most beginners get nervous, so slow down and treat this step like a checklist, not a race. Confirm the treadmill is plugged directly into a wall outlet, powered on, and that the display lights up before you step onto the deck. This is also the moment to double check that the machine sits level and doesn’t rock when you press down on the frame, since a wobbly base throws off your balance the second the belt starts moving.
Straddle the belt, don’t stand on it
Always start with your feet on the side rails, straddling the belt, rather than standing directly on the moving surface. Press start and let the belt come up to a slow speed, around 1 to 1.5 miles per hour, before you step onto it. This small habit removes the jolt of stepping onto a belt that’s already moving at your target pace, which is a common reason first-time users lose their footing.
Clip in the safety key every time
Your magnetic safety key should already be attached from your pre-workout checklist, but confirm it here, right before you press start. Give the cord a light tug to make sure it’s seated firmly in the console slot. If you drift too far back or trip, the cord pulls the key free and the belt stops instantly. Skipping this step is the single most preventable cause of home treadmill falls.
A treadmill without its safety key clipped in isn’t ready for anyone to use, no matter how experienced they are.
Test the emergency stop and speed controls
Before your first real session, press the emergency stop button once at a low speed just to feel how quickly the belt reacts. Locate the manual speed and incline buttons so you can adjust them without looking down mid-stride. Using a treadmill at home safely comes down to knowing these controls cold, the same way you’d know where the brake pedal is in a new car, before you ever need it in a hurry.
Step 2. Warm up before you start walking or running
Skipping the warm-up is the fastest way to make your first treadmill session feel worse than it should. Your muscles and joints need a few minutes to adjust before you ask them to handle repetitive impact at a steady pace. A rushed start often leads to tight calves or a sore lower back by the second mile, not because the workout was too hard, but because your body never got the signal to prepare.
Start slow at a walking pace
Begin every session at a slow, comfortable walk, somewhere between 2 and 2.5 miles per hour, for at least five minutes, the same easy pace that makes treadmill walking a legitimate cardio workout. This isn’t wasted time before the "real" workout starts. It’s the part of the session where your heart rate rises gradually and blood flow increases to the muscles you’re about to use. Jumping straight into a jog from a standstill spikes your heart rate too fast and increases the odds of an early stumble, especially in your first few weeks on the machine.
Five slow minutes at the start save you from a rough ten minutes later in the workout.
Add gentle range-of-motion movement
Once you’ve walked for a minute or two, add a bit of movement variety before settling into your pace. Swing your arms naturally, roll your shoulders, and let your stride lengthen gradually rather than locking into one gait right away. This is also a good moment to check your posture on the belt, since a lot of beginners hunch forward slightly when they first step on, then carry that habit through the whole session.
A simple five-minute warm-up structure looks like this:
- Minute 1: Walk at 2.0 mph, arms relaxed at your sides
- Minute 2: Walk at 2.5 mph, start swinging arms naturally
- Minute 3: Walk at 2.5 to 3.0 mph, lengthen your stride slightly
- Minute 4: Increase to your target walking pace
- Minute 5: Hold that pace, check your breathing settles into a rhythm
Let your breathing set the pace
Pay attention to your breath during these first few minutes rather than watching the console. If you’re breathing hard enough that you can’t hold a short conversation, slow down before moving to Step 3. A proper warm-up sets the tone for everything that follows, including the posture and form habits that matter once you pick up speed.
Step 3. Use proper posture and running form
Once you’re warmed up, your posture matters more than your speed. Poor form on a treadmill compounds fast because you’re taking hundreds of repetitive steps in the same pattern, so a small lean or a locked knee turns into a sore hip by the end of the week. Good treadmill posture starts at your head and works down, not the other way around.
Keep your eyes forward, not down
Look straight ahead at the console or the wall in front of you, not down at your feet. Staring at your shoes pulls your chin toward your chest and rounds your upper back, which throws off your whole stride. If you need to check your pace, glance down quickly and bring your eyes right back up. This single adjustment fixes more posture problems than any other tip on this list.
Where your eyes go, your posture follows, so keep them up and let your feet do their job without watching them.
Let your arms swing naturally
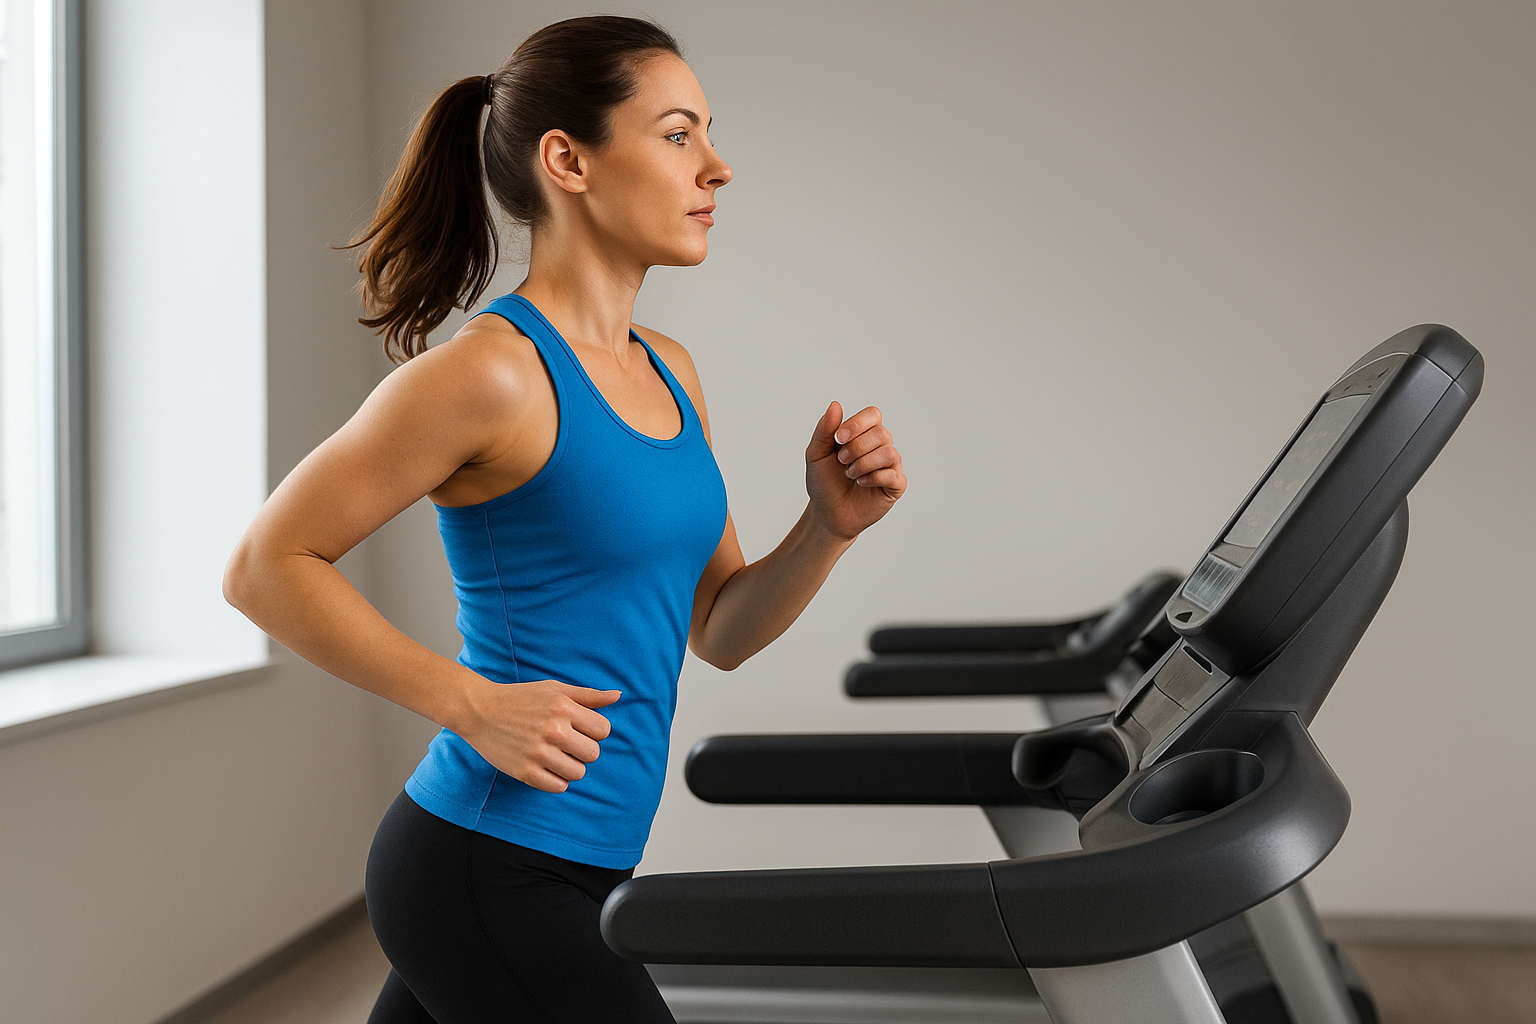
Your arms should move the same way they would on an outdoor jog, bent around 90 degrees and swinging front to back, not side to side across your body. Holding the front handlebars while exercising is one of the most common habits we see in new treadmill owners, and it actually throws off your natural gait rather than protecting you. Holding on reduces calorie burn, shortens your stride, and trains your body to rely on support that won’t be there once you’re walking or running anywhere else.
Land midfoot and keep your stride natural
Aim to land on your midfoot rather than striking hard on your heel, which sends more shock up through your shins and knees when running on a treadmill. Your stride length should feel similar to how you’d move outside, not stretched out to match the belt speed. Overstriding to keep pace with a faster setting is a common mistake that increases joint stress without actually improving your workout.
Run through this quick posture check every few minutes during a session:
- Chin level, eyes forward
- Shoulders relaxed, not hunched toward your ears
- Core lightly engaged, not braced or stiff
- Arms swinging naturally at your sides
- Feet landing under your body, not out in front of it
Getting this dialed in now makes the next adjustment, speed and incline, much easier to handle safely.
Step 4. Adjust speed and incline for your workout
Speed and incline are the two dials that control almost everything about your workout intensity, so learn to adjust them with intention rather than guessing. Beginners often make one of two mistakes: they crank the speed too high too fast, or they leave the incline flat the entire session because it feels safer. Neither approach builds the kind of fitness that sticks. Using a treadmill at home effectively means treating these two controls as separate tools, not one combined "harder" button.
Increase speed gradually, not in big jumps
Raise your speed in small increments, around 0.1 to 0.2 mph at a time, working toward a sensible walking or running speed, and give your body 30 to 60 seconds to adjust before bumping it again. Jumping from 3.0 to 4.5 mph in one press throws off your stride and often forces you into an awkward half-jog, half-walk pattern. A gradual speed increase also gives you time to notice if your breathing or form starts to break down before you’re moving too fast to correct it safely.
Use incline before you reach for more speed
Incline is the most underused setting on a home treadmill, and knowing what grade to set is often the safer way to add intensity. A 3 to 5 percent grade mimics outdoor terrain, engages your glutes and hamstrings more, and raises your heart rate without the extra joint impact that comes from running faster, which is why uphill walking on a treadmill is worth doing.
Raising the incline by a few percent burns more calories with less joint stress than chasing a faster pace.
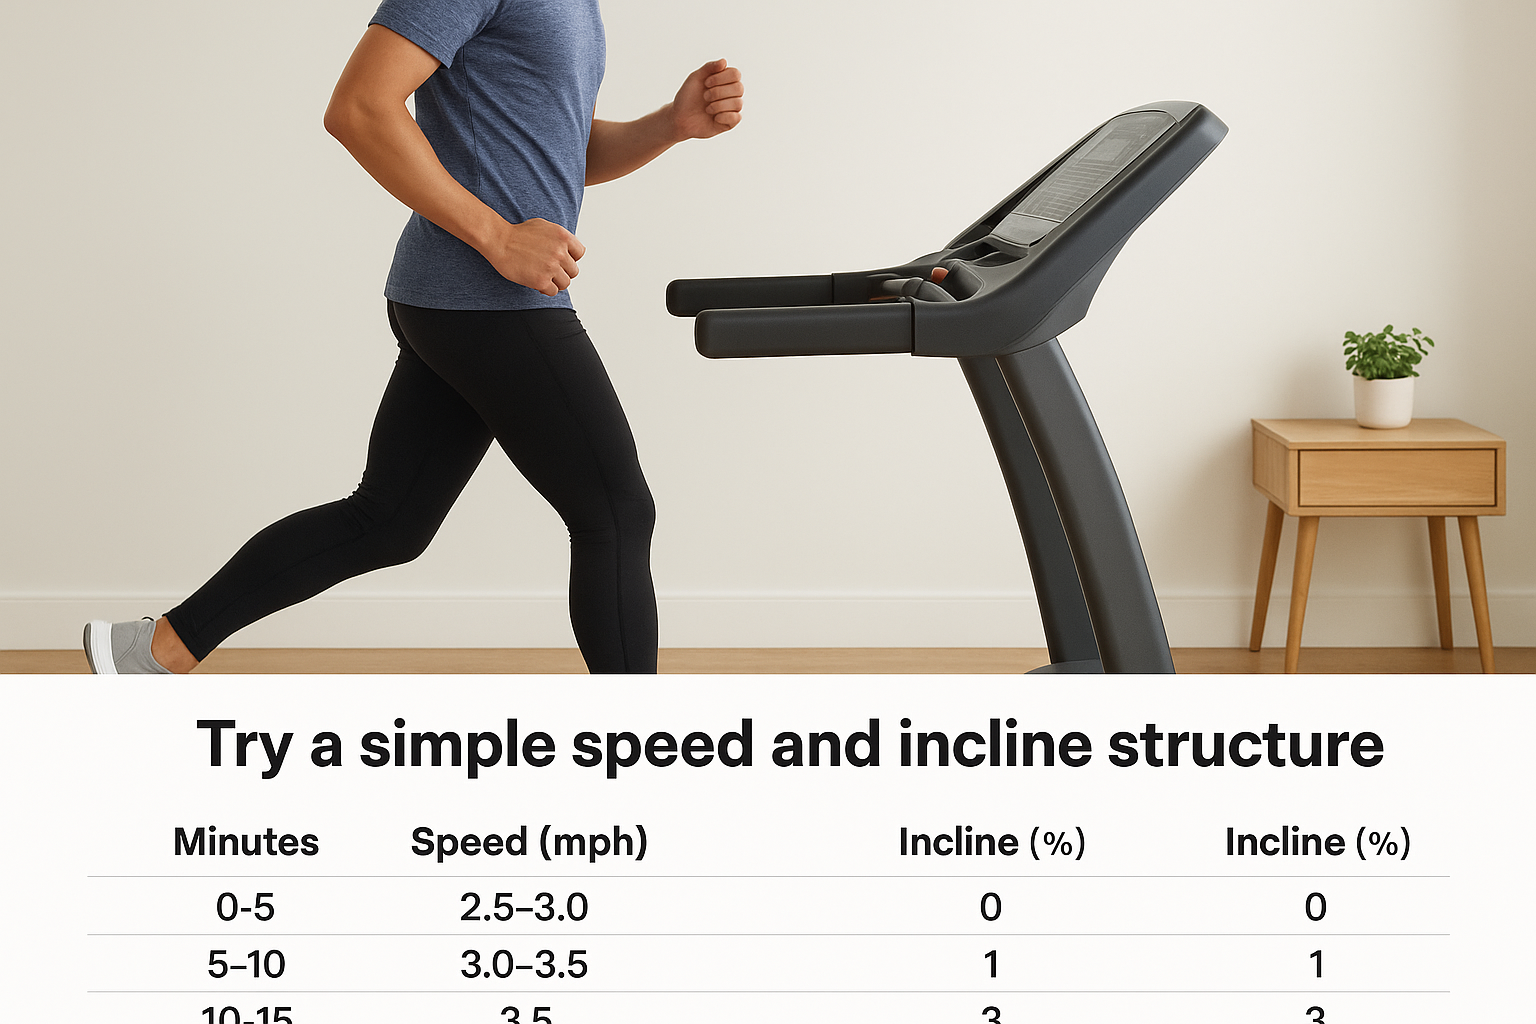
Try a simple speed and incline structure
Here’s a beginner-friendly layout you can follow for a 20-minute session:
| Minutes | Speed (mph) | Incline (%) |
|---|---|---|
| 0-5 | 2.5-3.0 | 0 |
| 5-10 | 3.0-3.5 | 1 |
| 10-15 | 3.5 | 3 |
| 15-18 | 3.0 | 2 |
| 18-20 | 2.5 | 0 |
Work through this table for a few sessions before you adjust the numbers upward. Your goal in these early weeks isn’t to hit an impressive number on the display, it’s to finish the workout feeling like you could have done five more minutes. That’s the sign you’re ready to nudge either dial higher next time, rather than both at once.
Step 5. Cool down, stretch, and avoid common mistakes
Ending a session abruptly is one of the most overlooked mistakes in using a treadmill at home. Your heart rate and blood pressure need a few minutes to come back down gradually, or you’ll feel lightheaded stepping off the belt. Treat the last five minutes of every workout as part of the session, not an afterthought once the timer hits your target.
Slow down gradually, don’t just hit stop
Drop your speed by about 0.5 mph every minute for the last three to five minutes rather than stopping the belt outright. Let your incline return to flat before you reduce speed, since finishing on a grade adds extra strain right as your body is trying to settle down. Step off only once the belt has slowed to a comfortable walking pace, and always straddle the side rails again before it comes to a full stop, the same way you started.
Stretch while your muscles are still warm
Spend five minutes stretching right after you step off, while your muscles are still warm and pliable. Focus on your calves, hamstrings, quads, and hip flexors, since these take the most repetitive load during a treadmill session. Hold each stretch for 20 to 30 seconds without bouncing. Skipping this step doesn’t cause immediate pain, but it adds up over weeks into tighter hips and shorter strides.
Five minutes of stretching after your workout does more for long-term consistency than any fancy console feature.
Avoid these common beginner mistakes
Most treadmill frustrations trace back to a short list of habits worth unlearning, so run through this before you consider a session finished:
- Stopping the belt suddenly instead of slowing down gradually
- Skipping stretches because the workout felt short or easy
- Removing the safety key before the belt fully stops
- Stepping off backward instead of to the side rails
- Increasing speed and incline in the same session before your body adapts to either one alone
- Ignoring dizziness or joint pain instead of ending the session early
Getting the cool-down right protects the progress you made during the workout itself. It’s a small habit, but it’s the difference between a treadmill routine that lasts and one that gets abandoned after a rough week.
Building a treadmill habit that sticks
None of this is complicated once you’ve done it a few times. Set up your space, clip in your safety key, warm up, watch your posture, adjust speed and incline gradually, then cool down properly. Repeat that sequence for a few weeks and it stops feeling like a checklist and starts feeling like muscle memory. Using a treadmill at home becomes second nature faster than most beginners expect, usually within two or three weeks of consistent sessions.
The machine itself matters too. A wobbly deck or a console that won’t pair with your phone makes every one of these steps harder than it needs to be. If your current setup is fighting you instead of helping, it might be time for an upgrade. Take a look at the Elite Runner X, our flagship home treadmill with a 4.0 HP motor and 22-inch Ortho Flex Shock deck, built to make every one of these habits easier to keep.




Sorry, the comment form is closed at this time.