

11 Aug Elliptical Trainer Exercise: How to Maximize Your Workout
You bought an elliptical, or you’re using one at the gym, and you’re stepping on it three times a week without much of a plan. Maybe you’re not sore, not sweating that much, and honestly not sure you’re getting anywhere. That’s the most common complaint we hear about elliptical trainer exercise: it feels easy to do but hard to know if it’s actually working.
The fix isn’t a fancier machine. It’s using the one you have correctly, with the right resistance levels, stride length, and interval structure to actually challenge your heart and legs. A good elliptical trainer workout should leave you breathing hard and feeling it in your glutes and hamstrings, not just going through the motions for 30 minutes.
In this guide, we’ll walk through proper form, how to structure intervals for real cardio benefit, and how to use features like adjustable stride and heart rate monitoring to track progress instead of guessing. We build ellipticals for a living at 3G Cardio, so we know exactly what separates an effective session from one that just burns time.
Why elliptical trainer exercise pays off
Elliptical trainer exercise earns its reputation for a reason: it delivers a genuine cardiovascular workout without hammering your knees, hips, or lower back the way running does. A well-structured elliptical trainer workout keeps your feet planted on the pedals through the entire stride, so there’s no jarring impact traveling up your legs with every step. That matters if you’re carrying extra weight, coming back from an injury, or you’re simply past the point where your joints forgive years of pavement pounding.
The elliptical lets you train hard without paying for it in sore joints the next day.
Low-impact cardio that protects your joints
Because the pedals move in a fixed, smooth path, the elliptical eliminates the repetitive pounding that wears down cartilage over time. Physical therapists routinely recommend it for people managing arthritis, past ACL injuries, or chronic lower back pain, since you get the heart-rate benefits of running without the compressive forces. Consistent low-impact training like this is part of why the elliptical shows up so often in cardiac rehab programs and physical therapy clinics, not just home gyms.
A full-body workout most cardio machines can’t match
Unlike a treadmill or stationary bike, an elliptical with moving handlebars engages your arms, shoulders, and core at the same time your legs are working. Pushing and pulling the handlebars while your legs drive the pedals recruits your chest, back, biceps, and triceps in a way a treadmill simply can’t, turning a single machine into something closer to a total-body circuit. This dual-action design is also why ellipticals tend to burn more calories per minute at a given perceived effort than a bike or a stair stepper used the same way, since you’re moving more muscle mass at once.
Calorie burn and heart health you can actually measure
According to the Centers for Disease Control and Prevention, adults need at least 150 minutes of moderate-intensity aerobic activity per week to meaningfully reduce their risk of heart disease, and elliptical sessions count toward that total just as well as jogging or swimming (CDC physical activity guidelines). Building that time on an elliptical rather than a treadmill means you accumulate the same cardiovascular gains, measured in heart rate zones and calories burned, while sparing the connective tissue that takes the brunt of impact-based cardio. Over months, that difference is often what separates people who keep training consistently from people who get sidelined by an overuse injury.
How the elliptical stacks up against other cardio machines
Seeing the numbers side by side makes the case clearer than any single claim can.
| Machine | Joint impact | Muscles engaged | Typical calorie burn (30 min, moderate effort) |
|---|---|---|---|
| Elliptical trainer | Very low | Legs, glutes, arms, core | 270-400 |
| Treadmill (walking/running) | High | Legs, glutes, minimal upper body | 240-450 |
| Stationary bike | Low | Legs, glutes | 210-350 |
| Stair stepper | Moderate | Legs, glutes | 180-280 |
Specific numbers will shift based on your weight, effort level, and machine settings, but the pattern holds: the elliptical delivers a calorie burn competitive with running while keeping joint stress at the low end of the scale. That combination is the real payoff, and it’s why the rest of this guide focuses on getting your setup, form, and intervals right so you actually cash in on it every time you step on the pedals.
Step 1. Set up the elliptical for your body
Before you push a single pedal, spend two minutes on setup. A poorly adjusted elliptical forces your knees to track wrong, shortens your range of motion, and quietly kills the effectiveness of every elliptical trainer workout you do on it. Most people skip this step entirely, hop on, and wonder why their hips feel tight after ten minutes. Getting the stride length, handlebar height, and foot placement right takes almost no time and changes how the whole session feels.
Match the stride length to your height
Stride length is the single biggest setup factor most people ignore. If your elliptical has adjustable stride settings, like the 20-inch stride on 3G Cardio’s Elite EM X, use them. A stride that’s too short forces choppy, unnatural steps; one that’s too long overextends your hips and knees at the top of each rotation. As a rough guide:
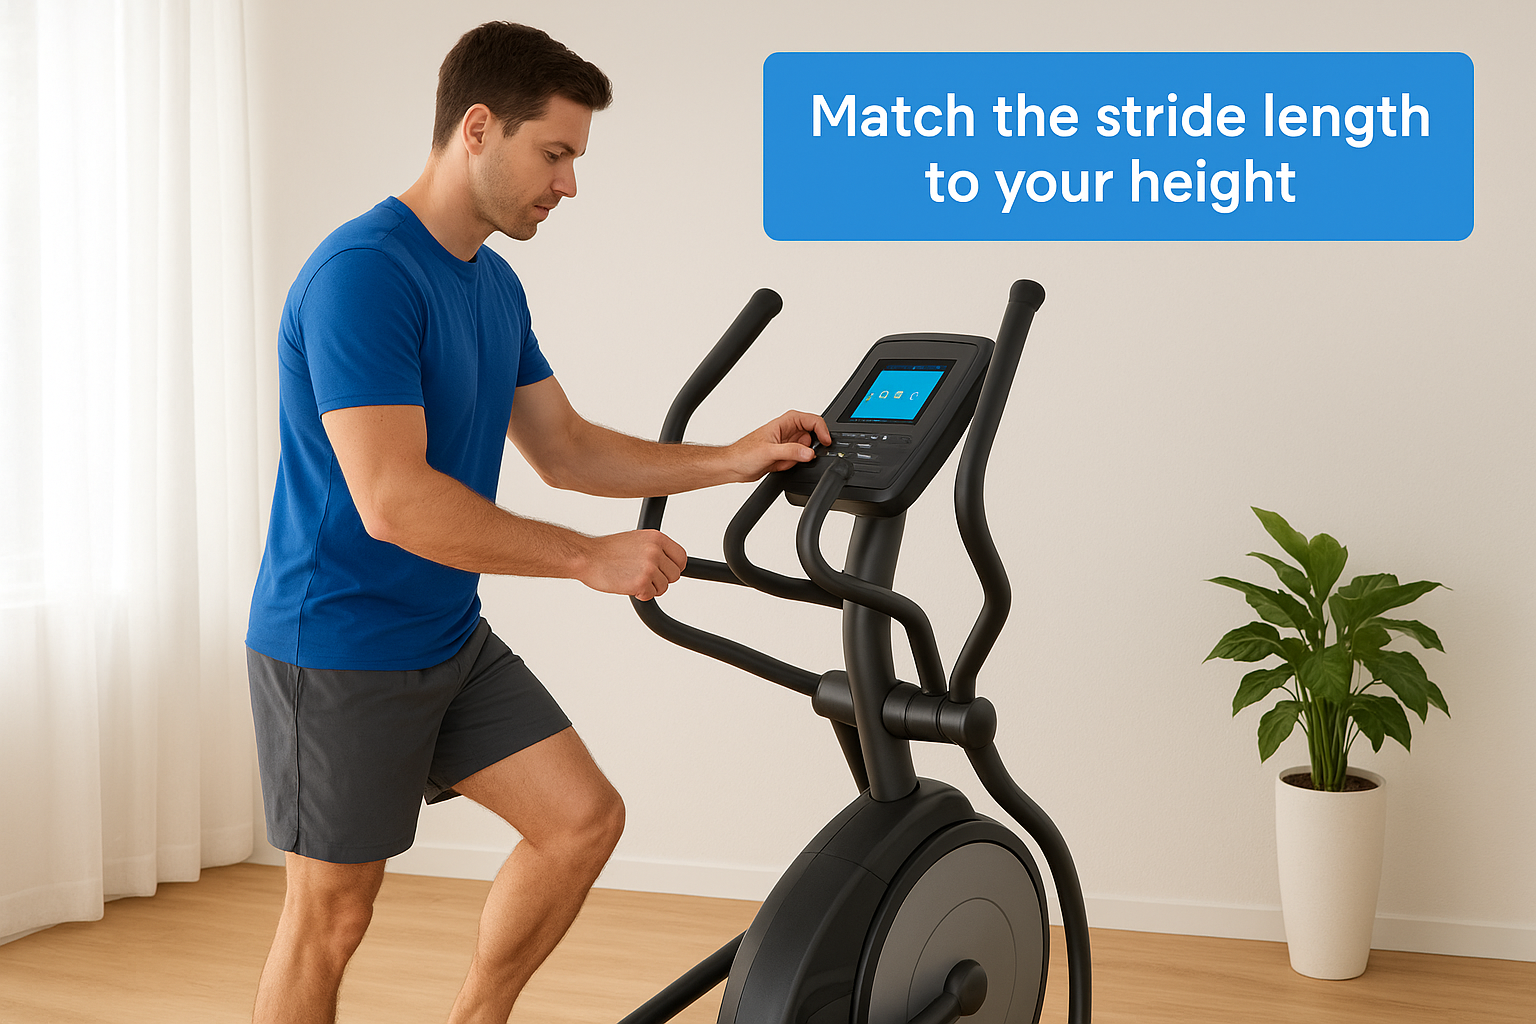
- Under 5’4": shorter stride setting (18-20 inches)
- 5’4" to 5’10": mid-range stride (20-22 inches)
- Over 5’10": longer stride setting (22+ inches)
If your machine has a fixed stride, that’s fine too, just pay attention to whether your knees feel pinched or overreached, and adjust your foot position slightly forward or back on the pedal to compensate.
Get the stride length wrong and no amount of effort on the pedals will fix your form.
Set handlebar height and foot position
Adjust the handlebars so your elbows sit at roughly a 90-degree bend when you’re gripping them with shoulders relaxed, not hunched up toward your ears. Reaching too high strains your shoulders; reaching too low rounds your back forward and collapses your chest, which limits how deep you can breathe during harder intervals. On the pedals themselves, center your foot over the axle rather than letting your heel hang off the back, since that shifts unnecessary load onto your calves and Achilles tendon over a long session.
Check the console and connectivity settings
While you’re setting up, dial in the console too. If your elliptical has Bluetooth connectivity, like the FreeSync FTMS system on 3G Cardio machines, pair it with a heart rate strap or your fitness app before you start moving instead of fumbling with it mid-workout. Confirm your weight is entered correctly for calorie tracking, and if the console offers a tablet shelf, position your device where you can glance at it without craning your neck. None of this takes more than a minute, but it means once you start pedaling, you’re focused on the workout instead of the machine.
Step 2. Warm up before every session
Jumping straight into a hard interval with cold legs is one of the fastest ways to cut a workout short. Your muscles, tendons, and joints need a few minutes of easy movement to loosen up and get blood flowing before you ask them to push against real resistance. Skipping this step doesn’t just raise your injury risk, it also means the first five minutes of your elliptical trainer workout are wasted fighting stiffness instead of building intensity.
Why skipping the warm-up backfires
Cold muscle fibers are stiffer and less elastic than warmed-up ones, which means they absorb force less efficiently and fatigue faster. Start hard from a dead stop and you’ll likely feel a nagging tightness in your calves or lower back creep in around minute fifteen, right when you should be hitting your stride. A proper warm-up also raises your core body temperature and nudges your heart rate up gradually, which is easier on your cardiovascular system than an abrupt jump from resting to max effort.
A rushed warm-up shows up later as a workout you have to cut short.
A five-minute warm-up you can follow every time
Keep it simple and consistent so it becomes automatic rather than something you talk yourself out of. Here’s a warm-up sequence that works on any elliptical, including 3G Cardio’s Elite EM X or Pro Runner X consoles with adjustable resistance:
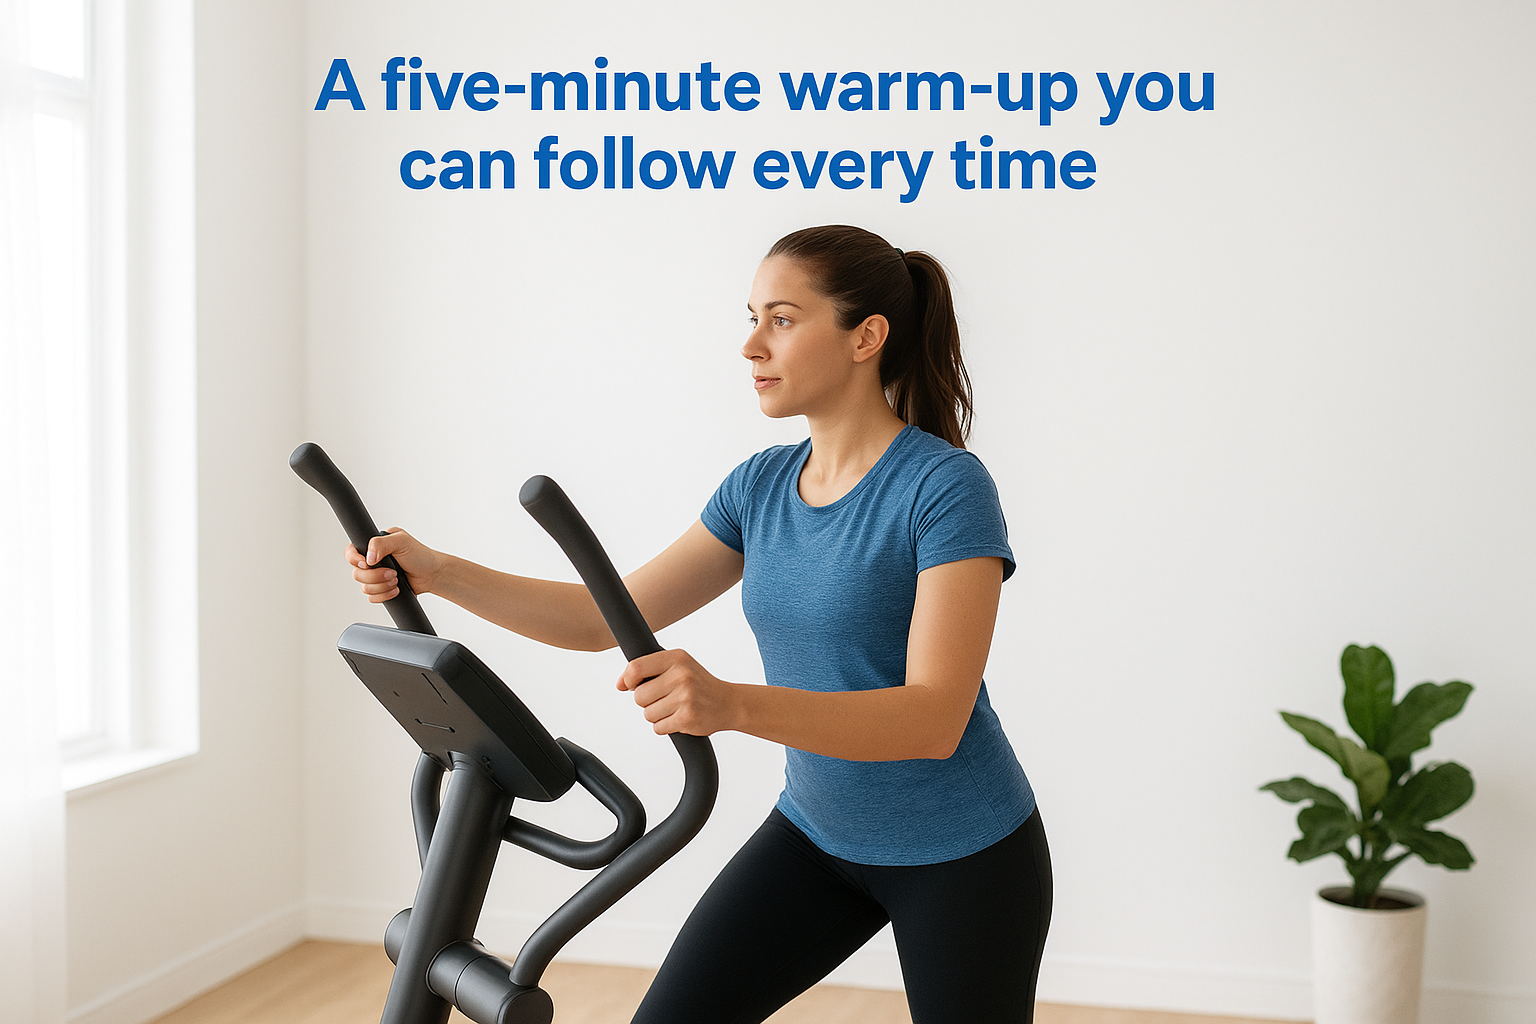
- Minutes 0-2: Pedal at low resistance (level 1-3), forward direction, letting your arms move naturally on the handlebars without pushing hard.
- Minutes 2-3: Bump resistance up one or two levels and focus on full extension through your stride, front to back.
- Minutes 3-4: Switch direction and pedal backward at the same easy resistance to activate your hamstrings and glutes differently.
- Minute 4-5: Return to forward pedaling and gradually increase pace until you’re breathing noticeably harder but still able to hold a conversation.
By the end of that sequence, your heart rate should sit somewhere in the 50-60% range of your max, which is exactly where you want to be heading into the main set. If you’re using a heart rate strap paired through Bluetooth connectivity to your console or app, glance at the number instead of guessing. Reserve any incline or intense resistance changes for after this warm-up window; introducing them too early defeats the purpose and just moves the same risk five minutes down the line. Once you’ve hit that target zone and your legs feel loose rather than tight, you’re ready to move into the working portion of the session.
Step 3. Perfect your posture and form
Once you’re moving, form determines whether the elliptical trains your muscles or just wastes your time. Slouching over the console, white-knuckling the handlebars, or letting your hips sway side to side turns a solid elliptical trainer exercise session into a lower-effort shuffle that barely raises your heart rate. Good form isn’t complicated, but it does take conscious effort in the first few workouts until it becomes automatic.
Keep your torso upright and core engaged
Stand tall with your chest open and your shoulders pulled back, not curled forward toward the console. Leaning heavily on the handlebars for support is the single biggest form mistake beginners make, since it shifts weight off your legs and glutes and quietly turns a leg-driven workout into an arm-assisted one. Brace your core lightly the way you would before a light lift, which keeps your spine stable and stops your torso from bouncing or twisting with each stride. A tall, engaged posture also opens your ribcage so you can breathe deeper, which matters once your heart rate climbs during harder intervals.
If you’re gripping the handlebars for balance instead of exercise, your legs aren’t doing the work they should be.
Avoid the most common form mistakes
A few habits show up again and again on ellipticals, and each one quietly cuts into your results:
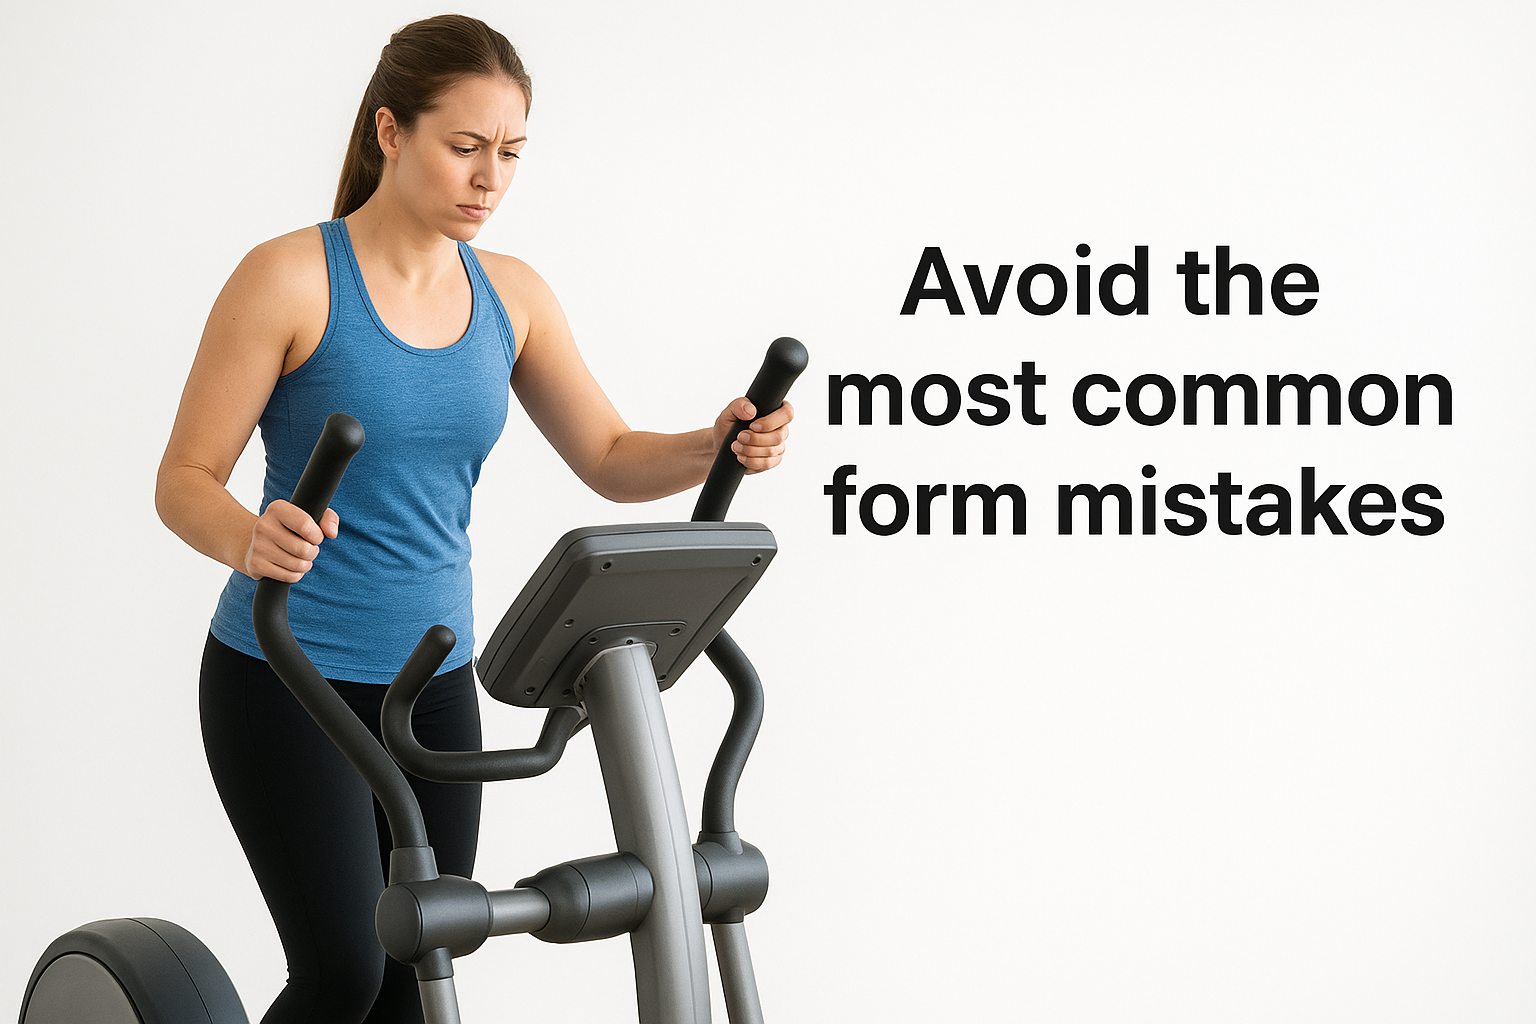
- Locking your knees at full extension, which strains the joint instead of letting the muscle absorb the load
- Looking down at your feet, which rounds your upper back and neck over a long session
- Death-gripping the handlebars, which tightens your shoulders and shortens your breath
- Taking short, choppy strides instead of pushing through the full range of motion your stride length allows
- Letting your hips rock side to side instead of driving straight forward and back
Catching even one or two of these in yourself and correcting them will noticeably change how a workout feels within a single session.
Distribute weight evenly through your feet
Every stride, keep pressure spread across your whole foot rather than rocking onto your toes or letting your heels dig in. Toe-heavy pedaling overworks your calves and can leave them cramped by the end of a longer session, while heel-heavy pedaling reduces how much your glutes and hamstrings get recruited. Pressing evenly through the pedal, almost like you’re standing flat-footed while walking, keeps the load spread across your major leg muscles the way an effective elliptical trainer workout should. This small adjustment, more than any resistance setting, is often what separates a session that leaves your legs genuinely worked from one that just leaves your feet tired.
Step 4. Work your upper body with the handlebars
Most people treat the handlebars as something to hold onto rather than something to work against, and that’s a missed opportunity. Moving elliptical handlebars, like the ones on 3G Cardio’s Elite EM X, let you push and pull with real intent instead of just riding along with your legs. Using them properly turns a lower-body cardio session into genuine full-body elliptical trainer exercise, recruiting your chest, back, shoulders, and arms right alongside your quads and glutes. Skip this part and you’re leaving a large chunk of the machine’s benefit on the table.
Push and pull with purpose, not just for balance
Actively drive the forward handlebar away from you and pull the rear one back toward your ribs, rather than letting your arms passively swing along with the momentum of your legs. That push-pull motion works your triceps and chest on the forward stroke and your biceps and upper back on the pull, similar to a slow-motion rowing and pressing movement combined. Keep your grip firm but relaxed, since white-knuckling the handles tightens your shoulders and cuts into how much force you can actually generate through each stroke.
Passive arms on the handlebars mean you’re only getting half the workout the machine is built to give you.
Alternate arm-dominant and leg-dominant segments
Within a single elliptical trainer workout, you can deliberately shift emphasis between your upper and lower body by changing how hard you push through the handlebars. Try structuring a segment like this:
- 2 minutes: Light handlebar engagement, legs doing most of the work, arms just following along
- 2 minutes: Heavy push-pull effort through the handlebars while keeping leg cadence steady
- 1 minute: Maximum effort through both arms and legs together at a faster pace
- Repeat the sequence three to four times
This kind of alternating structure keeps your upper body from fatiguing too early while still giving it real work, and it breaks up the monotony of a straight cardio session.
Watch your shoulder position throughout
Keep your shoulders down and back rather than hunched up toward your ears as fatigue sets in, since shoulder shrugging is the first sign your form is breaking down under effort. If you notice your shoulders creeping upward or your elbows locking straight at the top of each push, ease off the handlebar resistance slightly and reset your posture before continuing. A brief check every few minutes costs you almost nothing and keeps the upper-body portion of your workout productive instead of turning into tension you’ll feel in your neck the next day.
Step 5. Choose your resistance, incline, and workout style
Once your form is solid, resistance and incline are the levers that turn a comfortable ride into real training. Most ellipticals, including 3G Cardio’s Elite EM X, offer a wide range of resistance levels along with adjustable incline, and leaving both on a low, comfortable setting is the main reason people plateau. The dials do nothing for you if you never touch them past the first workout.
Match resistance to your goal, not your comfort
Higher resistance builds strength and muscle endurance in your legs and glutes, while lower resistance at a faster cadence trains your cardiovascular system more directly. Neither one is wrong, but picking based on what feels easiest rather than what you’re actually trying to accomplish is how workouts stop producing results. A rough framework for picking a level:
- Levels 1-4: Warm-up, recovery days, or long steady sessions where you want to sustain 30-45 minutes
- Levels 5-8: Standard cardio training, moderate effort, sustainable for 20-30 minutes
- Levels 9+: Strength-focused intervals, short bursts of 30-90 seconds followed by recovery
Resistance you never adjust is a workout that never improves.
Use incline to shift the muscle emphasis
Raising the incline on your elliptical shifts more of the load into your glutes and hamstrings, similar to the effect of climbing a hill on foot. Dropping the incline flat brings your quads back into the picture and lets your legs move faster with less resistance underfoot. Cycling between a flat setting and a raised incline within the same session works your lower body more completely than holding one position for the full 30 minutes, and it keeps the workout from feeling repetitive.
Pick a workout style that fits your schedule
Steady-state cardio, interval training, and hill-focused sessions each serve a different purpose, and rotating through them keeps both your body and your motivation from stagnating. A simple weekly split looks like this:
| Day | Style | Resistance/Incline | Duration |
|---|---|---|---|
| Monday | Steady-state | Moderate, flat | 30-35 min |
| Wednesday | Intervals | High resistance bursts | 20-25 min |
| Friday | Hill climb | Rising incline, moderate resistance | 25-30 min |
Switching styles this way also gives your joints and connective tissue a break from any single repetitive pattern, which matters over months of consistent elliptical trainer exercise. Rotate the order to fit your week, but keep at least one high-effort interval day and one longer steady session, since those two extremes cover most of what an elliptical can train.
Step 6. Track your heart rate and progress
Guessing at intensity is how most people plateau on an elliptical trainer exercise routine without ever knowing why. Heart rate is the one number that tells you objectively whether a session pushed your cardiovascular system or just kept you moving, and tracking it over weeks tells you whether your fitness is actually improving. Without that feedback, you’re relying on how tired you feel, which changes day to day based on sleep, stress, and how much coffee you had that morning.
Find your training zones
Start with a rough estimate of your max heart rate: 220 minus your age. From there, most elliptical trainer workout sessions should live in one of a few zones depending on the goal:
| Zone | % of Max HR | Purpose |
|---|---|---|
| Zone 1-2 | 50-70% | Warm-up, recovery, fat-burning steady state |
| Zone 3 | 70-80% | Standard cardio conditioning |
| Zone 4-5 | 80-95% | High-intensity intervals, short bursts |
Spending nearly every workout in Zone 1-2 out of habit is a quiet way to stall progress, since your heart never gets asked to work harder than it already can.
If you never check your heart rate, you’re training by guesswork instead of data.
Use your console’s connectivity instead of ignoring it
Most of the guesswork disappears once you actually use the tech built into the machine. A wireless heart rate strap paired through Bluetooth, like the FreeSync FTMS connection on 3G Cardio consoles, feeds a live number to the display so you’re training against real data instead of a feeling. Pairing that same connection to an app like Kinomap adds structured routines and route-based rides that automatically adjust resistance, which takes some of the decision-making off your plate on days when you don’t feel like planning a workout yourself. If your machine offers a tablet shelf, mount your phone or tablet there so the numbers stay visible without breaking your form to check a wrist device.
Log sessions to see real trends
Single workouts don’t tell you much on their own; the trend across a month does. Track three numbers after each session: average heart rate, total calories, and how long you held your target zone. Reviewing those weekly shows you things a single ride never will, like a dropping average heart rate at the same resistance level, which is one of the clearest signs your cardiovascular fitness is genuinely improving rather than just staying flat.
Step 7. Cool down and stretch it out
Ending a session the moment your interval timer hits zero is tempting, but it skips the part that actually helps your body absorb the work you just did. A proper cool-down brings your heart rate down gradually instead of leaving it elevated while you step off and sit down, and it sets up the stretching that keeps your hips and calves from tightening overnight. Treat this last stretch of your elliptical trainer workout as part of the training, not an optional extra tacked onto the end.
Why an abrupt stop works against you
Stopping cold after a hard interval traps blood in your legs instead of letting it circulate back toward your heart, which is why some people feel lightheaded stepping off a machine too fast. Gradually easing off resistance and pace gives your cardiovascular system a controlled transition back to resting levels instead of a jarring one. Skipping this step regularly also means your muscles stay in a shortened, contracted state after every session, which compounds over weeks into the kind of tightness that limits your stride length the next time you get on.
Stopping cold costs you the recovery your body needs to actually improve from the workout.
A five-minute cool-down you can repeat every time
Keep the structure simple so it becomes as automatic as the warm-up:
- Minute 1-2: Drop resistance to level 1-2 and slow your pace until you’re moving easily.
- Minute 2-3: Continue at that easy pace, letting your breathing settle back toward normal.
- Minute 3-4: Switch direction and pedal backward gently to release tension in a different pattern.
- Minute 4-5: Step off slowly, then walk in place for thirty seconds before moving into stretches.
Checking your heart rate strap during this window is worth doing, since a number that drops back toward resting levels within a few minutes is a solid sign of improving cardiovascular fitness.
Stretches that target what the elliptical worked
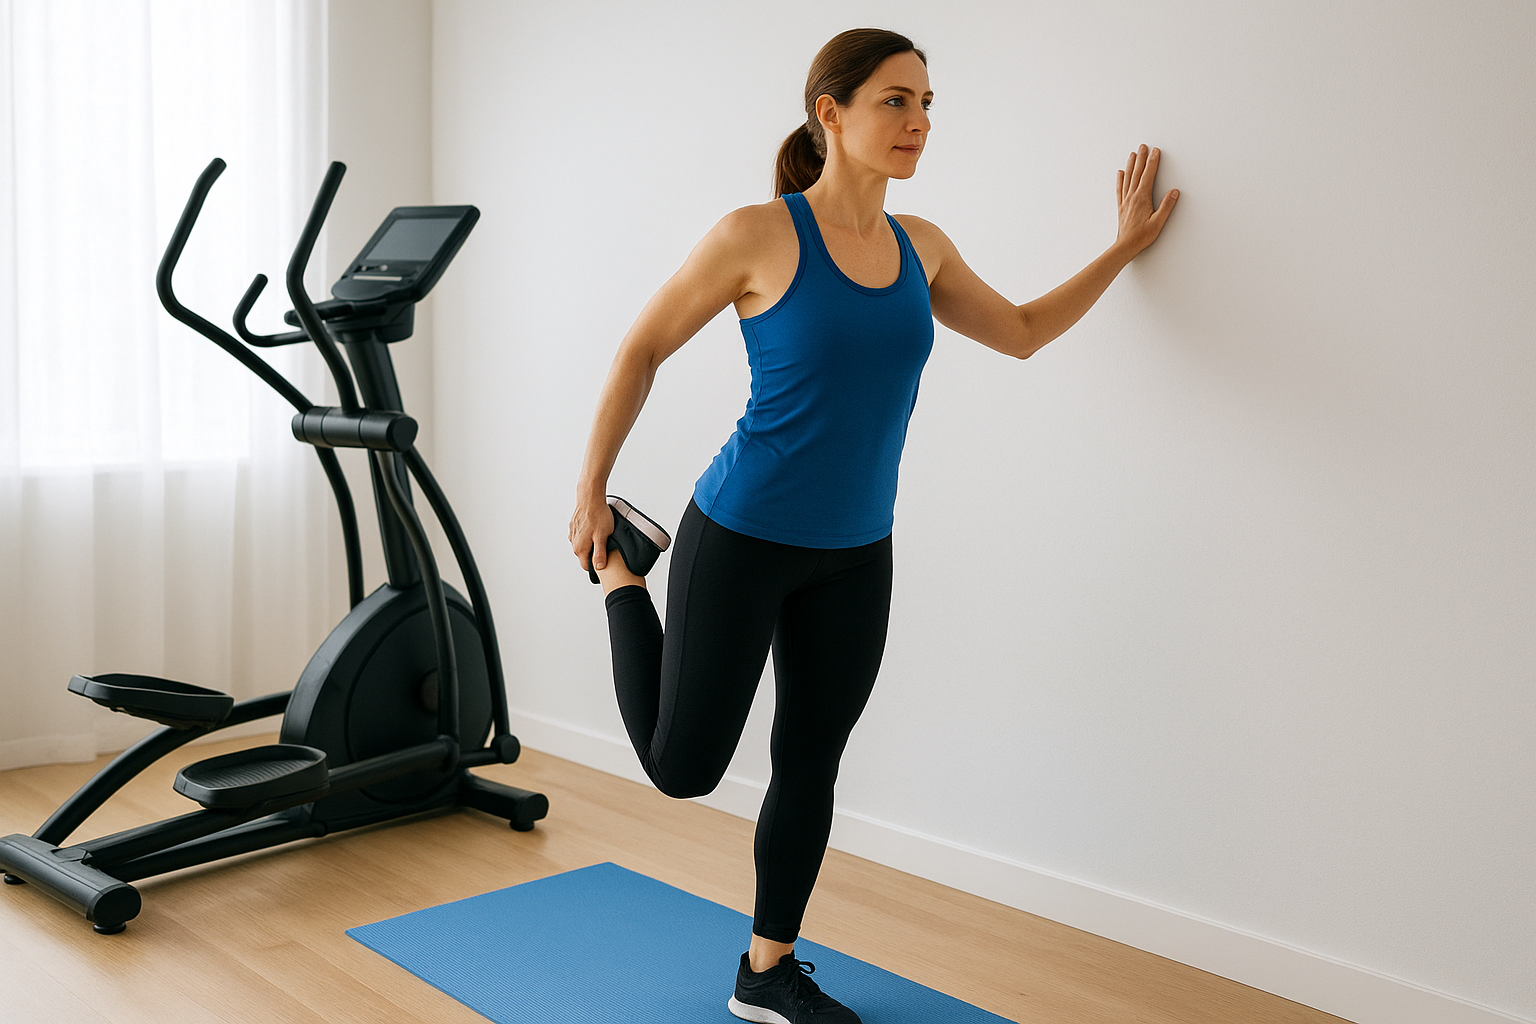
Once you’re off the machine, spend two or three minutes on the muscles that just did the work. Calves, hamstrings, hip flexors, and quads all tighten up after a session, and shoulders benefit from a stretch too if you pushed hard through the handlebars.
- Standing calf stretch, holding each side for 20-30 seconds
- Standing quad stretch, holding onto a wall or the machine for balance
- Seated hamstring stretch, reaching toward your toes with a straight back
- Kneeling hip flexor stretch, especially if your session included incline work
- Cross-body shoulder stretch, releasing tension from the handlebar push-pull work
Holding each stretch rather than bouncing through it gives the muscle time to actually lengthen, and doing this after every elliptical trainer exercise session is what keeps your form sharp instead of gradually stiffening up week over week.
Making the elliptical a lasting habit
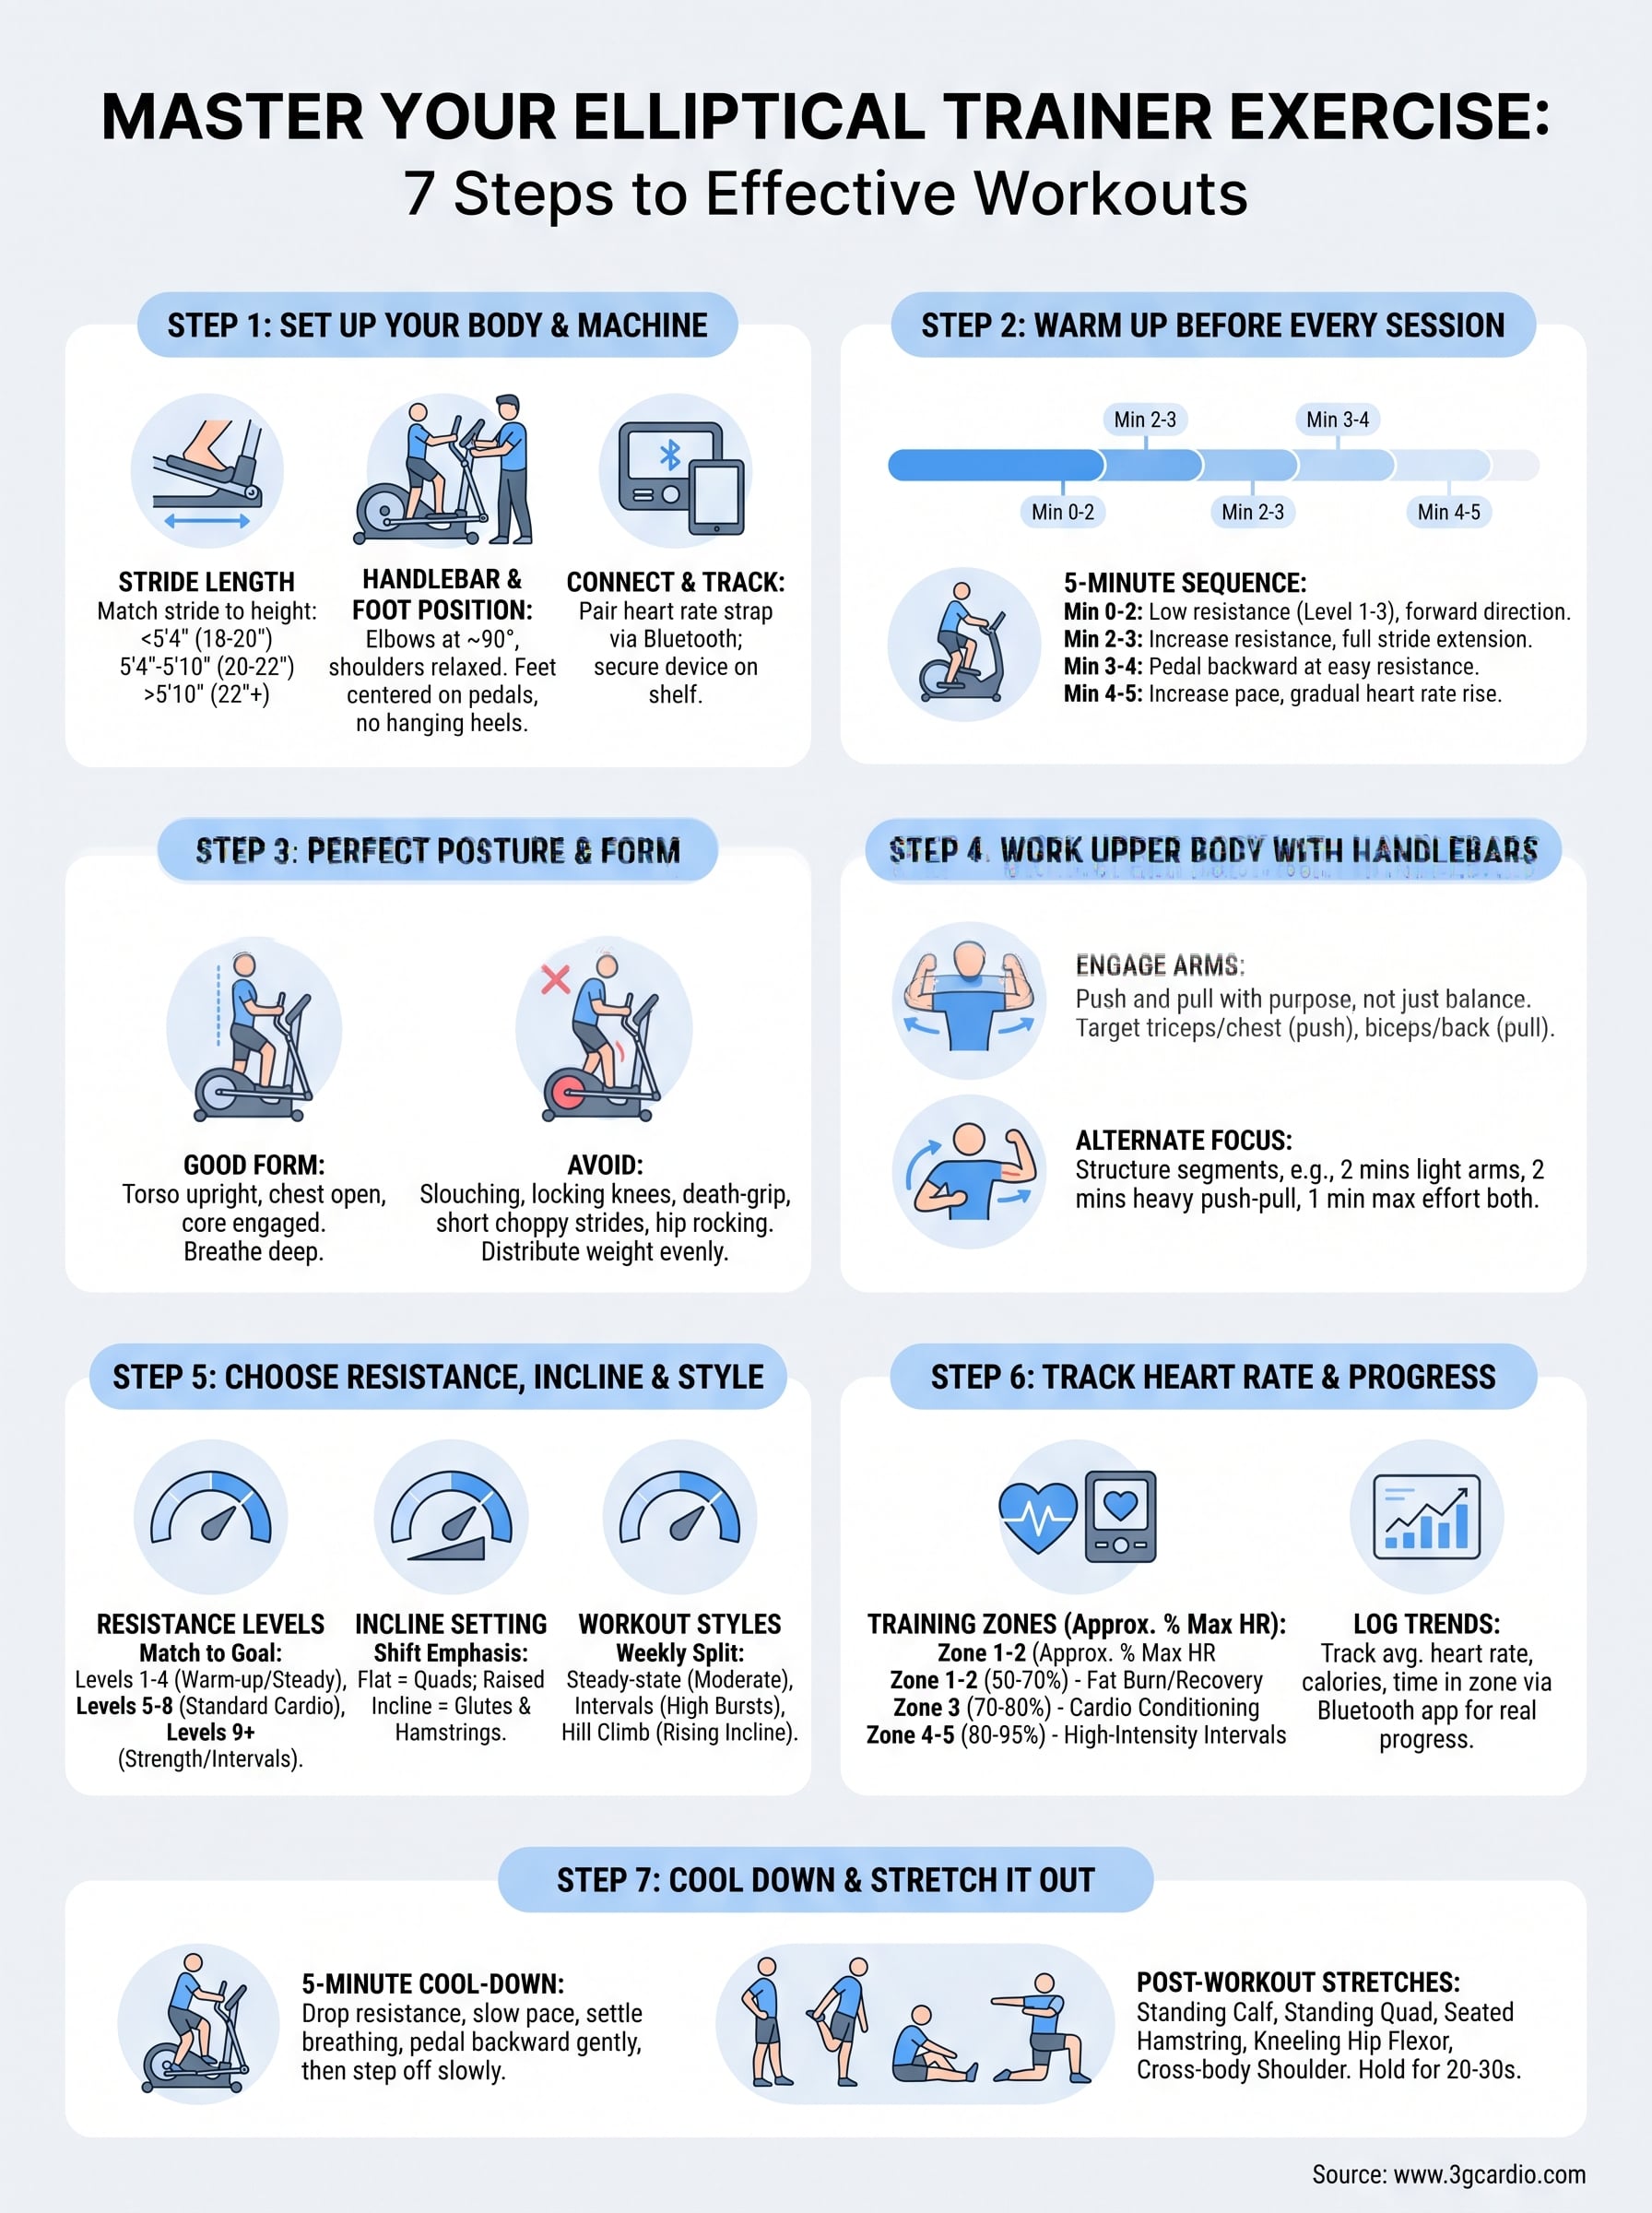
None of the seven steps above are complicated, but together they turn a machine you step on and zone out on into a workout that actually changes your fitness. Setup takes two minutes, form takes conscious practice for a few sessions, and tracking your heart rate takes almost no effort once you’ve paired a strap through Bluetooth connectivity. Do those consistently and the results show up on their own.
Start small if you need to. Three sessions a week following the warm-up, intervals, and cool-down structure here will beat five random sessions without any plan behind them. The habit sticks when the workout feels effective, not when you white-knuckle through it hoping something changes.
If your current machine makes any of this hard, whether that’s a fixed stride, no connectivity, or a console that just doesn’t hold up, it’s worth upgrading to equipment built for it. Check out the 3G Cardio Elite EM X elliptical trainer and give your next workout the tools it deserves.




Sorry, the comment form is closed at this time.