

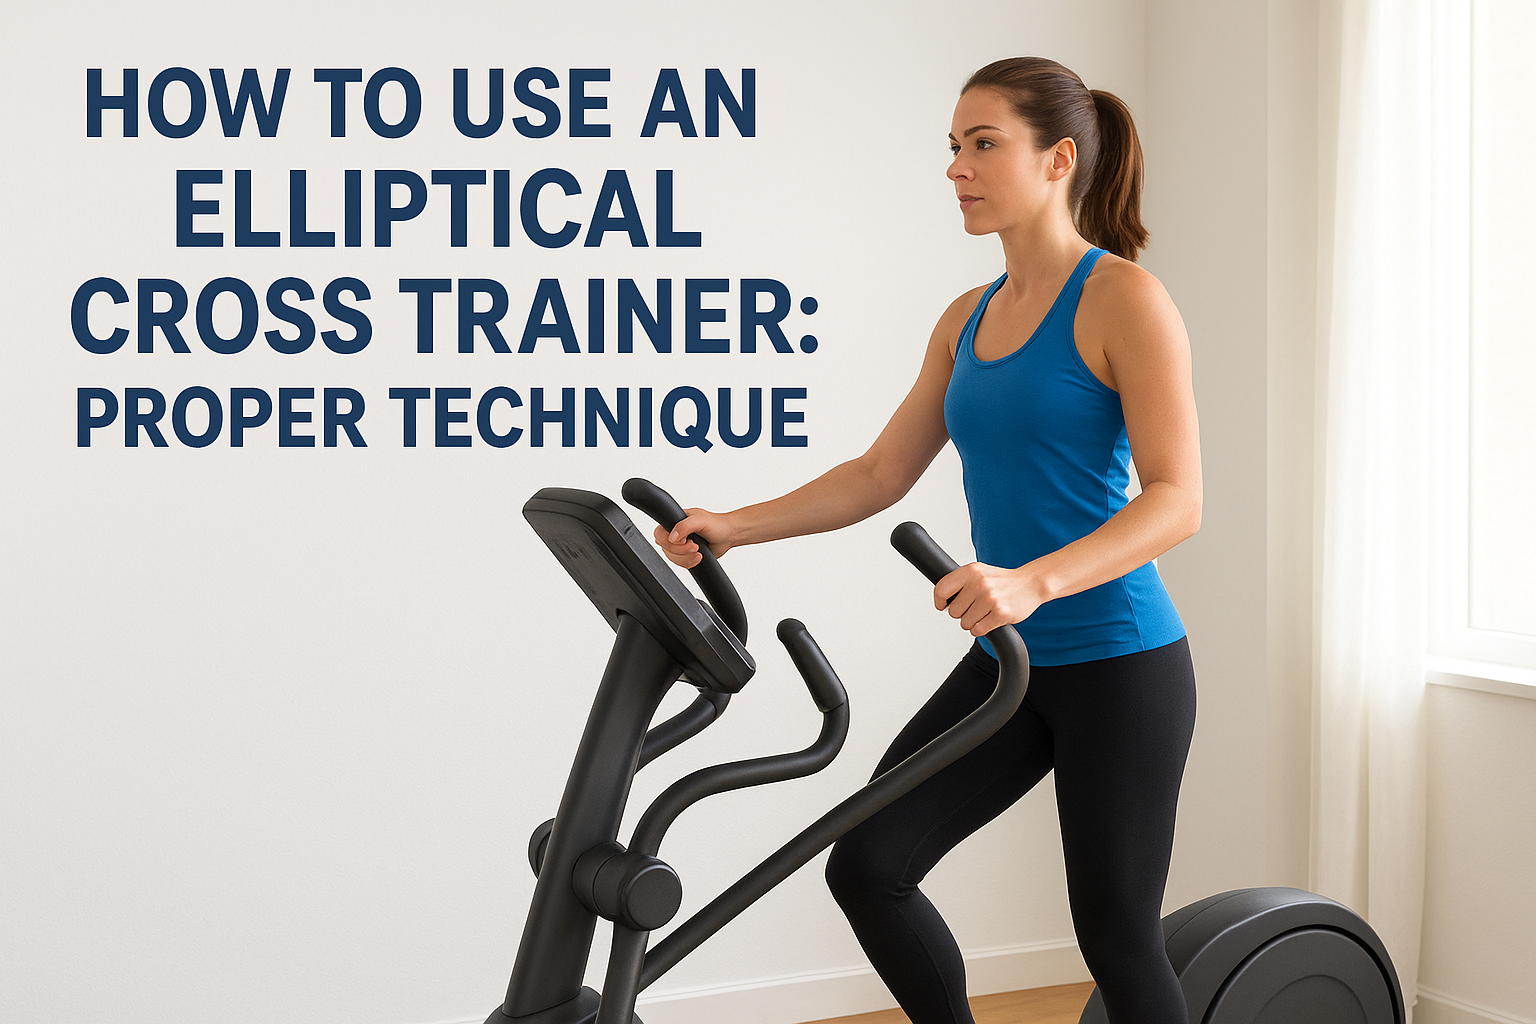
09 Aug How to Use an Elliptical Cross Trainer: Proper Technique
You just got an elliptical cross trainer, or you’re standing in front of one at the gym wondering why your knees ache halfway through a workout. Learning elliptical cross trainer how to use properly matters more than most people realize, because bad form turns a low-impact machine into a source of joint pain and wasted effort.
Here’s the direct answer: proper elliptical technique comes down to body positioning, stride mechanics, and how you use the handles and resistance settings together. Stand tall, keep your weight centered over the pedals, engage your core, and let your legs drive the motion instead of your arms fighting the handlebars. Get these fundamentals right and you’ll protect your joints while getting a genuinely effective cardio session.
This guide walks through the setup steps, correct posture, foot placement, and arm movement that separate an efficient workout from a frustrating one. We’ll also cover common mistakes people make on machines like our Elite EM X, adjustments for stride length and resistance, and how to build a routine that actually improves your fitness over time. Whether you’re new to elliptical training or fine-tuning your form after years of use, you’ll walk away knowing exactly how to move on the machine.
Why elliptical technique matters
Manufacturers market the elliptical as a low-impact machine, and that’s true, but only if you use it correctly. Slouch over the console, let your heels lift on every stride, or muscle the handlebars with your arms, and you turn a joint-friendly workout into one that stresses your knees, lower back, and shoulders in ways a treadmill never would. The machine doesn’t create bad form. You do, and it happily lets you keep doing it for 45 minutes.
Good form is what makes an elliptical low-impact. The machine alone doesn’t guarantee it.
How poor form undermines the low-impact promise
The elliptical’s fixed foot path is supposed to protect your joints by eliminating the jarring impact of running. But that protection depends on your feet staying flat, your knees tracking in line with your toes, and your torso staying upright. When riders hunch forward to grip the console or let their heels pop up mid-stride, they shift load onto the front of the knee and the lower back, the exact areas the machine is supposed to spare. Proper form restores the low-impact benefit the machine was designed to deliver in the first place.
The calorie and muscle-engagement gap
Technique also determines how much work you’re actually getting out of each session. Riders who let momentum carry the pedals, rather than actively pushing and pulling through the full stride, burn noticeably fewer calories and engage far less of the glutes and hamstrings. Here’s what changes between sloppy form and dialed-in mechanics:
| Factor | Poor form | Correct form |
|---|---|---|
| Calorie burn | Lower, relies on momentum | Higher, muscles do the work |
| Muscle engagement | Mostly quads | Glutes, hamstrings, quads, and core |
| Joint stress | Elevated at knees and lower back | Minimal, load distributed evenly |
| Upper body role | Arms compensate for poor balance | Arms assist, don’t drive the motion |
| Session fatigue | Faster, from wasted effort | Slower, from efficient movement |
Getting your stride mechanics right isn’t a minor tweak. It’s the difference between a workout that builds real fitness and one that just passes the time.
Why this matters more if you have joint issues
A lot of people buy an elliptical specifically because a doctor or physical therapist recommended low-impact cardio after a knee replacement, hip surgery, or chronic back pain. If that’s you, sloppy technique isn’t just inefficient, it can undo the entire reason you chose this machine over a treadmill or outdoor running. Correct positioning keeps the load centered and predictable, which is exactly what a recovering joint needs.
Setting up for success from the first workout
Everyone benefits from learning proper form before they build habits around bad ones. Once your body memorizes a hunched-over stride or a habit of gripping the handlebars for dear life, it’s much harder to unlearn than it is to start correctly. The next seven steps walk through exactly how to set up your machine, position your body, and move through each stride so that every session works for you instead of against you.
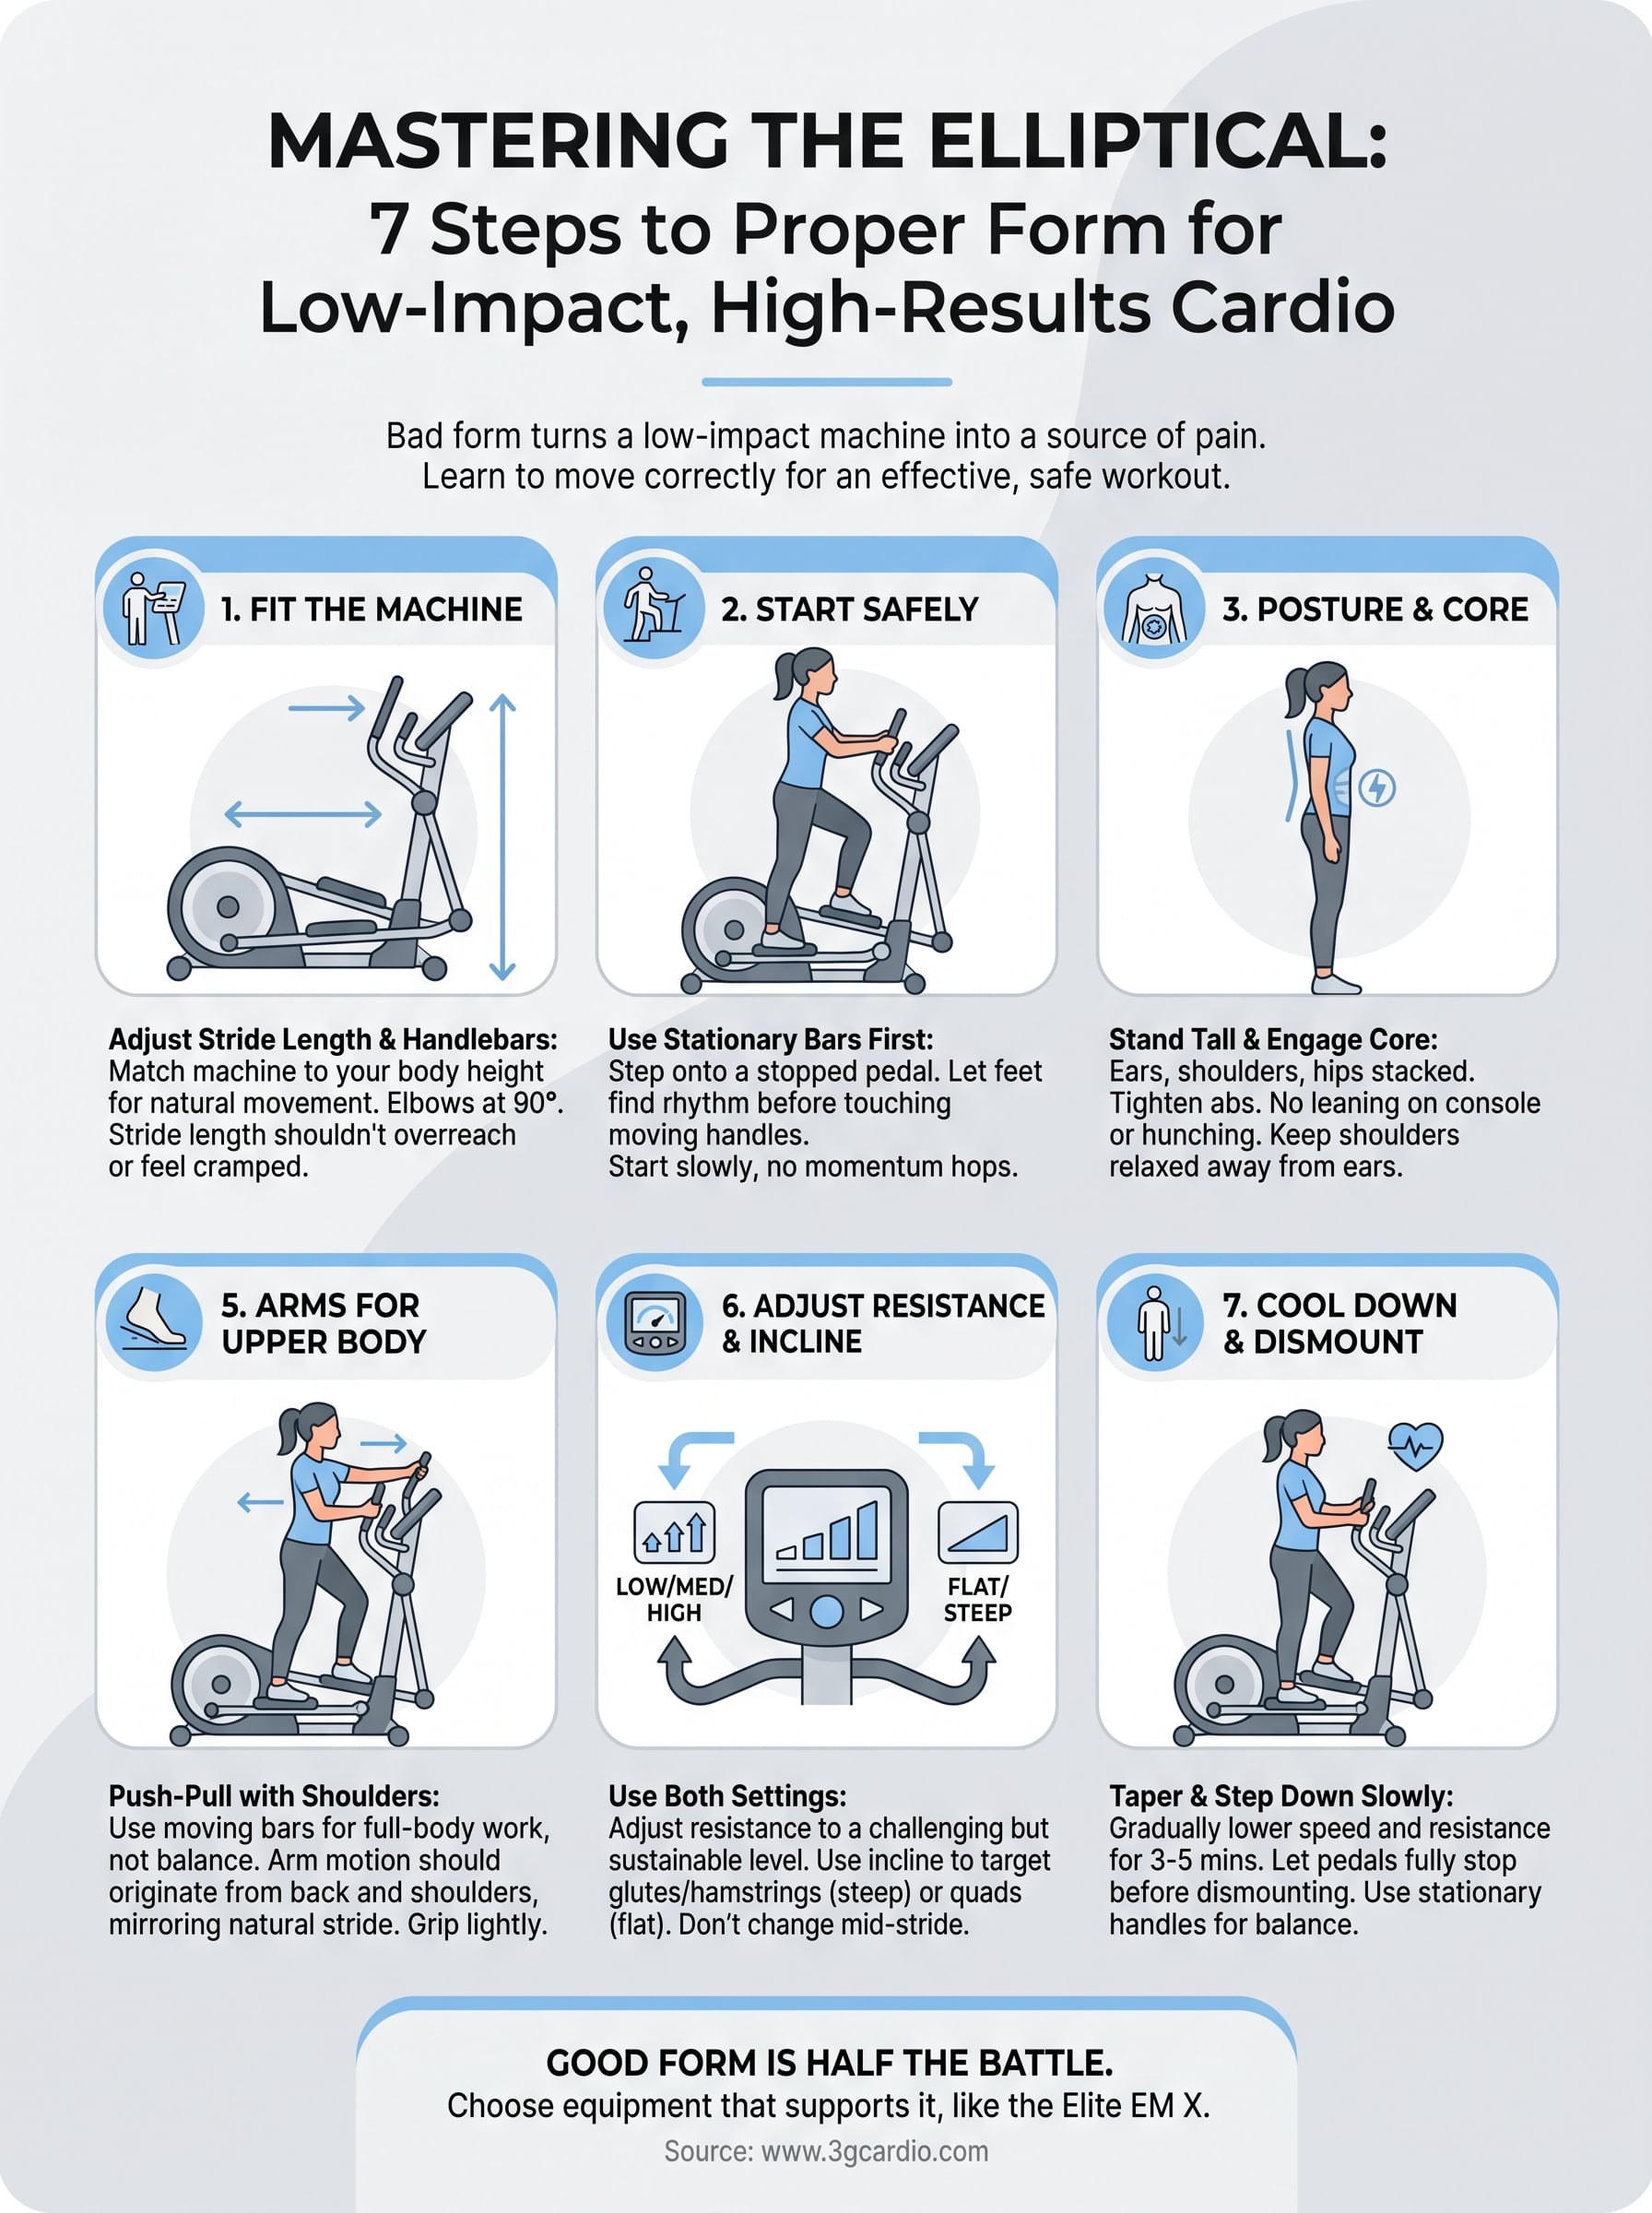
Step 1. Adjust the machine to fit your body
Before you take a single stride, get the machine set up for your height and stride length. Most home ellipticals, including models like the Elite EM X, ship with adjustable stride lengths and console positions, but a lot of owners skip this step and just start pedaling on the factory default. That’s a mistake. A machine set up for someone six inches taller or shorter than you forces your hips and knees into a stride pattern they weren’t built for.
A machine that fits your body prevents more injuries than any warm-up ever will.
Check your stride length first
Stride length is the single most important adjustment on the machine, and it’s the one people ignore most often. Too short, and you’ll feel cramped, choppy, and unable to extend your legs fully. Too long, and you’ll overreach at the front of each stride, straining your hip flexors and lower back. If your elliptical has adjustable stride settings, start in the middle and test a few strides before committing.
Set the console and handlebars
Next, position the console so you can read it without craning your neck forward. If the handlebars are adjustable, set them at a height where your elbows sit at roughly a 90-degree bend when you’re standing upright on the pedals. This keeps your shoulders relaxed instead of hunched toward your ears.
Run through this quick checklist before every workout, especially if more than one person uses the machine:
- Stride length: matched to your leg length, not stretched to the max setting
- Handlebar height: elbows bent around 90 degrees, shoulders down and relaxed
- Console angle: visible without leaning forward or tilting your head down
- Pedal position: feet centered, not shifted toward the inside or outside edge
- Resistance level: start low for the first few minutes, even if you plan to increase it
Why this step gets skipped
Most people assume an elliptical is one-size-fits-all because there’s no seat to adjust like on a bike. That assumption costs them. Body positioning starts before you even step onto the pedals, and a five-second stride length check saves you from compensating with bad habits for the entire session. If you share the machine with a partner or family member of a different height, get in the habit of rechecking the settings each time instead of assuming the last setup still works for you.
Step 2. Step on and start pedaling safely
Getting onto an elliptical isn’t complicated, but rushing this moment causes more falls and strained ankles than almost any other part of the workout. Stand beside the machine, grab the stationary handlebars or side rails (not the moving arm bars), and step onto the pedal closest to you. Wait until both feet are planted before you touch the moving handlebars, because stepping on while one pedal is already dropping can throw off your balance before you’ve even started.
Getting your first strides moving
Hold onto the stationary bars for the first few strides while you let the pedals find their natural rhythm. Push down and slightly forward with one foot while the other foot rises, following the machine’s fixed path rather than forcing your own pattern into it. Most consoles let you start the belt or resistance from zero, so don’t crank the settings before you’ve confirmed your feet are moving smoothly with the pedals.
Never grab the moving handlebars until your feet are already moving with the pedals.
Building speed gradually
Start slow for the first thirty to sixty seconds, no faster than a relaxed walking pace. This gives your inner ear and balance system time to adjust to the elliptical’s gliding motion, which feels different from walking or running on solid ground. Once you feel stable, gradually increase your cadence to your target pace instead of jumping straight to a fast stride.
Avoiding a rough start
Avoid these common mistakes when you’re getting the pedals moving:
- Stepping on with momentum, like hopping onto a moving pedal instead of waiting for it to stop
- Skipping the stationary handles, going straight for the moving arm bars before you’ve found your balance
- Starting at high resistance, which forces your legs to fight the machine before you’ve established a stride
- Looking down at your feet, which throws off your posture and balance more than it helps
Follow this sequence every time and starting the machine becomes automatic within a week or two, freeing you to focus on the technique that actually drives results.
Step 3. Set your posture and engage your core
Once you’re moving smoothly, check your posture before you settle into a bad habit for the rest of the session. Stand tall with your ears, shoulders, and hips stacked in a straight line, the same alignment you’d want standing in front of a mirror. Leaning forward to grip the console or hunching your shoulders toward your ears puts unnecessary strain on your lower back and neck, and it’s one of the fastest ways to turn a low-impact workout into an achy one.
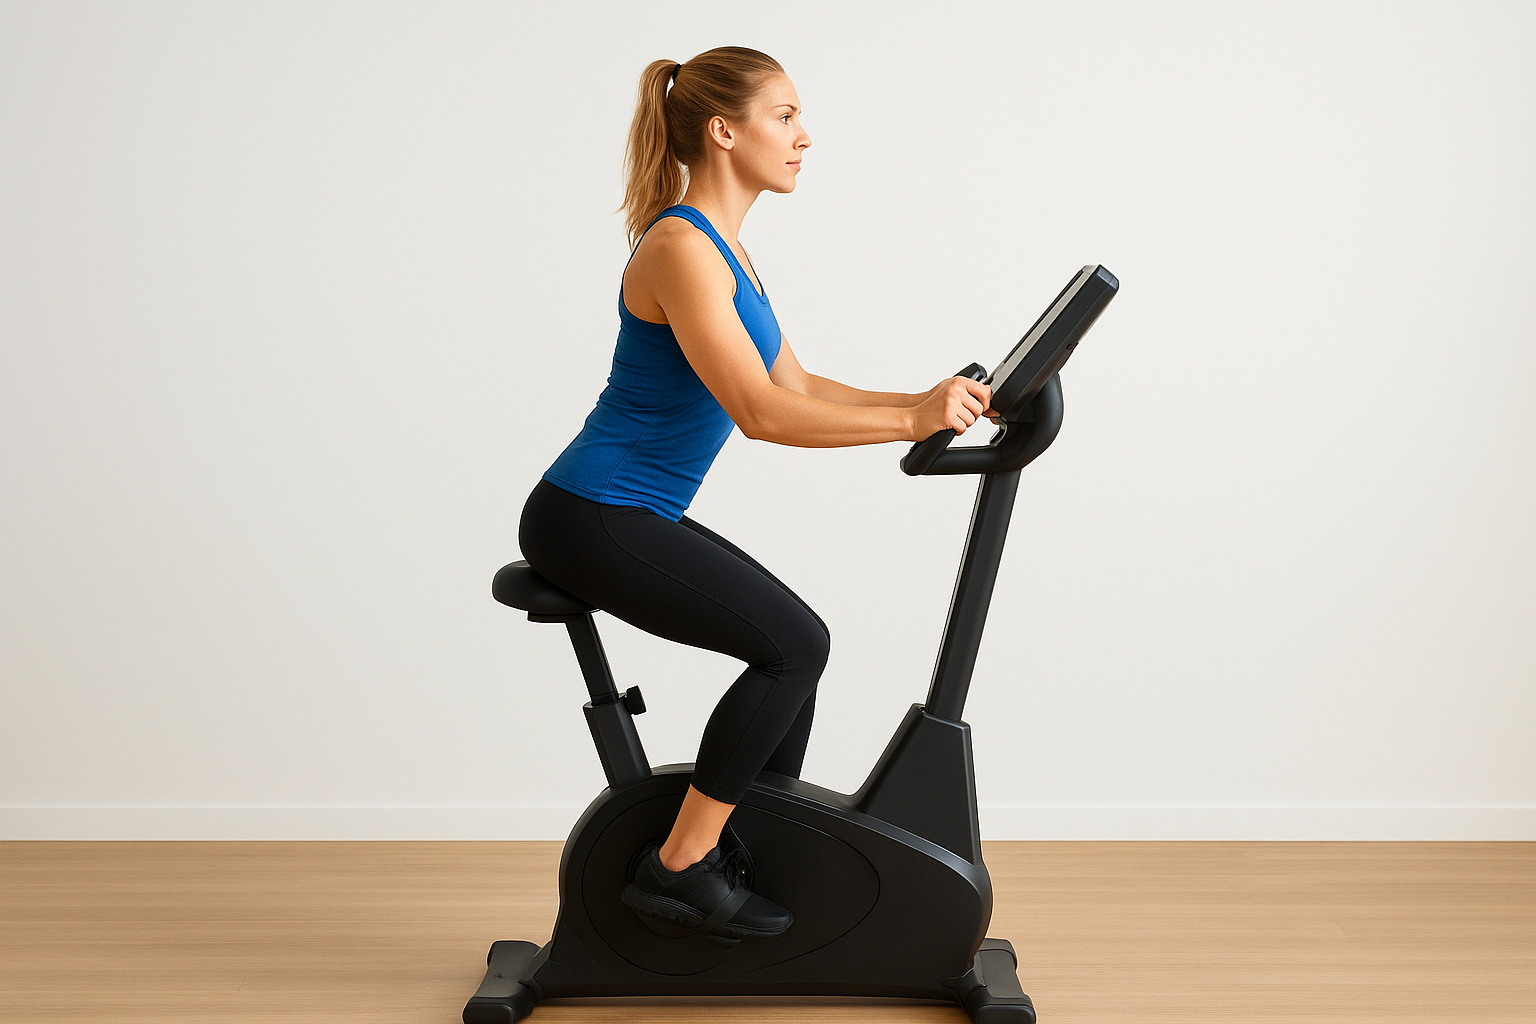
Stand like you’re being measured for height, not like you’re bracing against the machine.
Engage your core the whole time
Tighten your abdominal muscles the way you would before someone taps your stomach, and hold that tension throughout the workout rather than only at the start. A braced core stabilizes your spine as your legs drive through each stride, which takes pressure off your lower back and makes the whole motion feel more controlled. Riders who skip this step often notice their torso swaying side to side with each pedal stroke, a sign the core isn’t doing its job and the arms are compensating instead.
Quick posture checkpoints
Run through this list every few minutes, especially once fatigue sets in and form starts to slip:
- Head and neck: eyes forward, chin level, not tilted down at your feet
- Shoulders: pulled back and down, away from your ears
- Spine: neutral, no rounding forward or arching backward
- Core: braced but not holding your breath
- Hips: level, not rocking or tilting with each stride
Why fatigue wrecks form first
Even experienced users start slipping on posture as they tire, usually around the ten-to-fifteen-minute mark. Shoulders creep forward, the core relaxes, and suddenly the lower back is absorbing work it wasn’t built to handle. Watching for that shift matters more than watching the calorie counter, because a slouched stride at minute twenty undoes the benefit you built in the first ten. Setting a mental checkpoint, like resetting your posture every time a song changes or the console hits a new interval, keeps your body positioning honest without requiring constant conscious effort. Get this habit locked in now and it carries over to everything else on the machine, including how your feet track through the pedal path.
Step 4. Keep your feet flat and centered
Feet come next in the technique checklist, and they matter more than most riders assume. Keep your entire foot flat against the pedal through the whole stride, from the moment it drops to the moment it rises again. Letting your heels lift off the pedal, a habit almost everyone falls into once they speed up or fatigue sets in, shifts your weight onto the balls of your feet and the front of your knees. That’s the opposite of what a low-impact machine is supposed to do for your joints.
If your heels lift off the pedal, your knees are absorbing weight they shouldn’t have to carry.
Why heel lift creeps in
Speed is usually the trigger. As cadence climbs, your calves naturally want to fire the way they would in a running stride, popping your heel up at the top of each push. Resistance that’s set too low does the same thing, because there’s nothing pushing back against your foot to keep it grounded. Slowing your cadence slightly or bumping the resistance up a notch often fixes heel lift faster than any amount of conscious effort.
Center your foot on the pedal
Getting your foot positioned isn’t just about flat versus lifted. Where your foot sits left to right on the pedal changes how the load travels up through your ankle, knee, and hip. Run through this quick check every few minutes:
- Heel down: pressed into the pedal through the entire stride, not just at the bottom
- Foot centered: weight balanced across the whole foot, not shifted to the inside or outside edge
- Toes forward: pointed in the direction of travel, not angled outward or pigeon-toed inward
- Knees tracking: moving in line with your second toe, not caving inward or bowing outward
Offset feet, where one foot sits closer to the edge of the pedal than the other, is another habit worth watching for. It usually shows up when one leg is doing more work than the other, often because of an old injury or a dominant side. Correcting foot placement on both pedals evenly keeps the stride symmetrical and stops one knee or hip from absorbing more stress than it should over a long workout.
Step 5. Use the handlebars for your upper body
Once your feet and posture are dialed in, the handlebars deserve real attention instead of just being something to hang onto. On models like the Elite EM X, the moving arm bars are built to add an upper body workout to the motion, not to serve as a crutch for balance. Push forward with one arm as the opposite leg drives back, then pull back as that leg comes forward, mirroring the natural cross-body motion you’d use walking or running. This is where the "cross trainer" name comes from, and skipping it wastes half of what the machine offers.
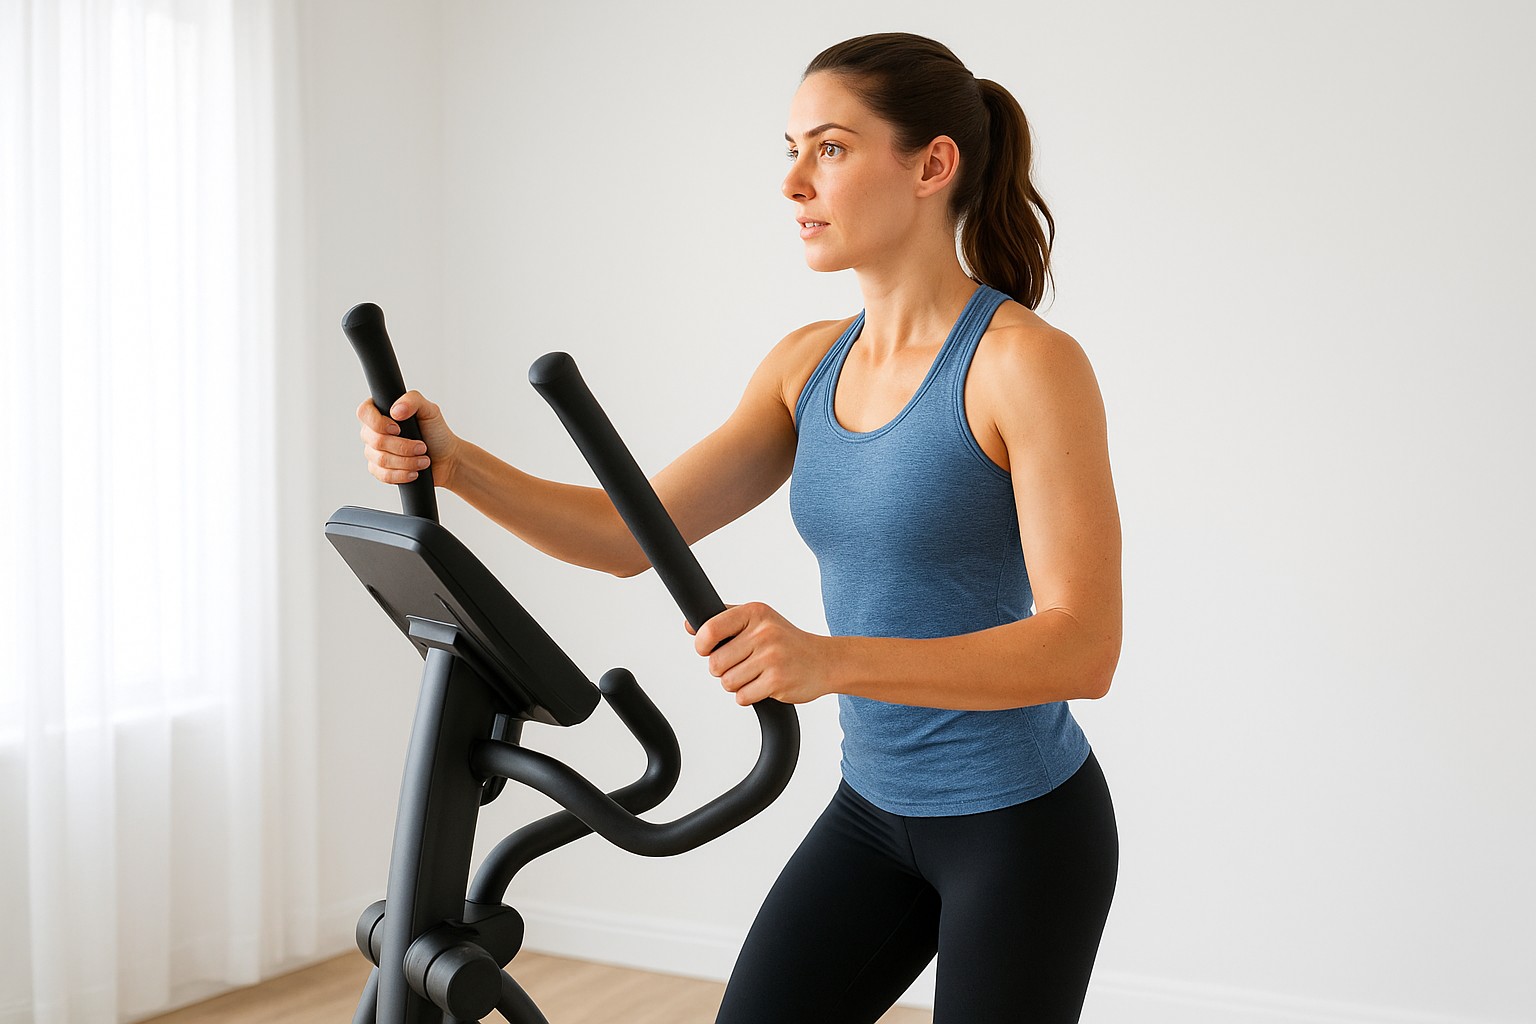
Getting the arm-leg timing right takes a session or two to feel natural, but it changes the workout once it clicks. Arm movement should originate from your shoulders and back, not your wrists or forearms, and the push-pull motion should feel continuous rather than jerky. Gripping the bars too tightly is a common mistake that tires your forearms fast and tenses your shoulders, which then pulls your posture forward exactly where Step 3 told you not to go.
The handlebars are there to add upper body work, not to hold you upright.
Match arm effort to leg effort
Your arms shouldn’t be working harder than your legs, and they shouldn’t be coasting either. Watch for one-sided reliance, where you push hard with your arms because your legs are getting tired, a habit that quietly turns the elliptical into an arm workout with your legs along for the ride. Balance the effort so both halves of your body contribute evenly through the stride.
When to skip the handlebars entirely
Stationary handlebars have a place too, especially early in a workout or when you’re focused purely on leg and glute engagement. Letting go of the moving arm bars and holding the stationary rails, or not holding on at all, forces your core to stabilize the motion instead of your arms. Try alternating within a single session:
- First 5 minutes: moving handlebars, full upper and lower body engagement
- Middle 10 to 15 minutes: stationary rails or no hands, core-focused stability work
- Final minutes: back to moving handlebars for a full-body finish
Switching between the two keeps the workout varied and prevents your arms from doing all the compensating when your legs start to fatigue.
Step 6. Adjust resistance and incline as needed
Resistance and incline are the two dials that turn a comfortable stride into a real workout, and most riders barely touch either one. Resistance controls how hard your legs have to push against the pedals, while incline shifts which muscles carry the load, more glutes and hamstrings as the ramp angle climbs, more quads and calves when it’s flatter. Leaving both settings on whatever the console defaults to means you’re never quite training the muscles you think you are.
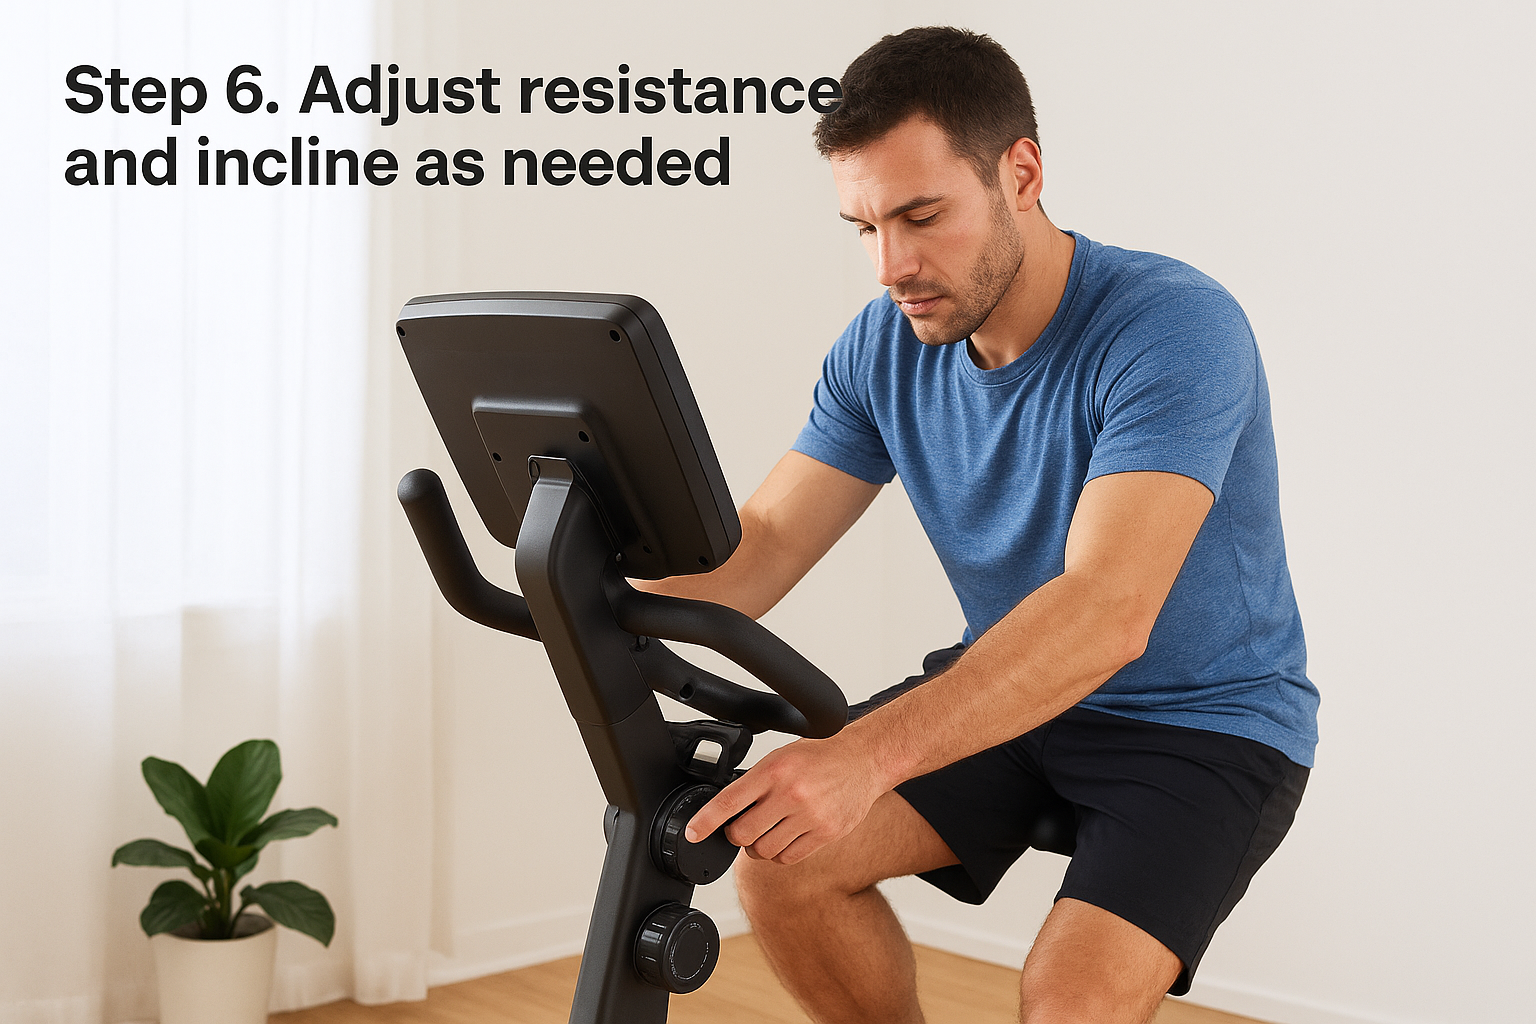
Reading your own effort instead of the console
Numbers on a screen don’t tell you much without context. Use a simple talk test instead: if you can carry on a full conversation without any strain, resistance is too low. If you can’t get a sentence out, it’s too high. Resistance settings in the middle of that range, where you can speak in short phrases but not paragraphs, put you in a solid working zone for most cardio sessions.
If you can chat easily through your whole workout, your resistance is too low to do much good.
Adjusting incline for different muscle focus
Incline works alongside resistance rather than replacing it. Raising the ramp angle shifts more work into your glutes and hamstrings, which is useful if you’re trying to target those muscles specifically or add variety to a routine that’s gotten stale. Dropping the incline flat brings the quads back into focus and tends to feel easier at the same resistance level, which is worth knowing if your knees need a lighter day.
Here’s a simple framework for matching settings to your goal:
| Goal | Resistance | Incline |
|---|---|---|
| Easy recovery session | Low | Flat or low |
| Steady cardio endurance | Moderate | Moderate |
| Glute and hamstring focus | Moderate to high | High |
| Max calorie burn / intervals | High, cycling up and down | Varies, alternate flat and steep |
Avoid changing settings mid-stride
One habit worth building early is adjusting resistance or incline only between strides, not while your foot is mid-push. Yanking a lever or tapping a console button in the middle of a stride throws off your balance and can jerk your knee out of its natural tracking line. Pause your effort slightly, make the change, then resume your rhythm. This small discipline matters more once you start using intervals, where resistance or incline shifts every minute or two and sloppy transitions add up to a lot of wasted, unstable strides over a full session.
Step 7. Cool down and dismount safely
Ending a workout well matters just as much as starting one correctly, yet most riders skip straight from full effort to stepping off the pedals. That habit leaves blood pooled in your legs and your heart rate spiked right as you’re asking your balance system to handle a step down onto solid ground. Spend the last three to five minutes easing off resistance and speed gradually instead of hitting stop and hopping off, and you’ll walk away from the machine steadier and less lightheaded.
A rushed dismount is where balance problems show up, not during the workout itself.
Taper before you stop
Gradually lower your resistance and cadence over several minutes rather than cutting the effort abruptly. Dropping straight from a hard interval to a dead stop keeps blood concentrated in your leg muscles and can leave you dizzy the moment you step down. Slow your stride cadence to a relaxed pace, let resistance settle near its lowest level, and give your heart rate a chance to come down before the console even hits zero.
Dismounting without a stumble
Once the pedals stop moving, don’t just step off wherever your feet happen to land. Return to the stationary handlebars or side rails, the same ones you used to climb on, and use them for balance as you step down. Your legs have been moving in a fixed circular path for the length of your session, so your sense of balance needs a moment to reset before it handles normal walking again. Rushing this step is exactly how ankle rolls and small stumbles happen, especially right after a longer or more intense session.
Run through this quick sequence every time you finish:
- Taper resistance and speed over the final 3 to 5 minutes
- Let your heart rate settle before the console counts down to zero
- Grab the stationary handles, not the moving arm bars, as you slow down
- Step down deliberately, one foot at a time, once the pedals have fully stopped
- Stand still for a few seconds before walking away to confirm your balance feels normal
Stretch while you’re still warm
Your muscles are more pliable right after a session than they’ll be an hour later, so this is the best window for a short stretch. Focus on your calves, hamstrings, and hip flexors, the areas doing most of the work through each stride, and hold each stretch for twenty to thirty seconds. Finishing this way locks in the mobility benefits of the workout instead of letting tight muscles set in before your next session.
Making the elliptical part of your routine
Proper technique isn’t something you nail once and forget. Revisit these seven steps every few sessions, especially after a break or when you switch to a new machine, because stride mechanics drift the moment fatigue or distraction creeps in. The payoff for staying disciplined is real: fewer aches, more calories burned per minute, and a workout that actually builds the strength and endurance you’re after instead of just passing time on the pedals.
Good form only gets you halfway there, though. The machine itself matters just as much, and a lot of home ellipticals force compromises on stride length or step-up height that fight against everything you just learned. If you’re shopping for equipment that supports correct body positioning instead of working against it, take a look at the Elite EM X Elliptical Trainer, built with adjustable stride settings designed around real body mechanics, not factory defaults.




Sorry, the comment form is closed at this time.